“What happens once I’ve confirmed my order and made my initial payment?”
Martin immediately contacts Jane at the Rifle Shoppe and gives her your order.
The wait for dispatch can depend upon the kit or parts you have ordered, lead times can vary considerably. Martin will have already let you know how long you might expect to wait, but rest assured we chase your order regularly, and every subsequent order we send Jane includes all previous outstanding orders, so we keep TRS on their toes.
When TRS are ready to send out your kit, Jane lets us know in an email, and from that point we closely monitor your package’s process through the mail service. Once we know it is on British shores, we ramp up our involvement, contacting the relevant Parcel Force department and supplying them with the wealth of information they require for the package to successfully pass through Customs. You would be surprised how much red tape and hoops we need to jump through, but we are very experienced in this process.
We don’t wait for your parcel to be delivered, or even for the Customs payment notification; instead, to speed the process and ensure the consignment gets to us safely, we collect the parcel directly from the local Parcel Force Hub.
As soon as we have your kit, we contact you to let you know. We also carefully check the contents of the consignment to make sure it is correct. Depending on your requirements, you may wish to pick up the kit from us; or have it posted to you; or if we are building the kit for you, it will be retained pending commencement of work.
So, what comes in the kit?
As an example, here is a complete 714 Flat Lock Carbine Bore Baker Rifle Kit.
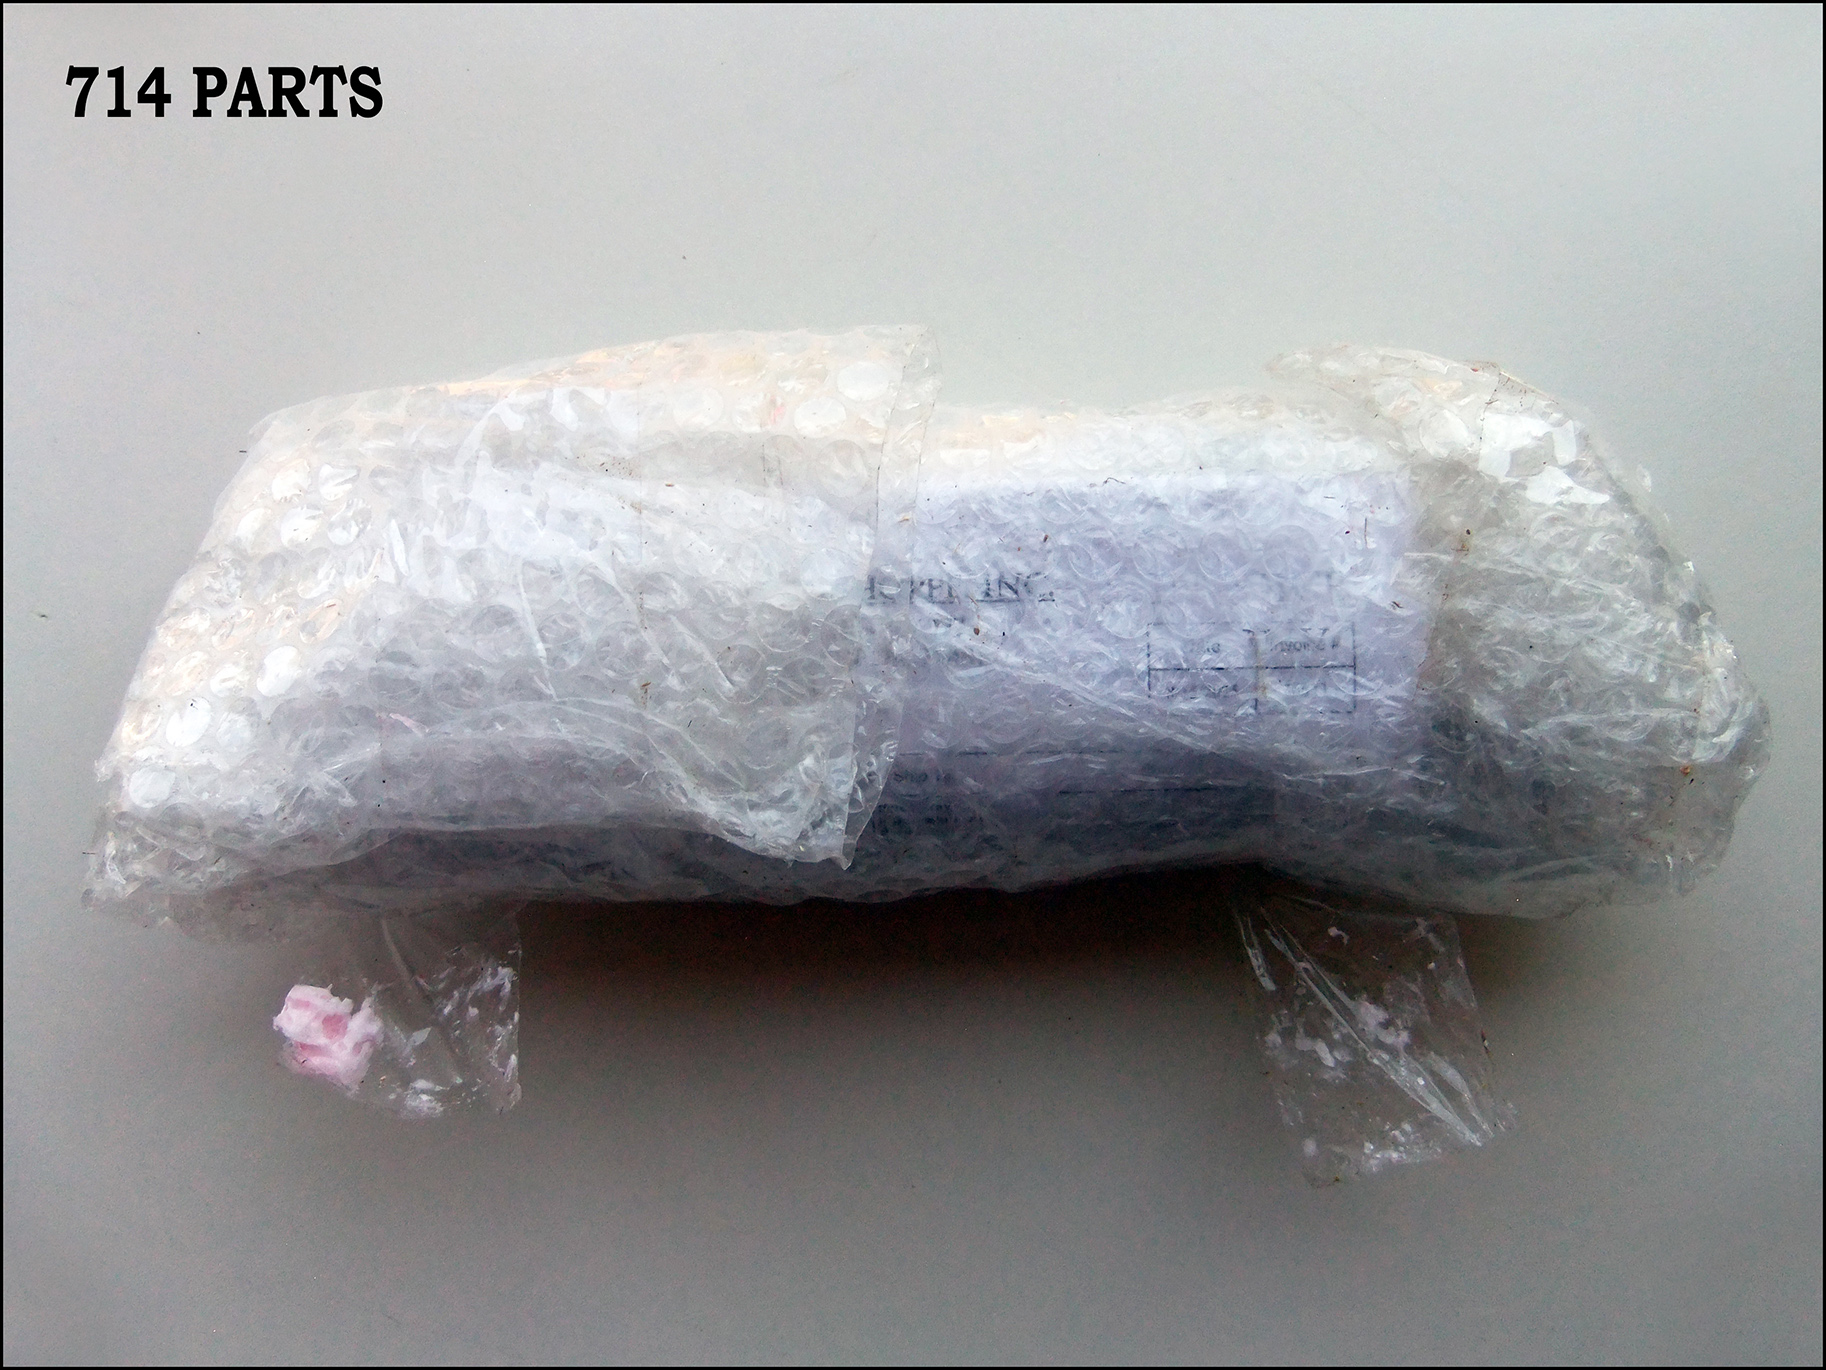
The Rifle Shoppe use very substantial heavy duty double corrugated cardboard boxes to pack their kits in. Within a sea of polystyrene packing pieces is first found a bundle wrapped in bubble wrap, this contains all the small parts from the kit.
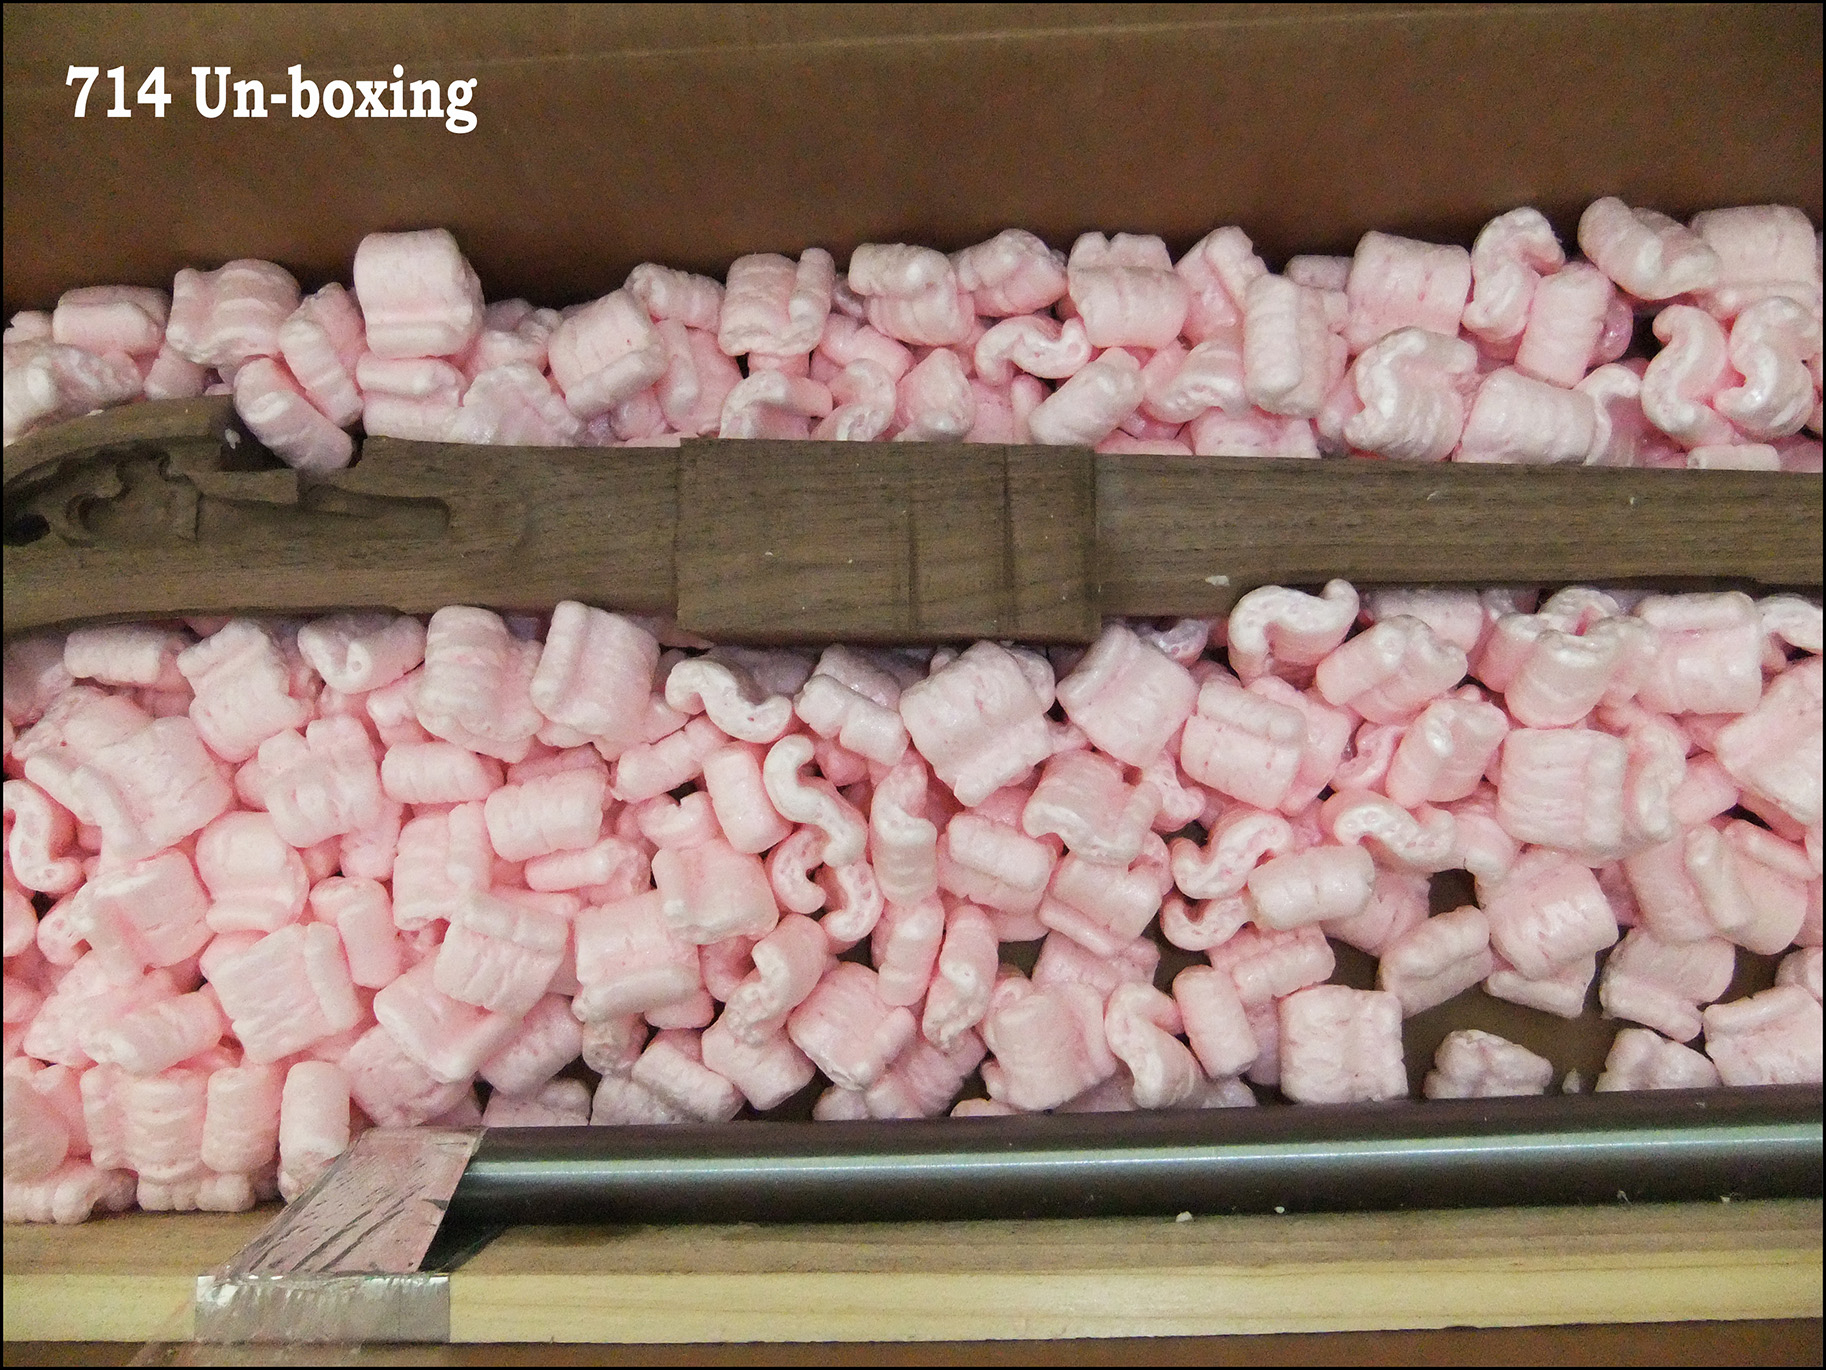
Next we discover the wooden semi-inletted stock, and finally after clearing more packing pieces, we find the barrel and ram rod securely taped to a wooden plank that adds extra strength to the box as well as keeping the heavy barrel and vulnerable ram rod from moving around in transit.
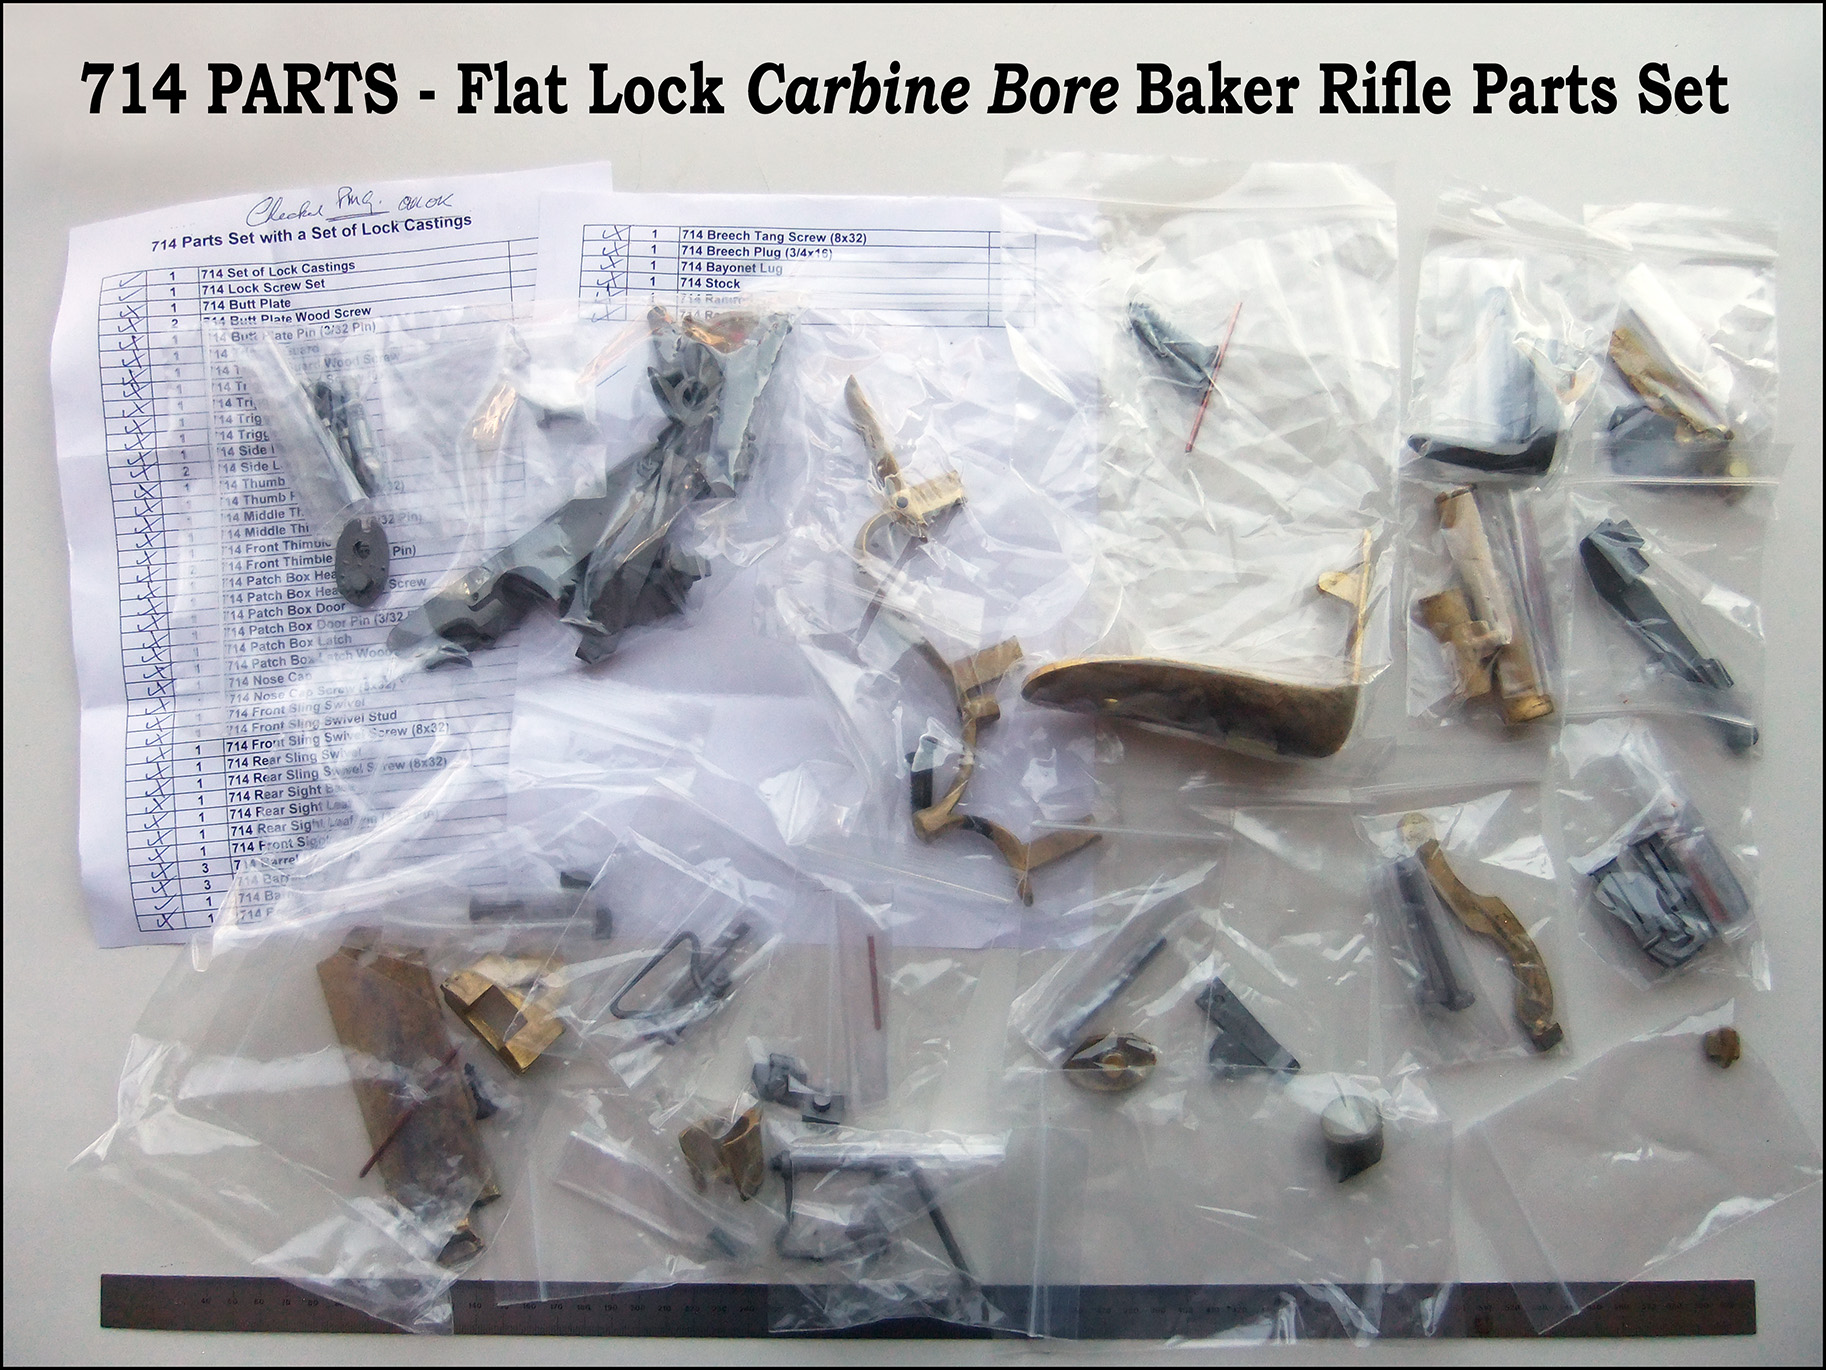
The bundle, when unwrapped will have a packing note listing every part, and a vast array of zip-lock bags containing all manner of small pieces of metal. They are not labelled but parts closely relating to other parts are kept together. For example screws or pins will be in a separate bag, within the bag containing the part they connect to. It is therefore useful to maintain this association for convenience.
One large zip-lock bag will contain a lot of parts in small bags. This is the lock Set – all lock parts are together in this one bag.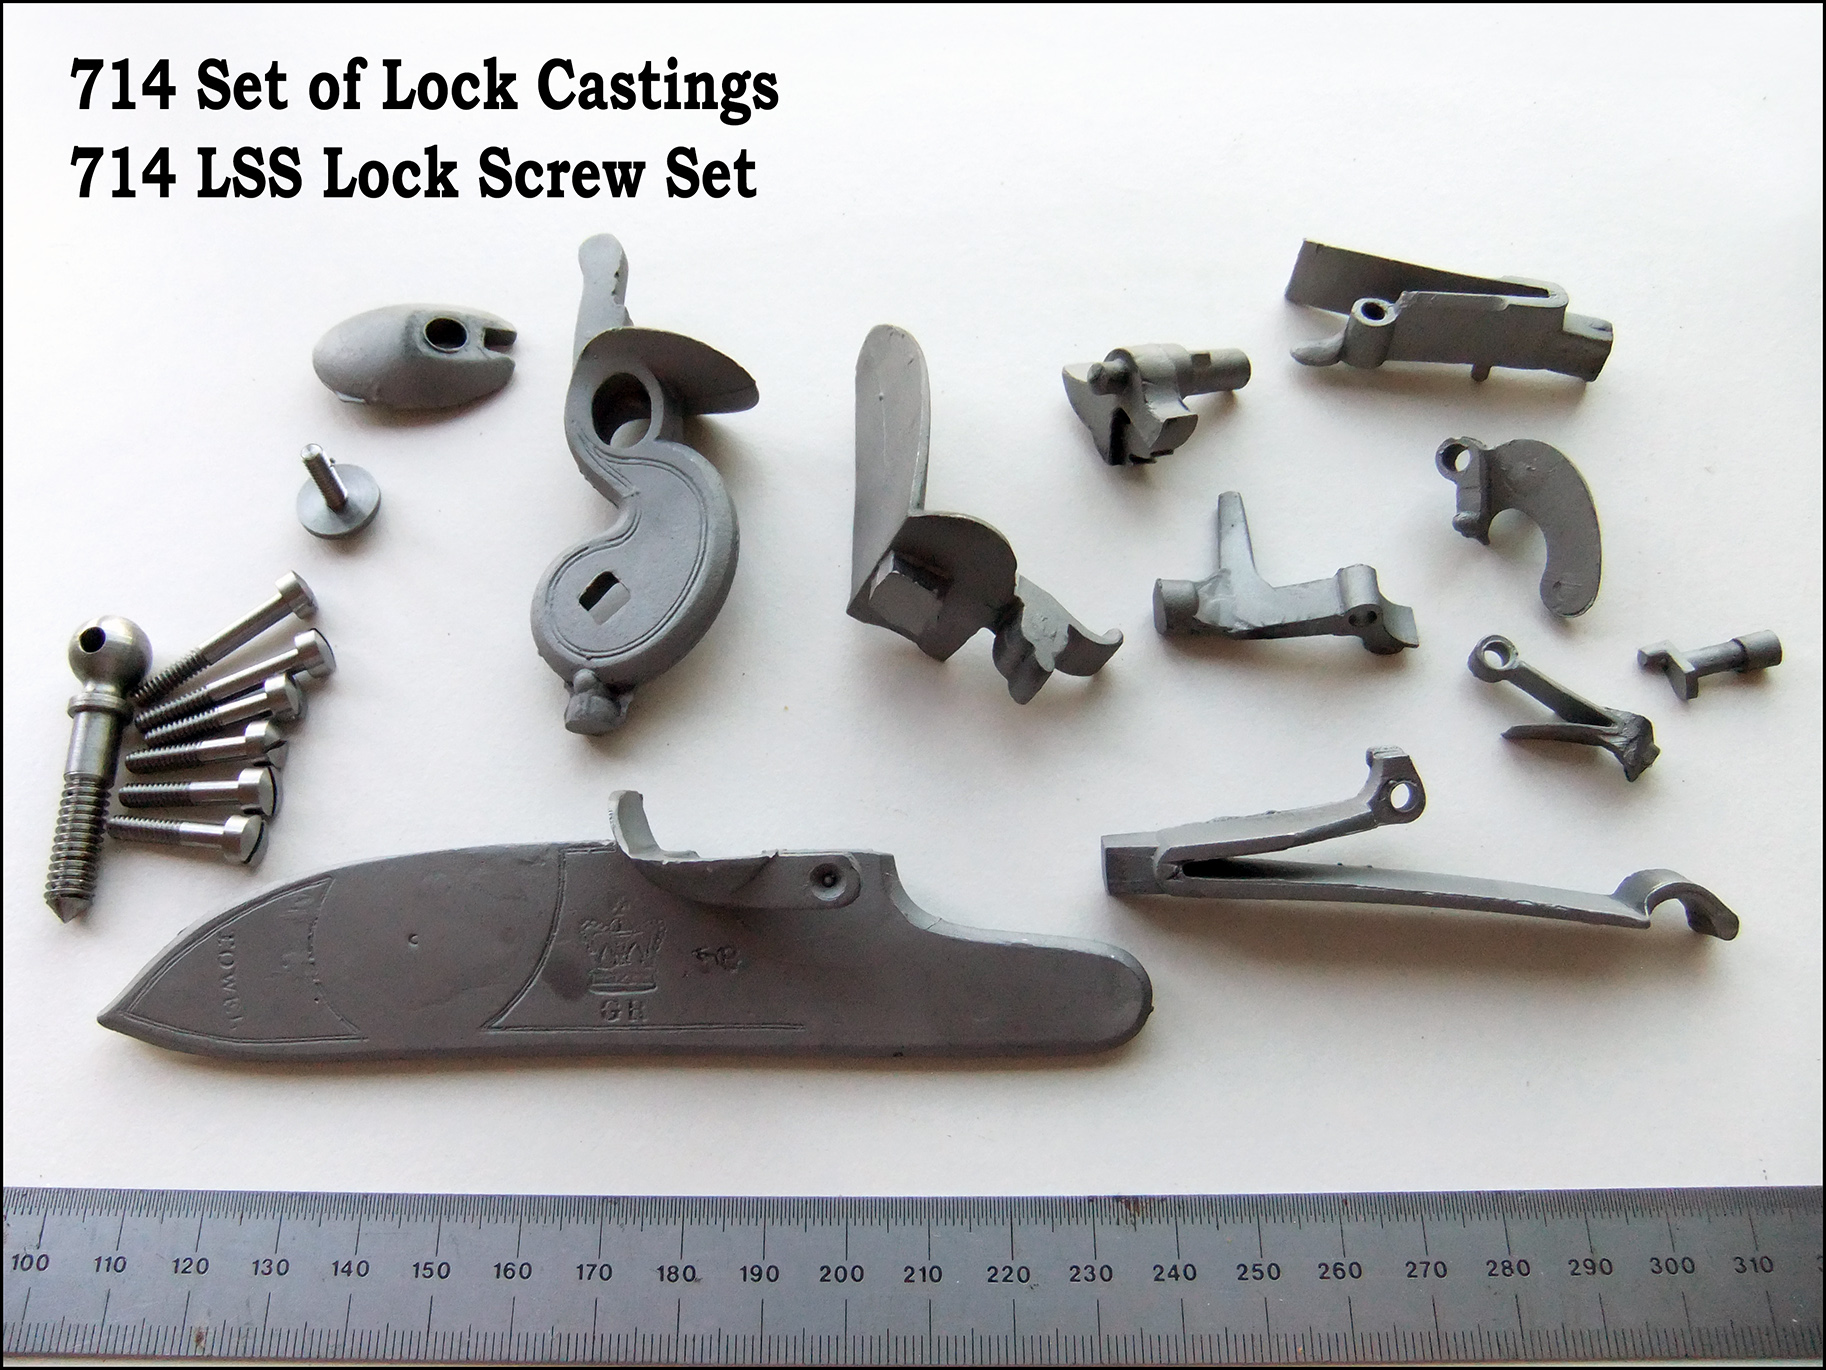
The 714 lock parts set shown here also include the lock “screw” set which of course is included in a full kit, but it is separate to the lock part set and has its own part number.
Look at any cast steel part and you will notice two things, firstly the grey surface colour, and secondly the apparent extraneous lumps in odd places (known as sprues). Both these are totally normal on an unfinished casting. When building the kit, the surfaces will need to be filed and or polished, and the sprues, which are in fact a necessary part of the casting process, will need to be removed.
You can see now that a lot of thought and planning needs to take place before anything is worked on. Questions like, “is that definitely a sprue that needs to be removed, or a part of the component?” Also, “How am I going to hold this part in a vice… Should I retain the sprue at this early stage and use it for this purpose?”
The brass parts are much the same, filing and polishing needed, and being careful as to what material to remove and what not to.
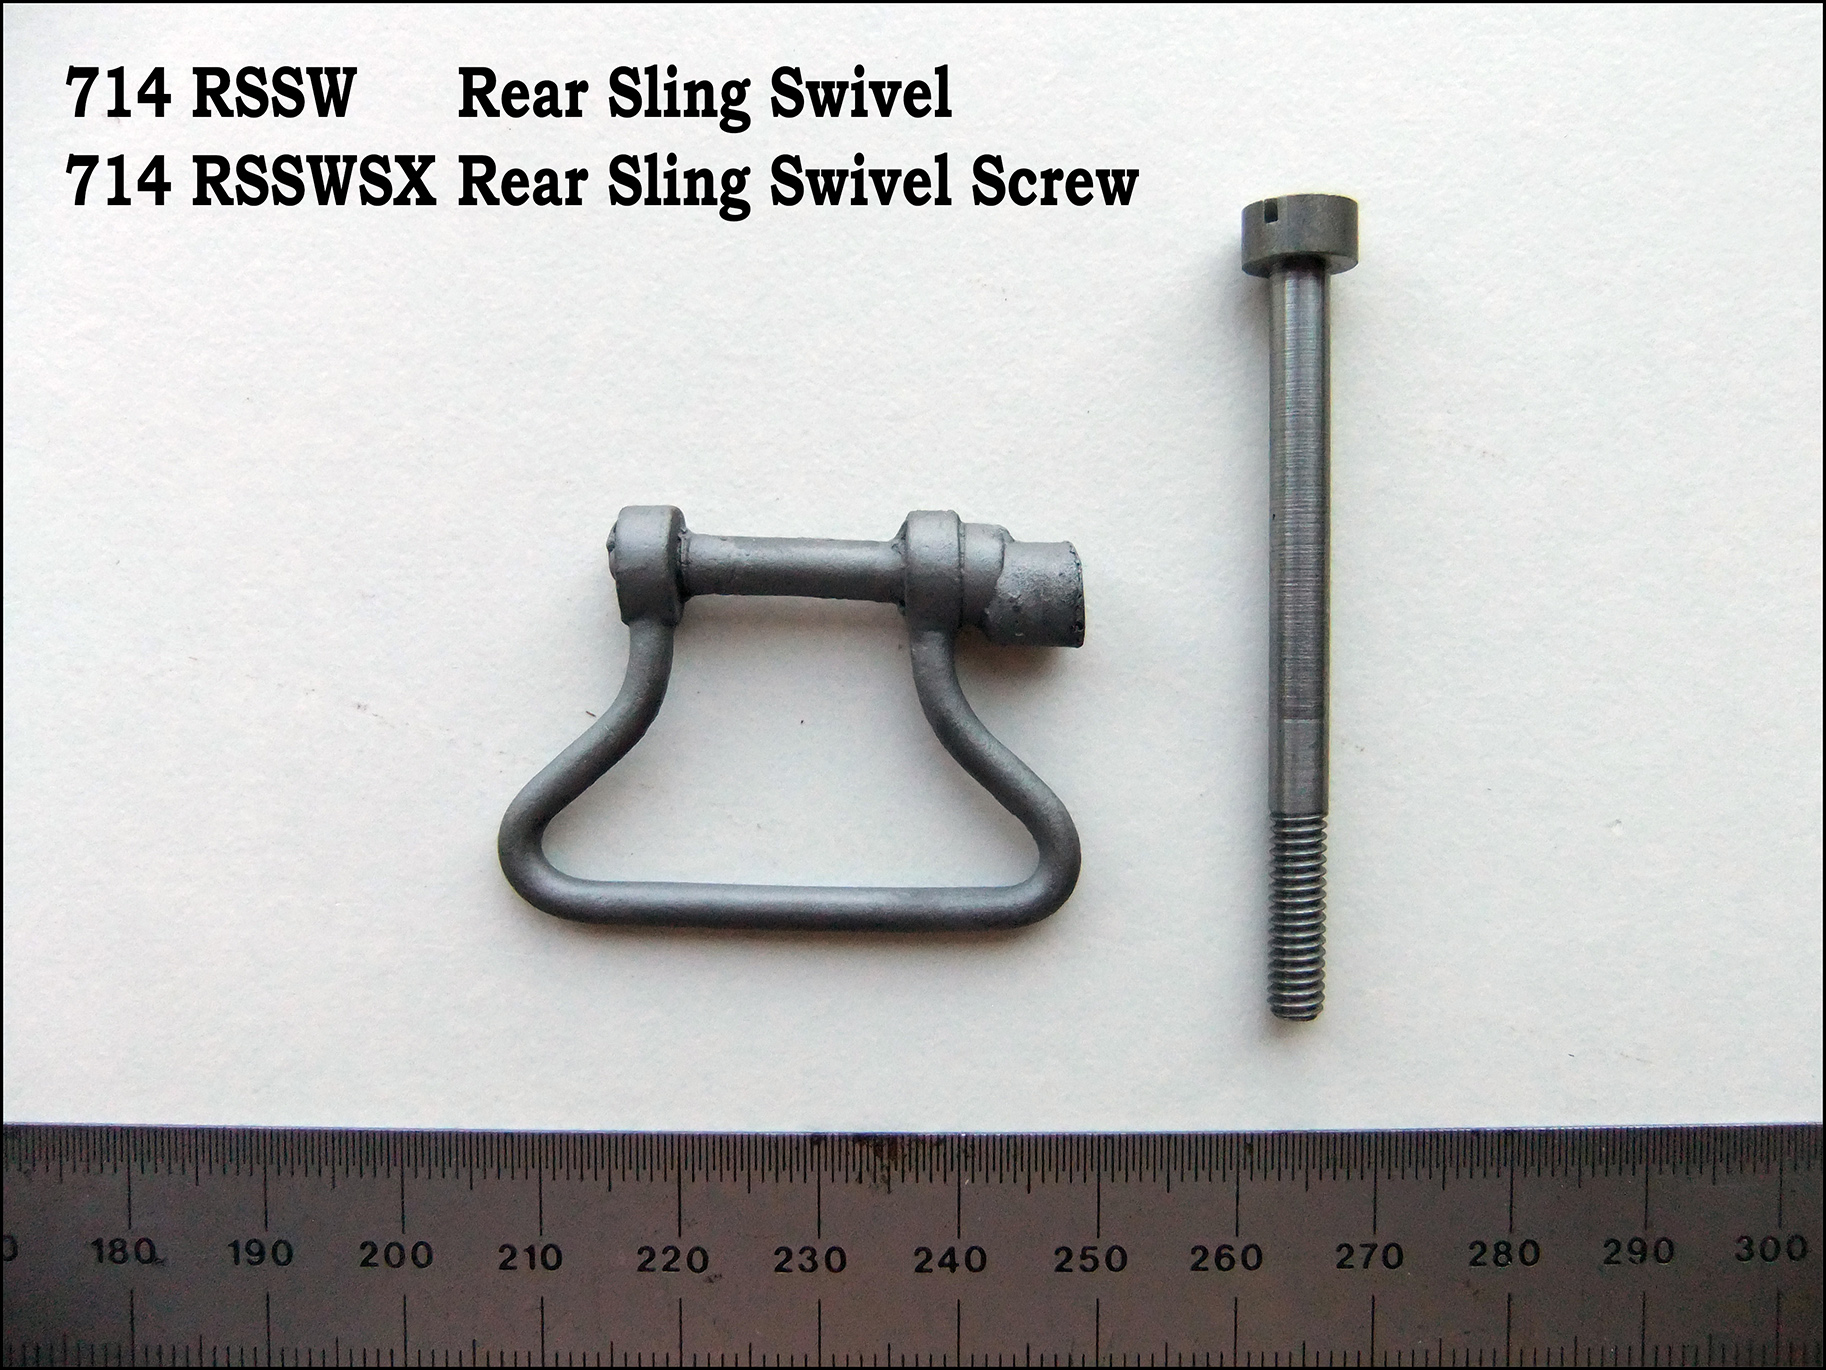
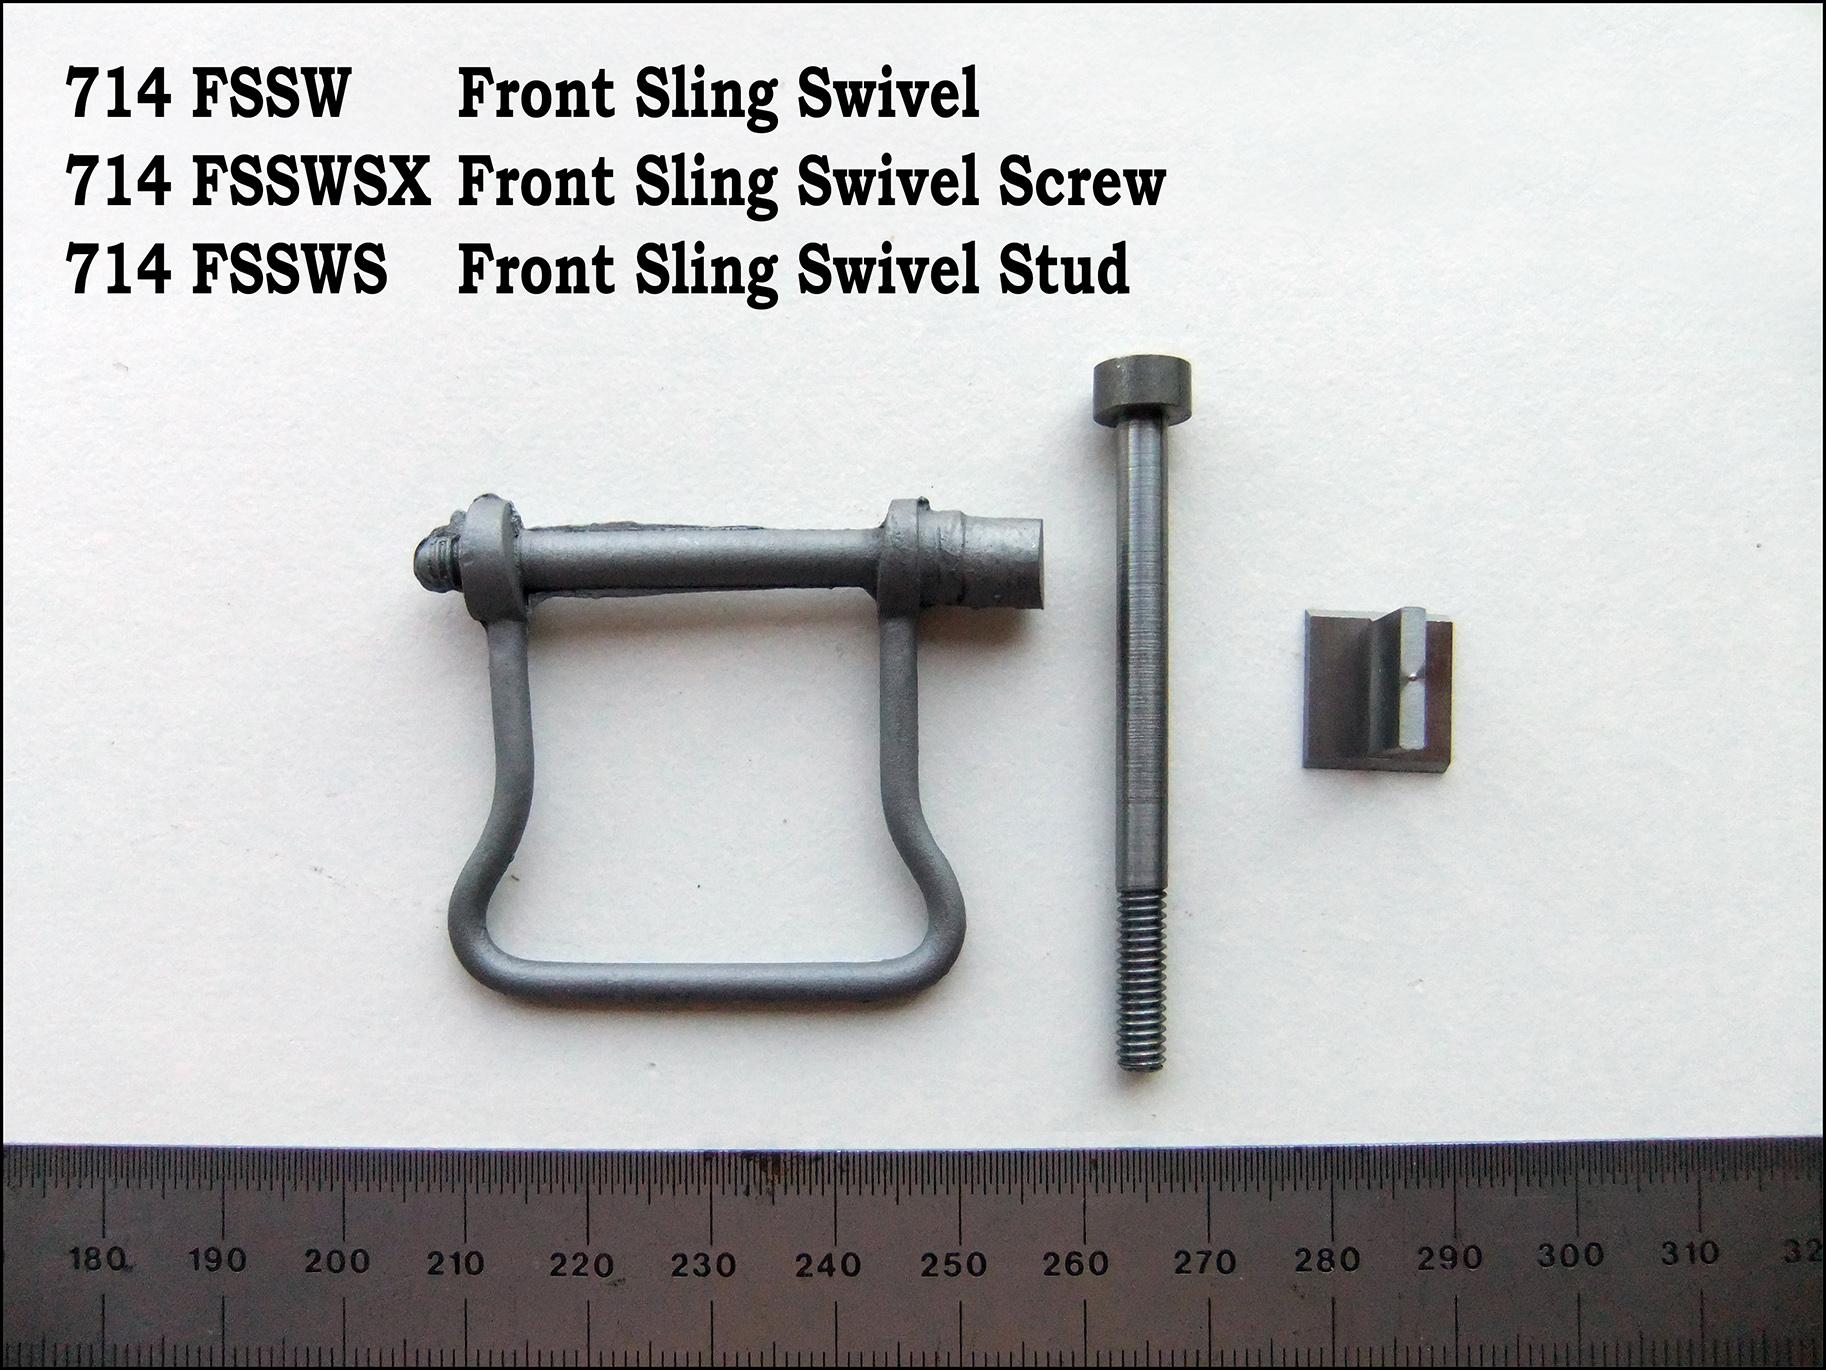
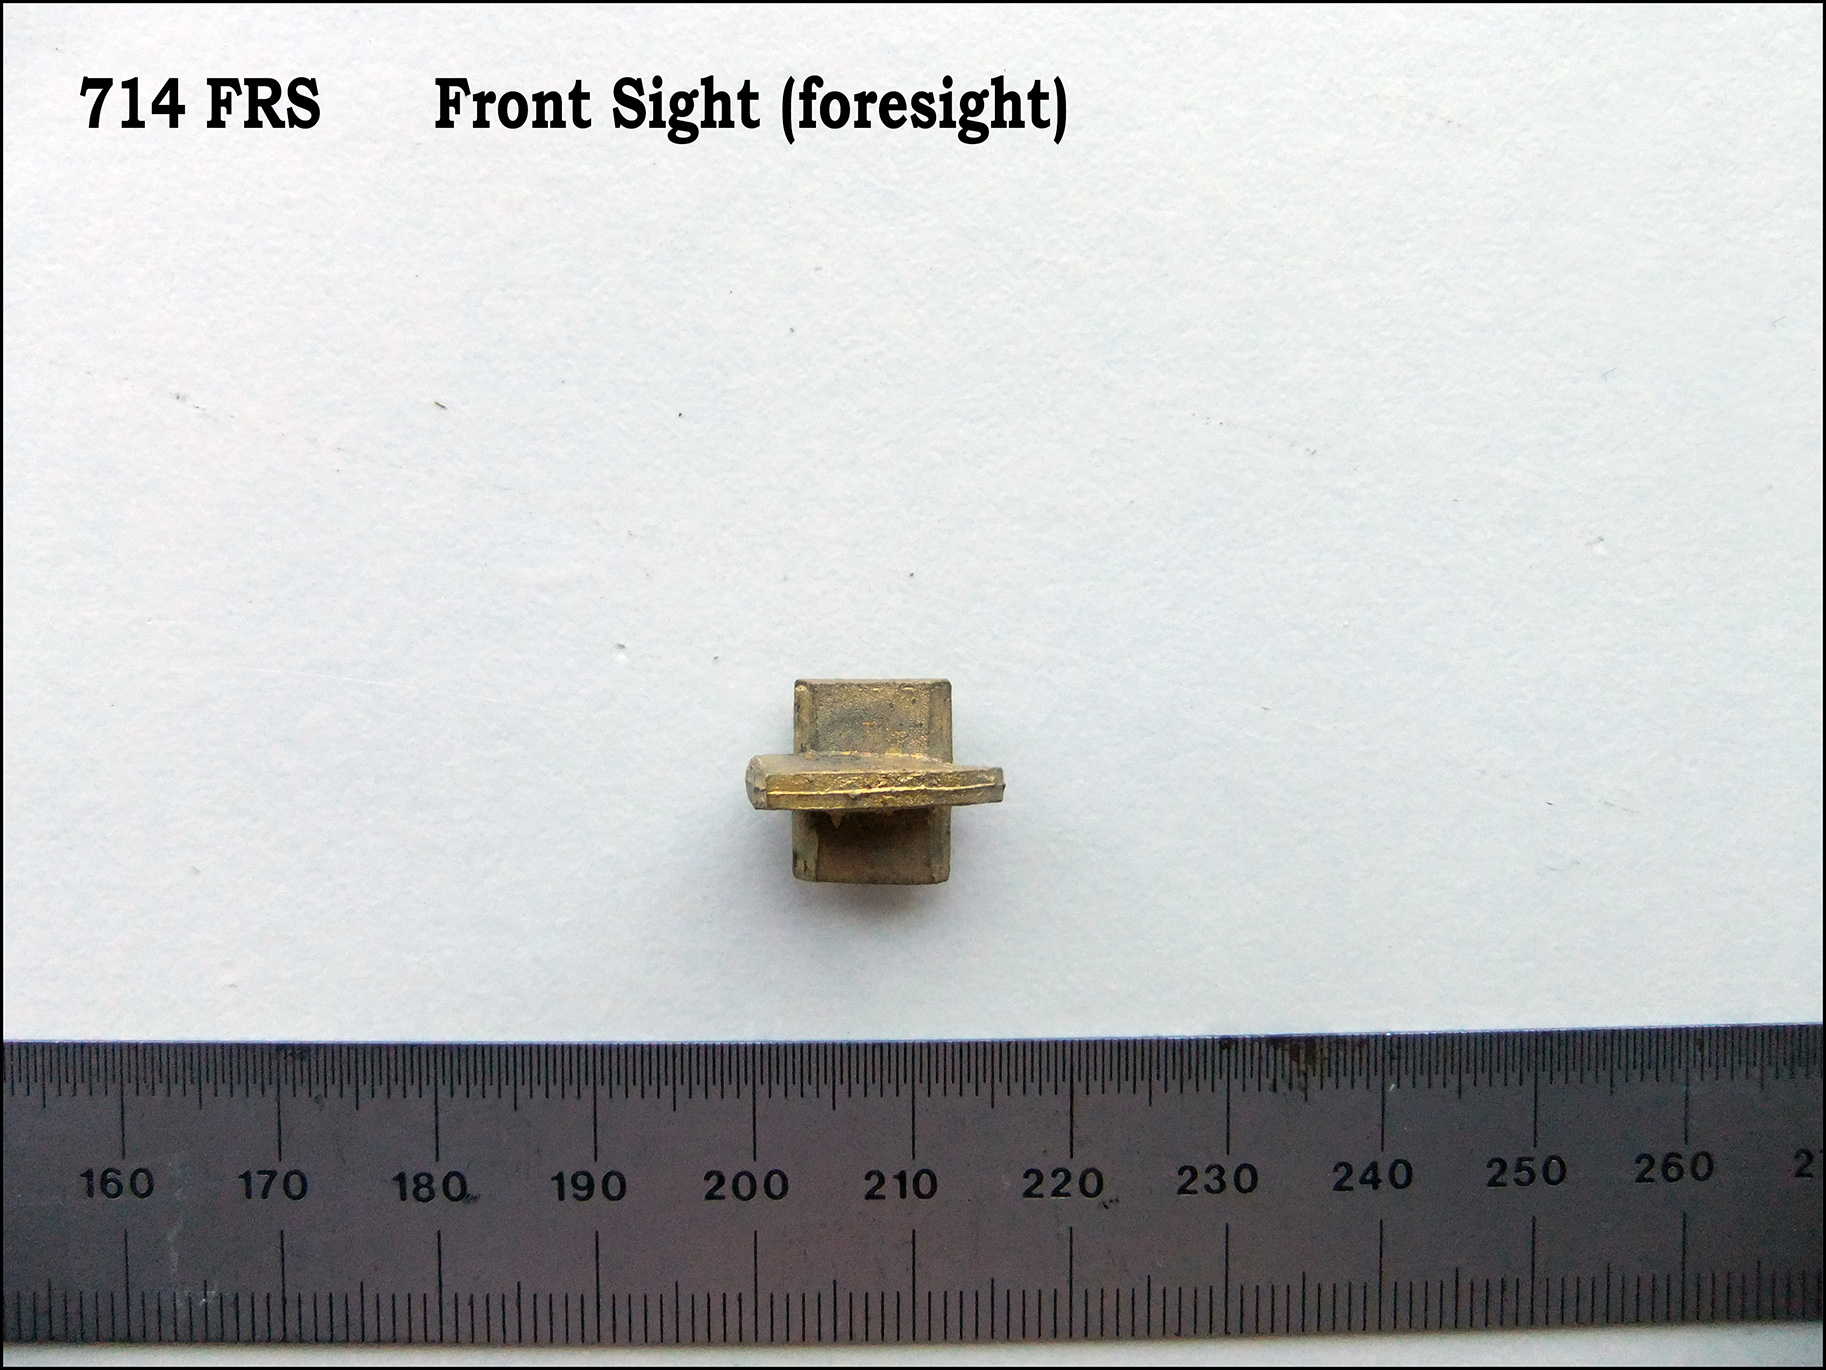
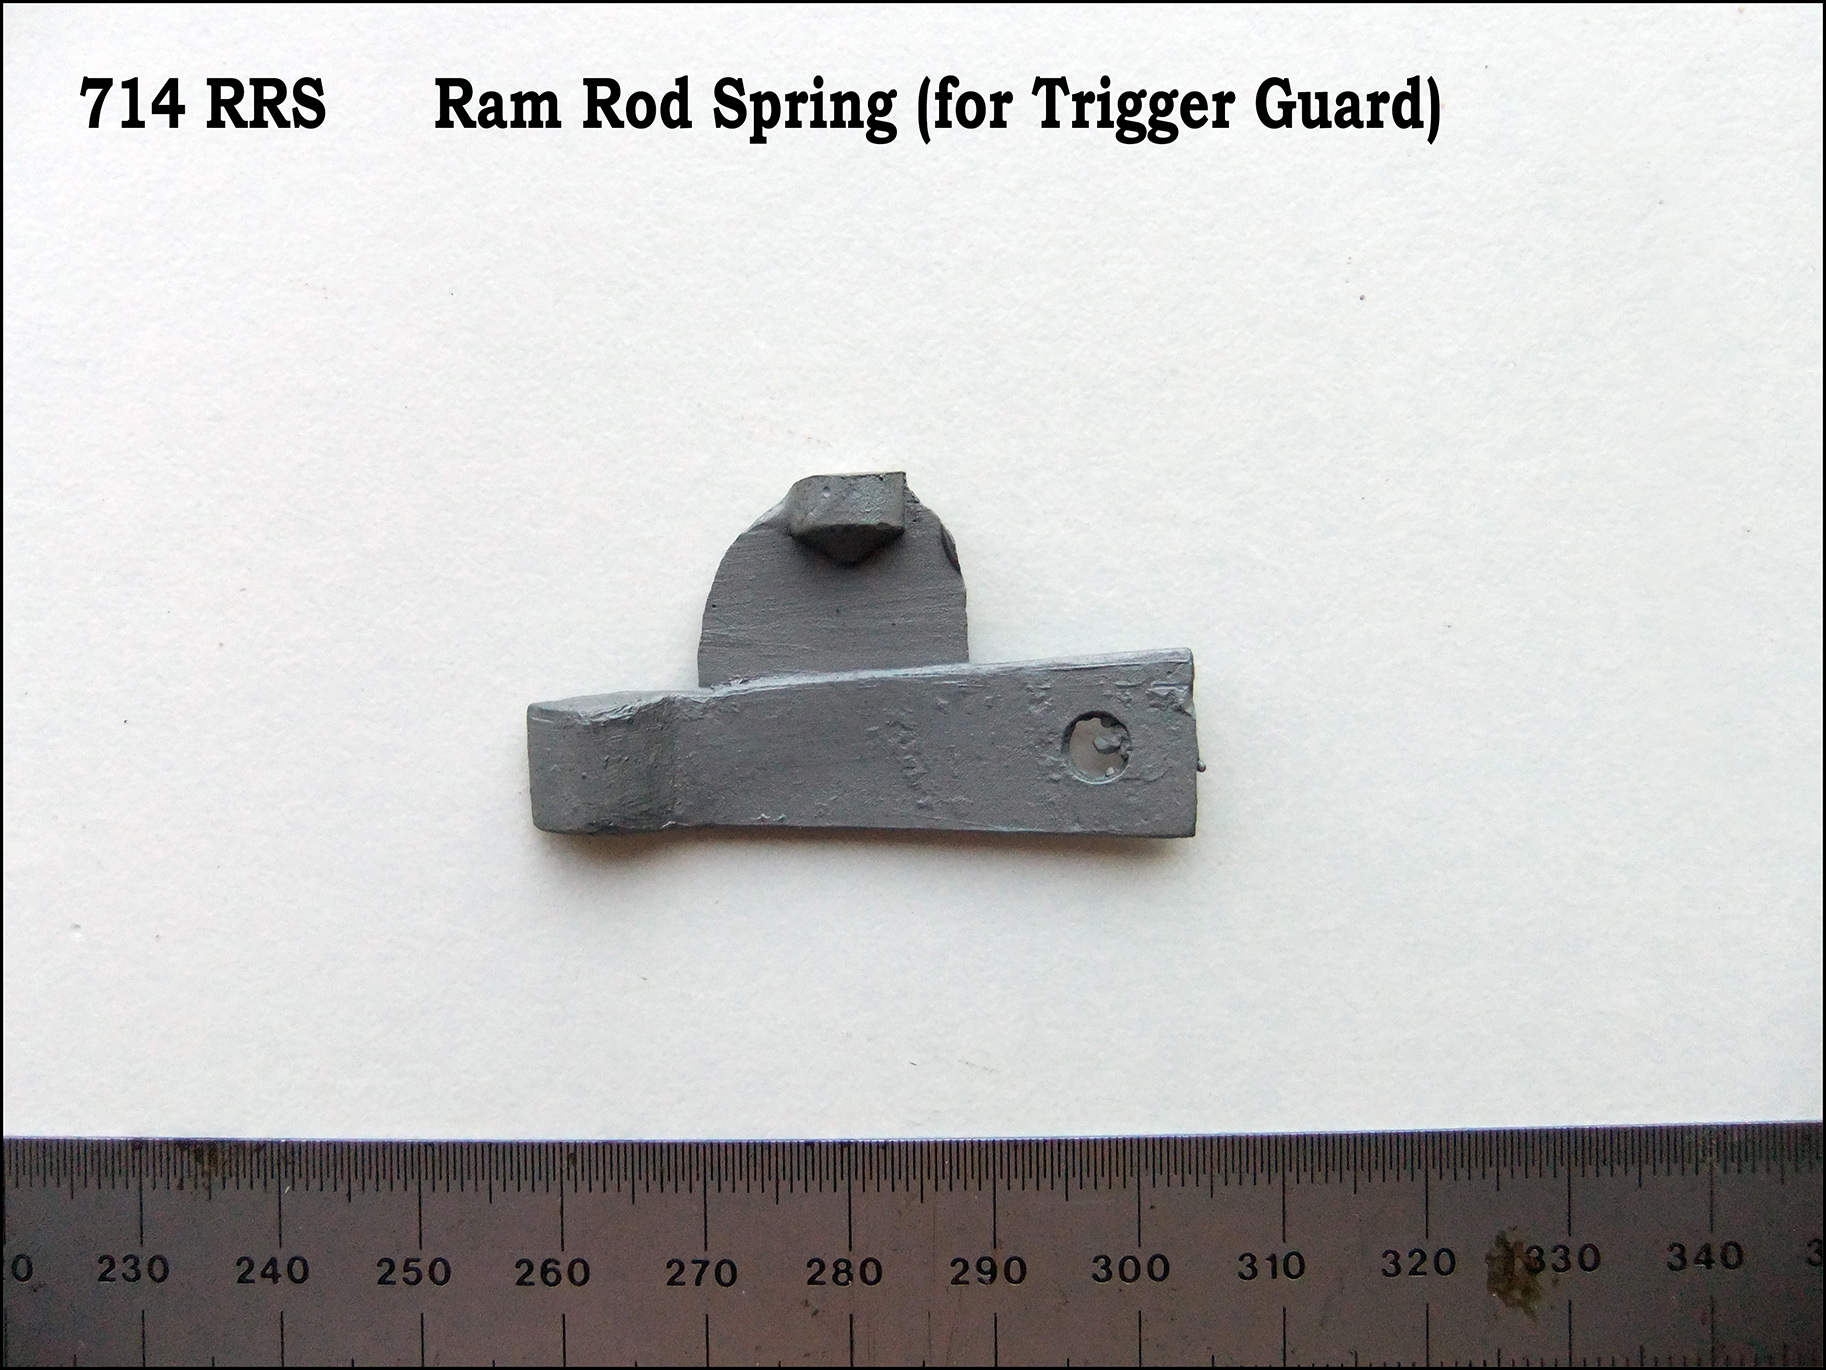
There now follows a photo of every component you will find in this 714 kit:
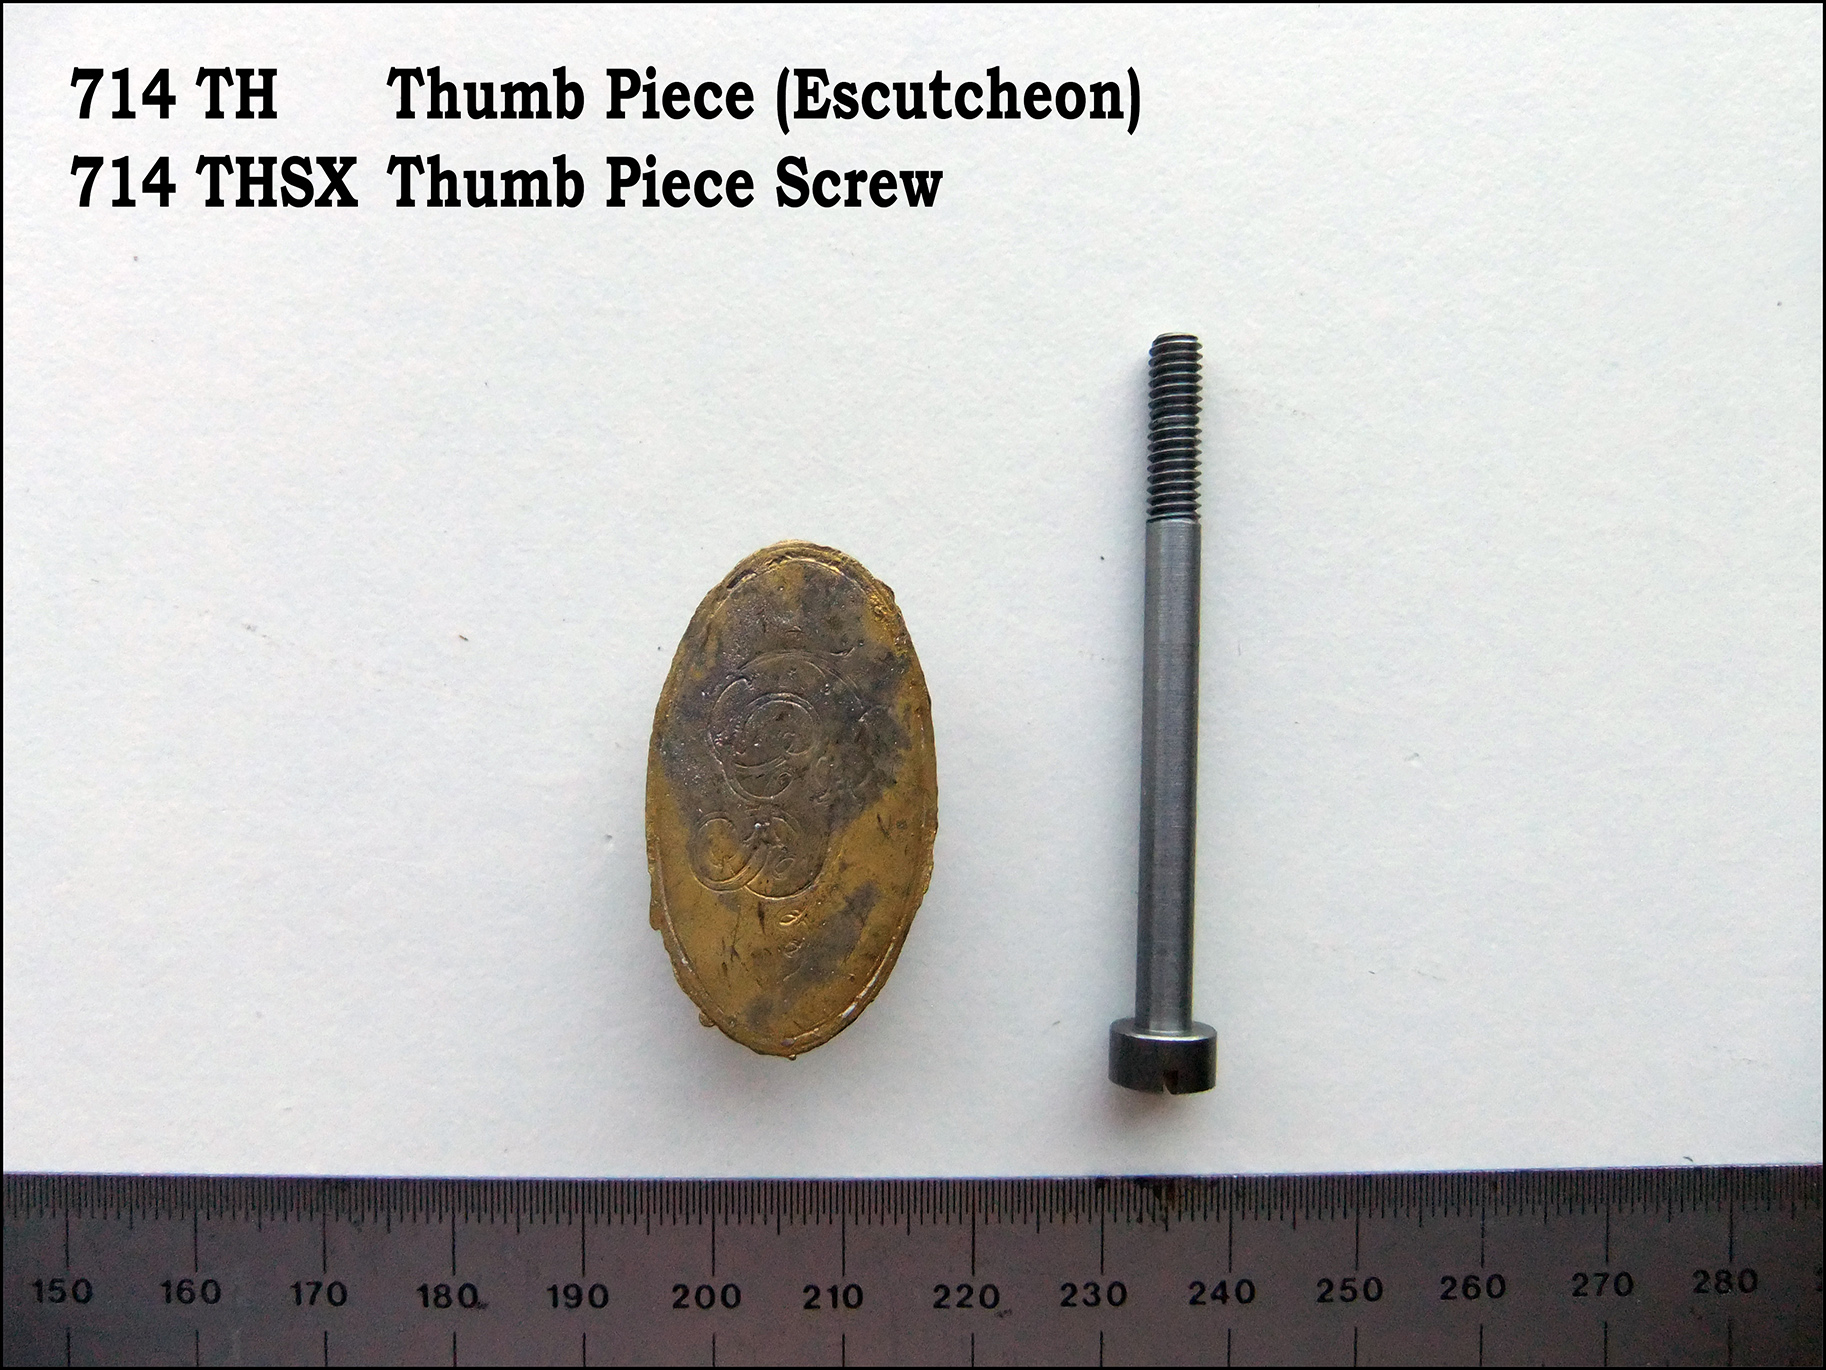
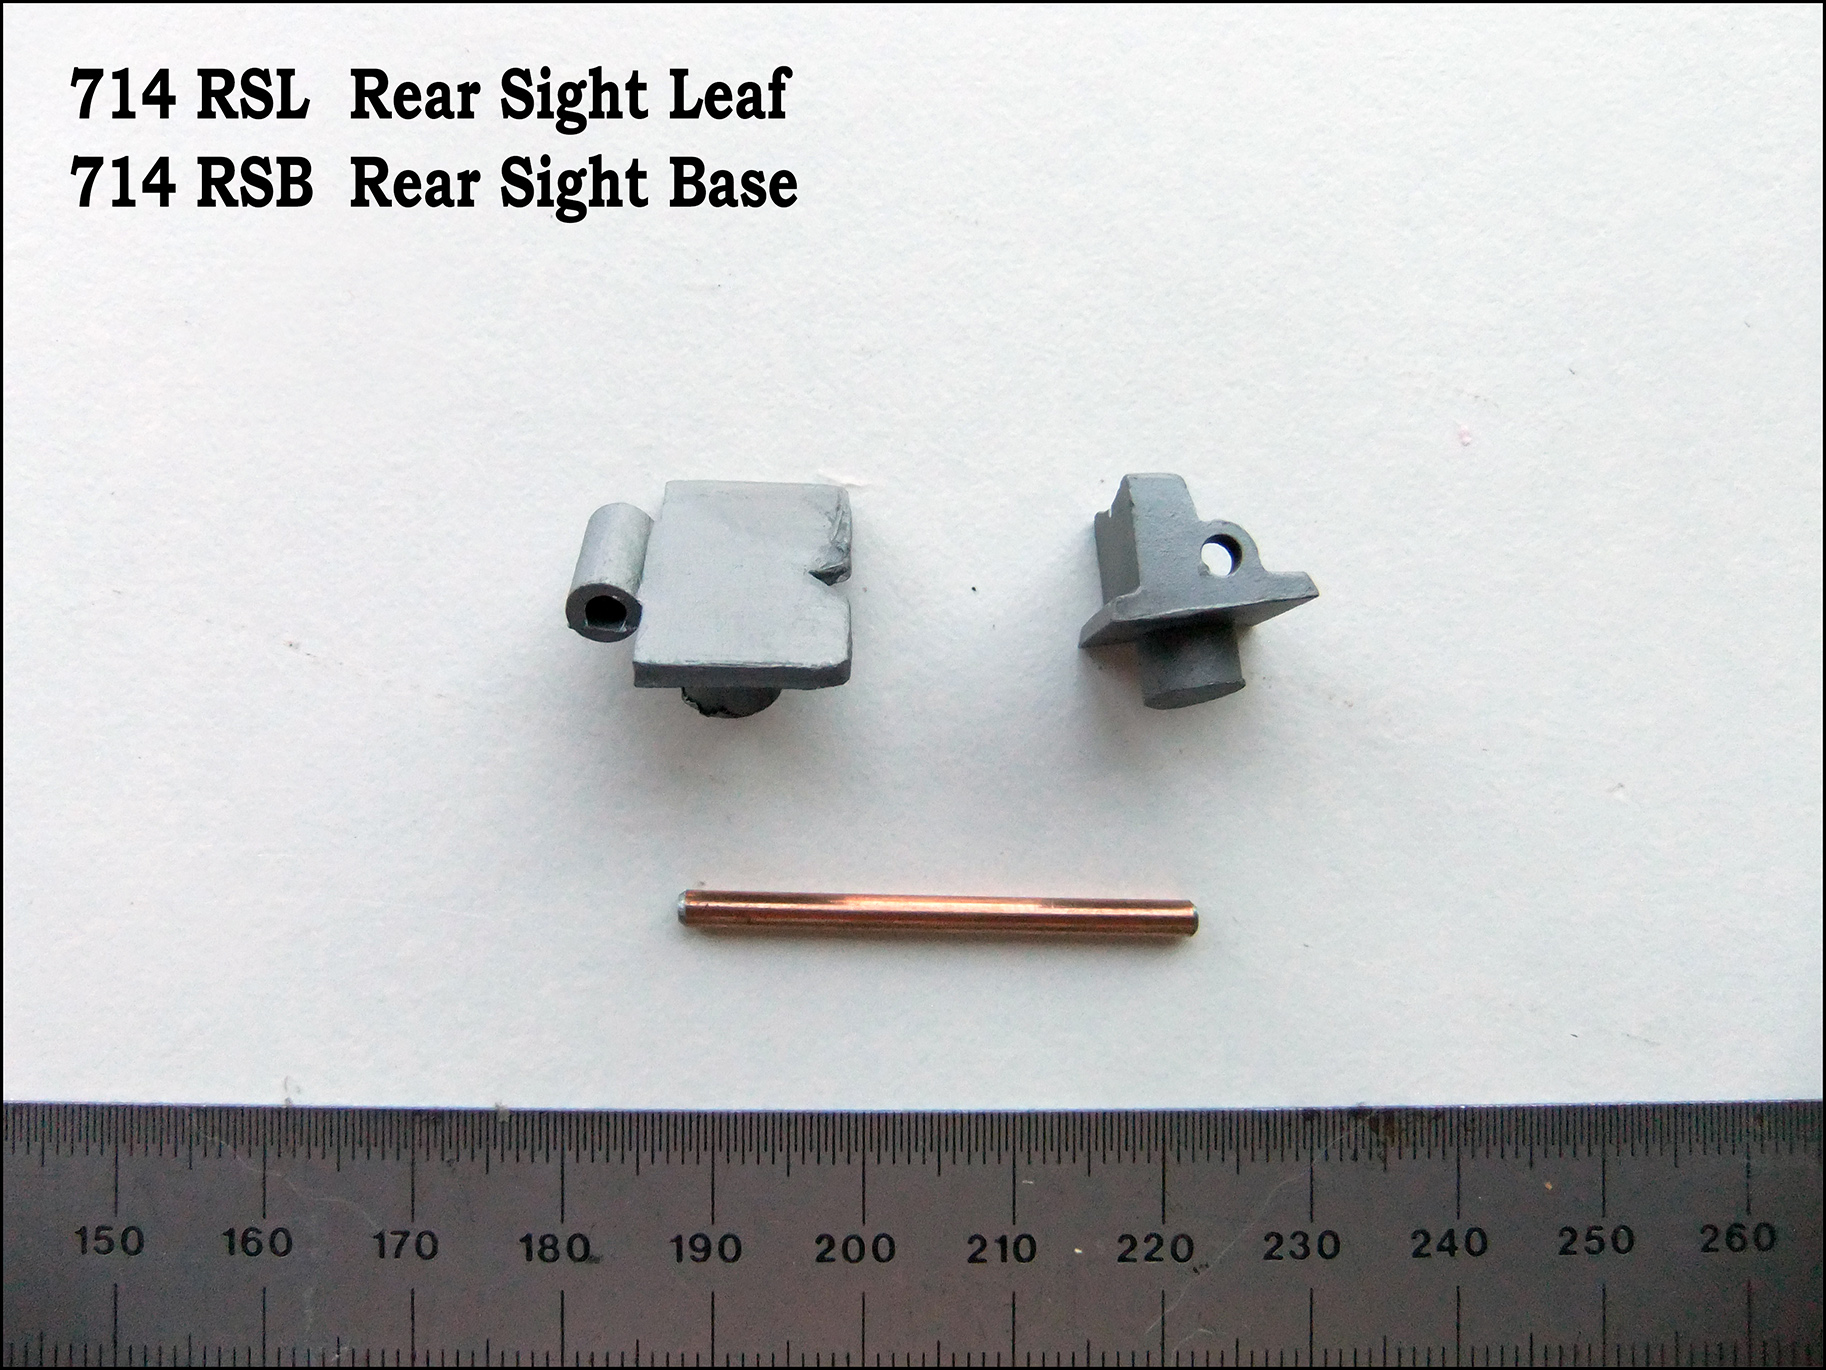
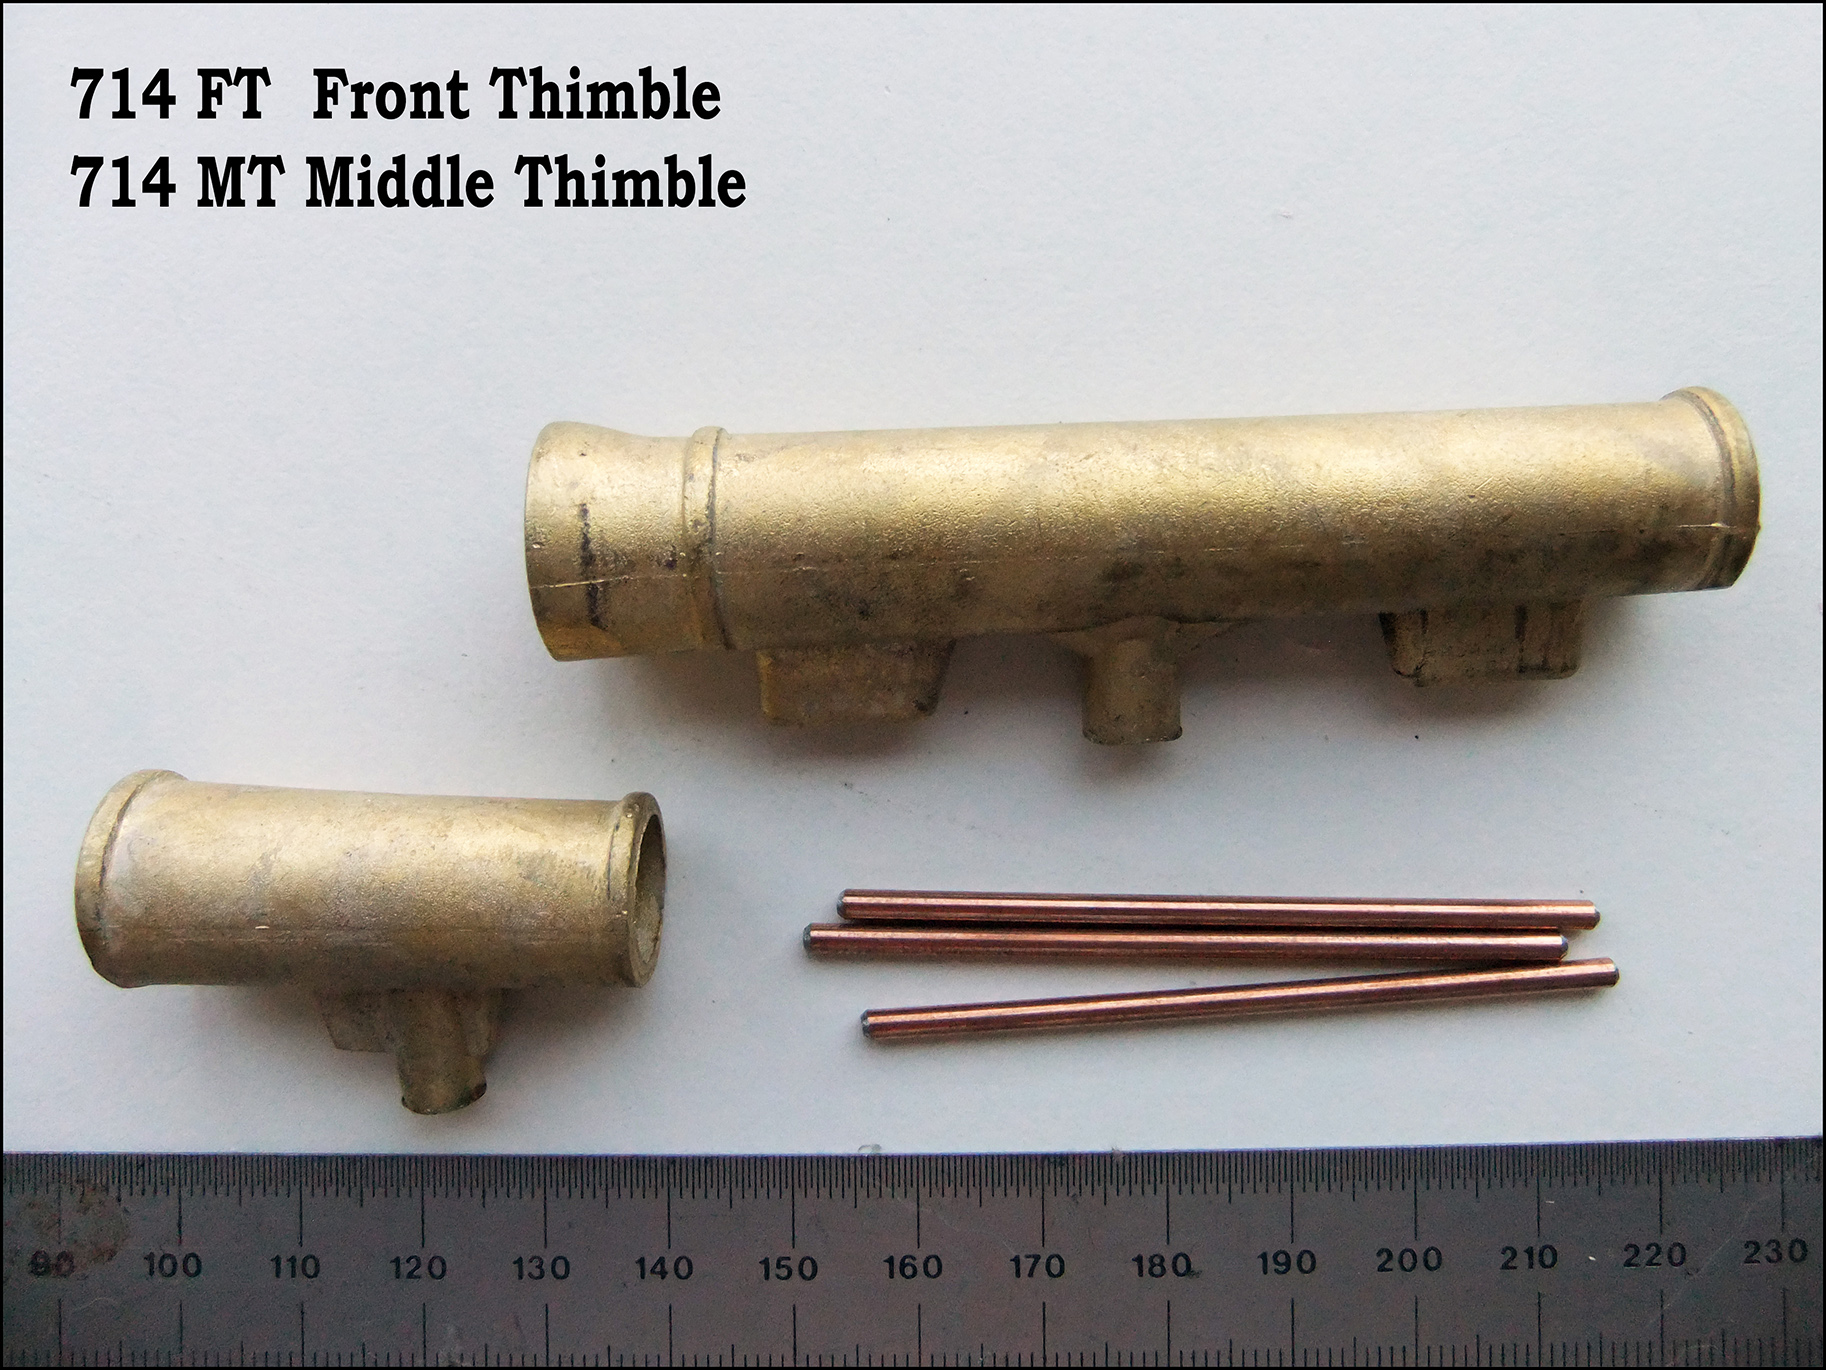
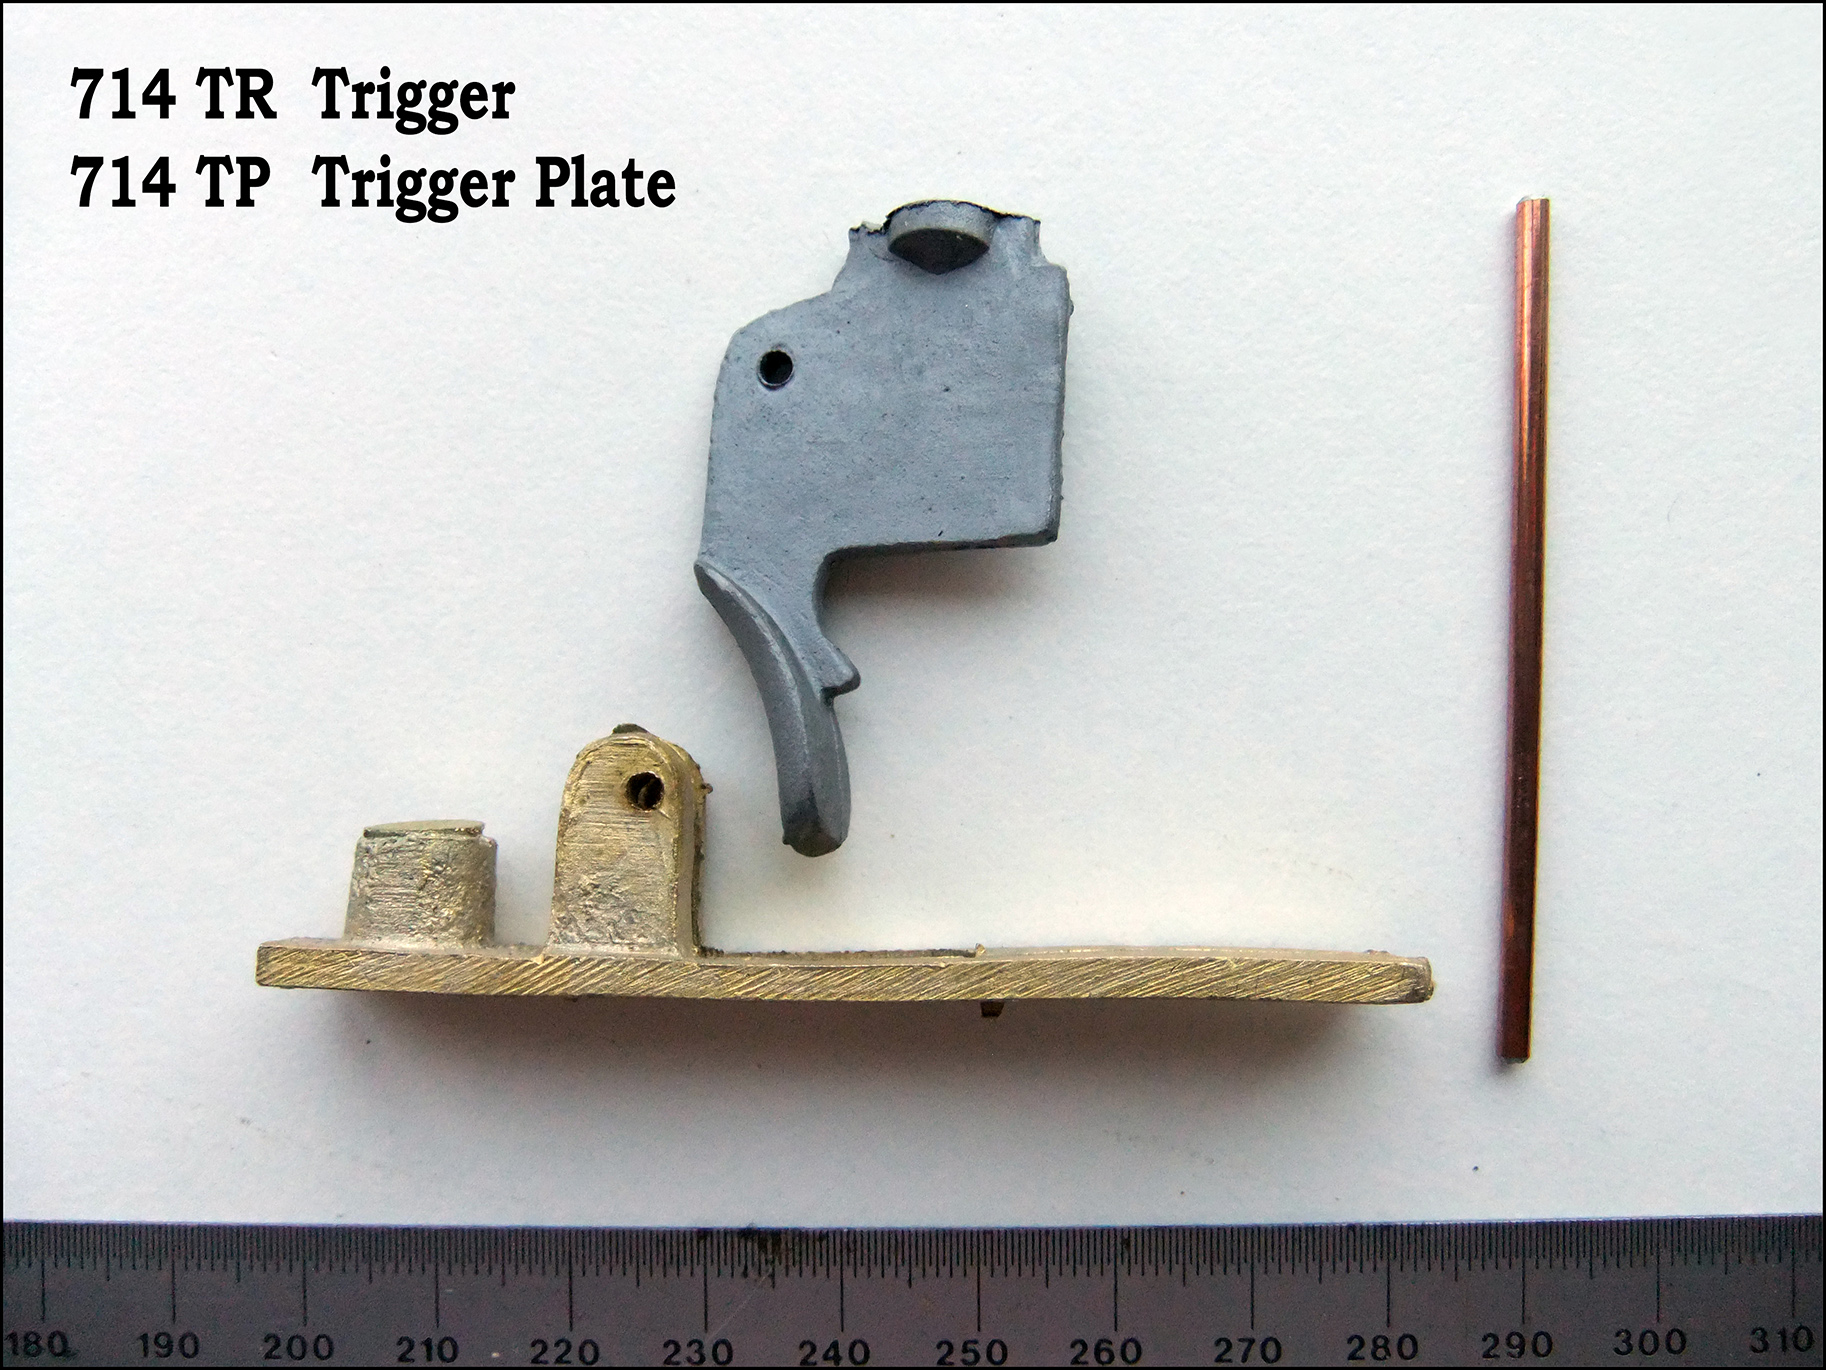
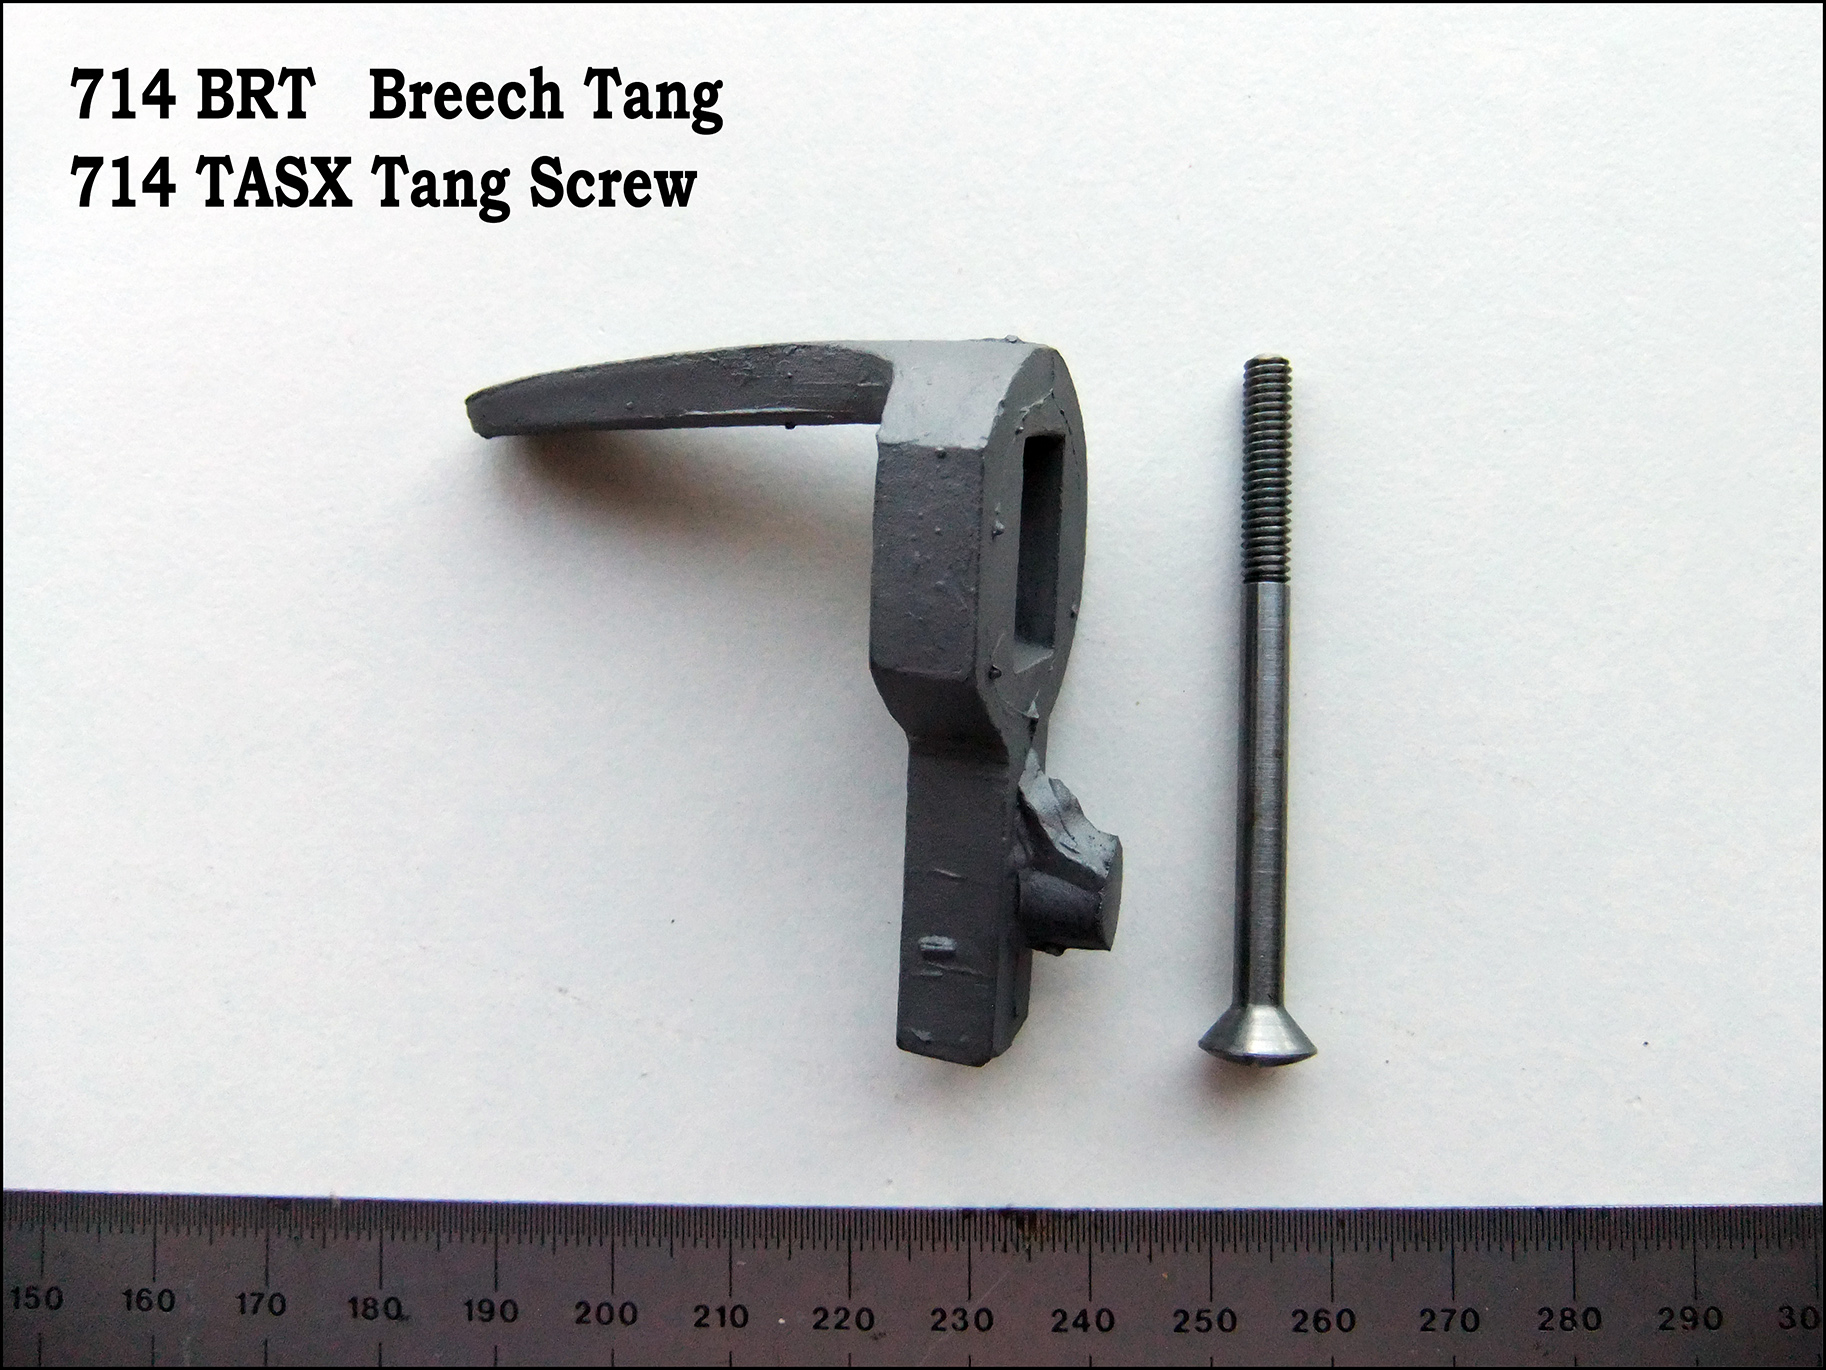
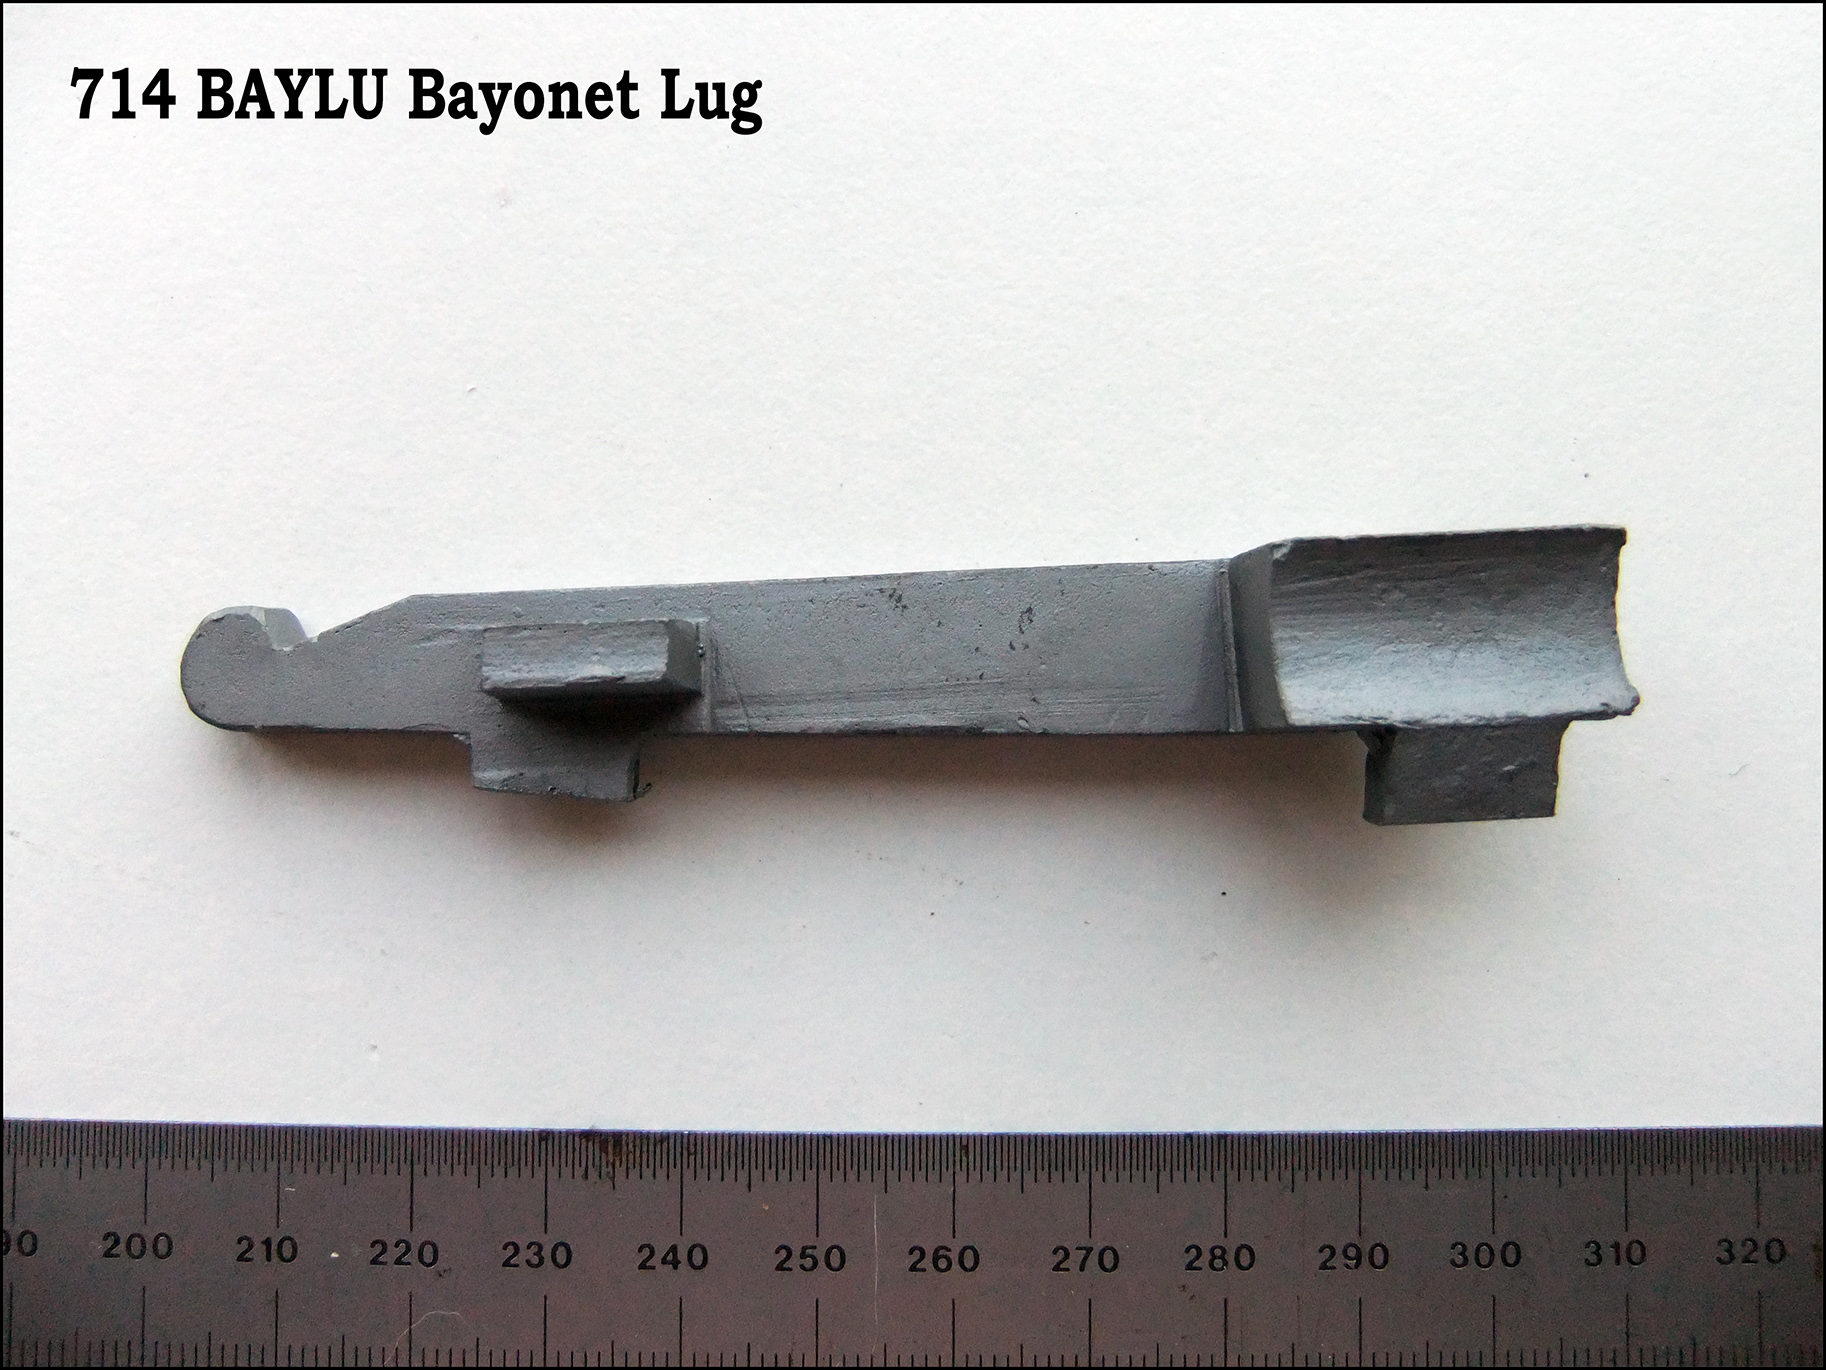
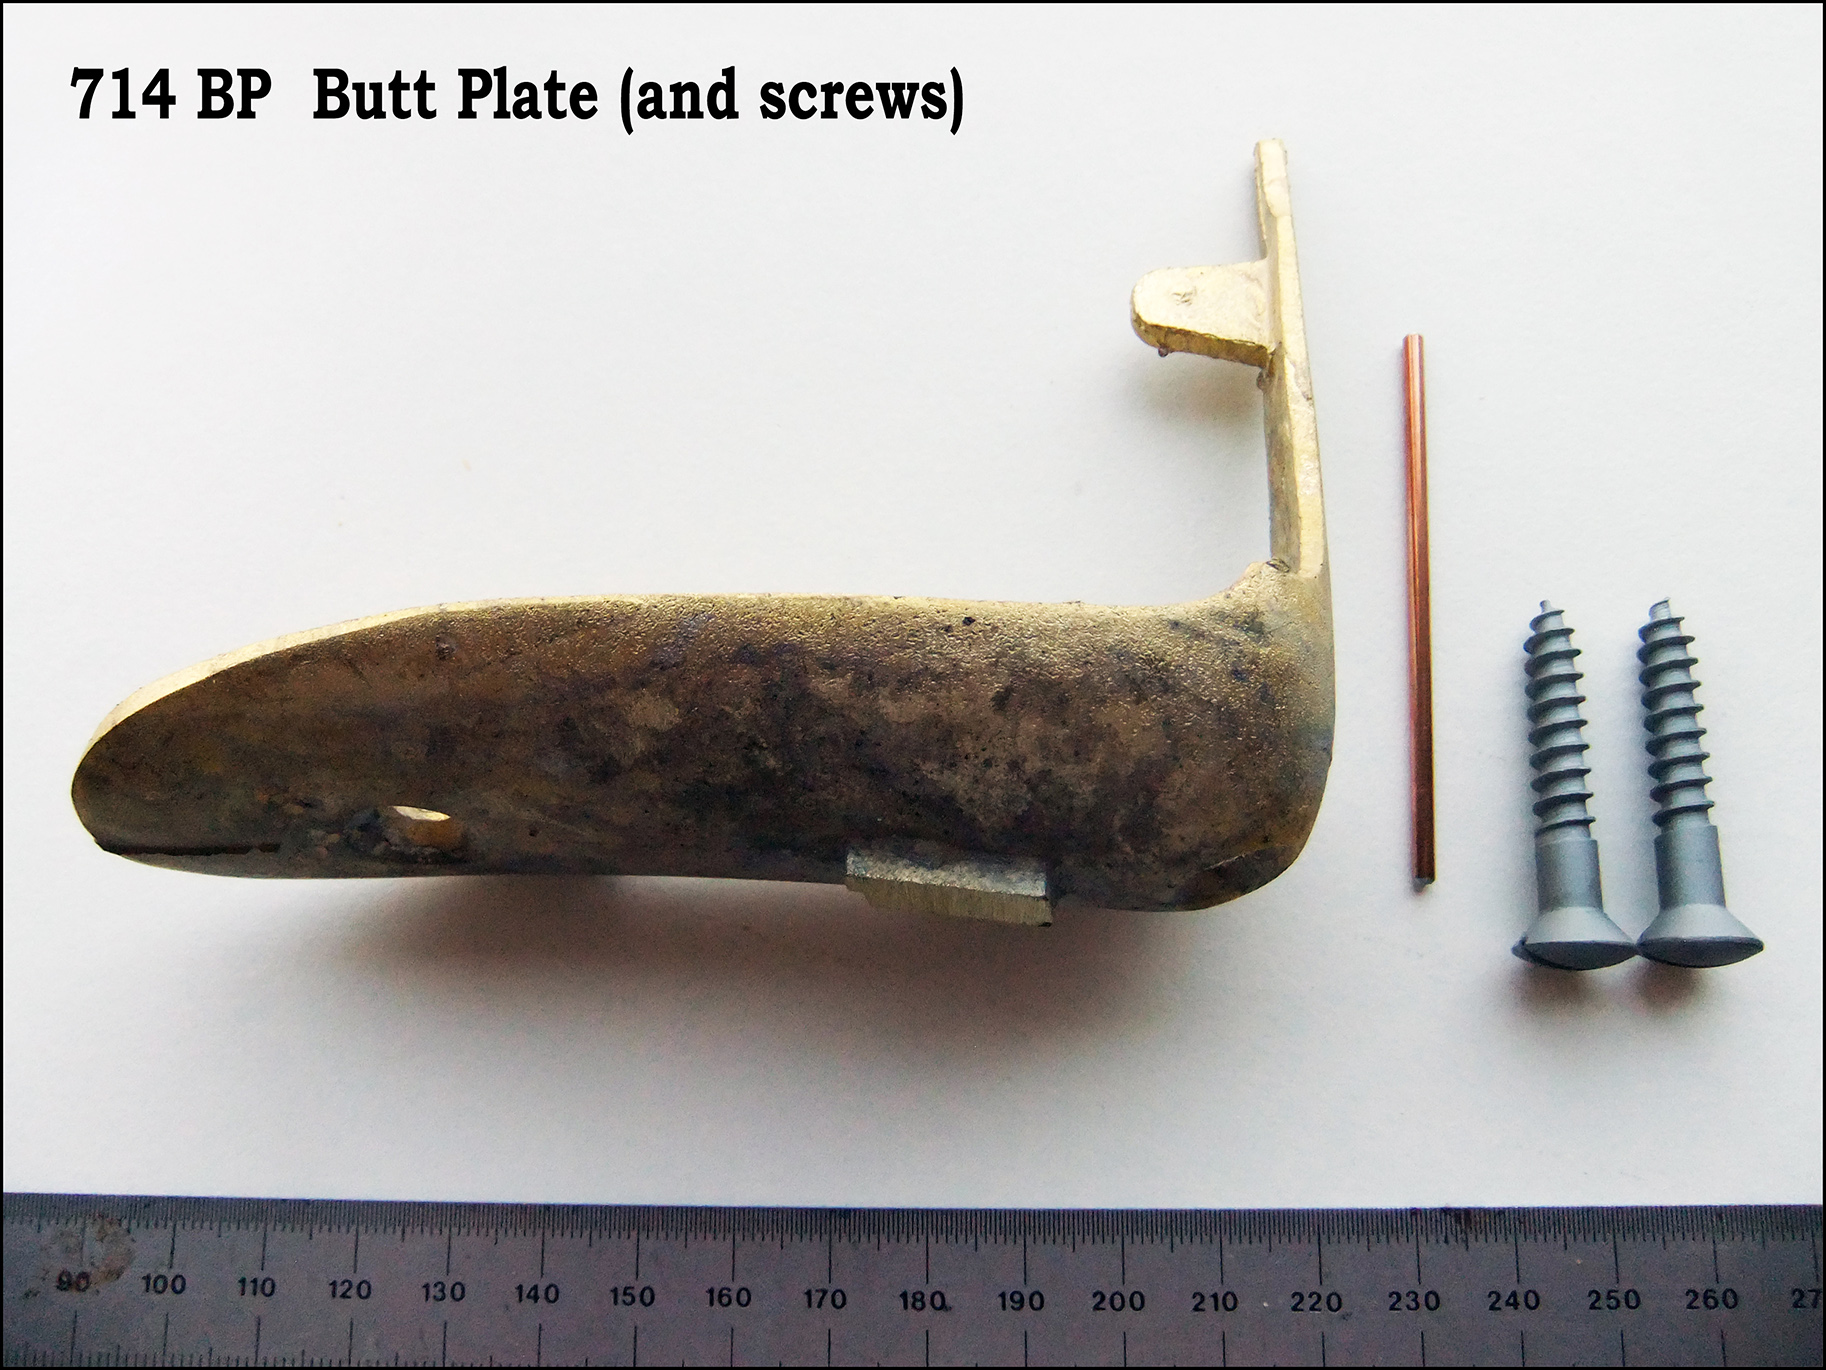
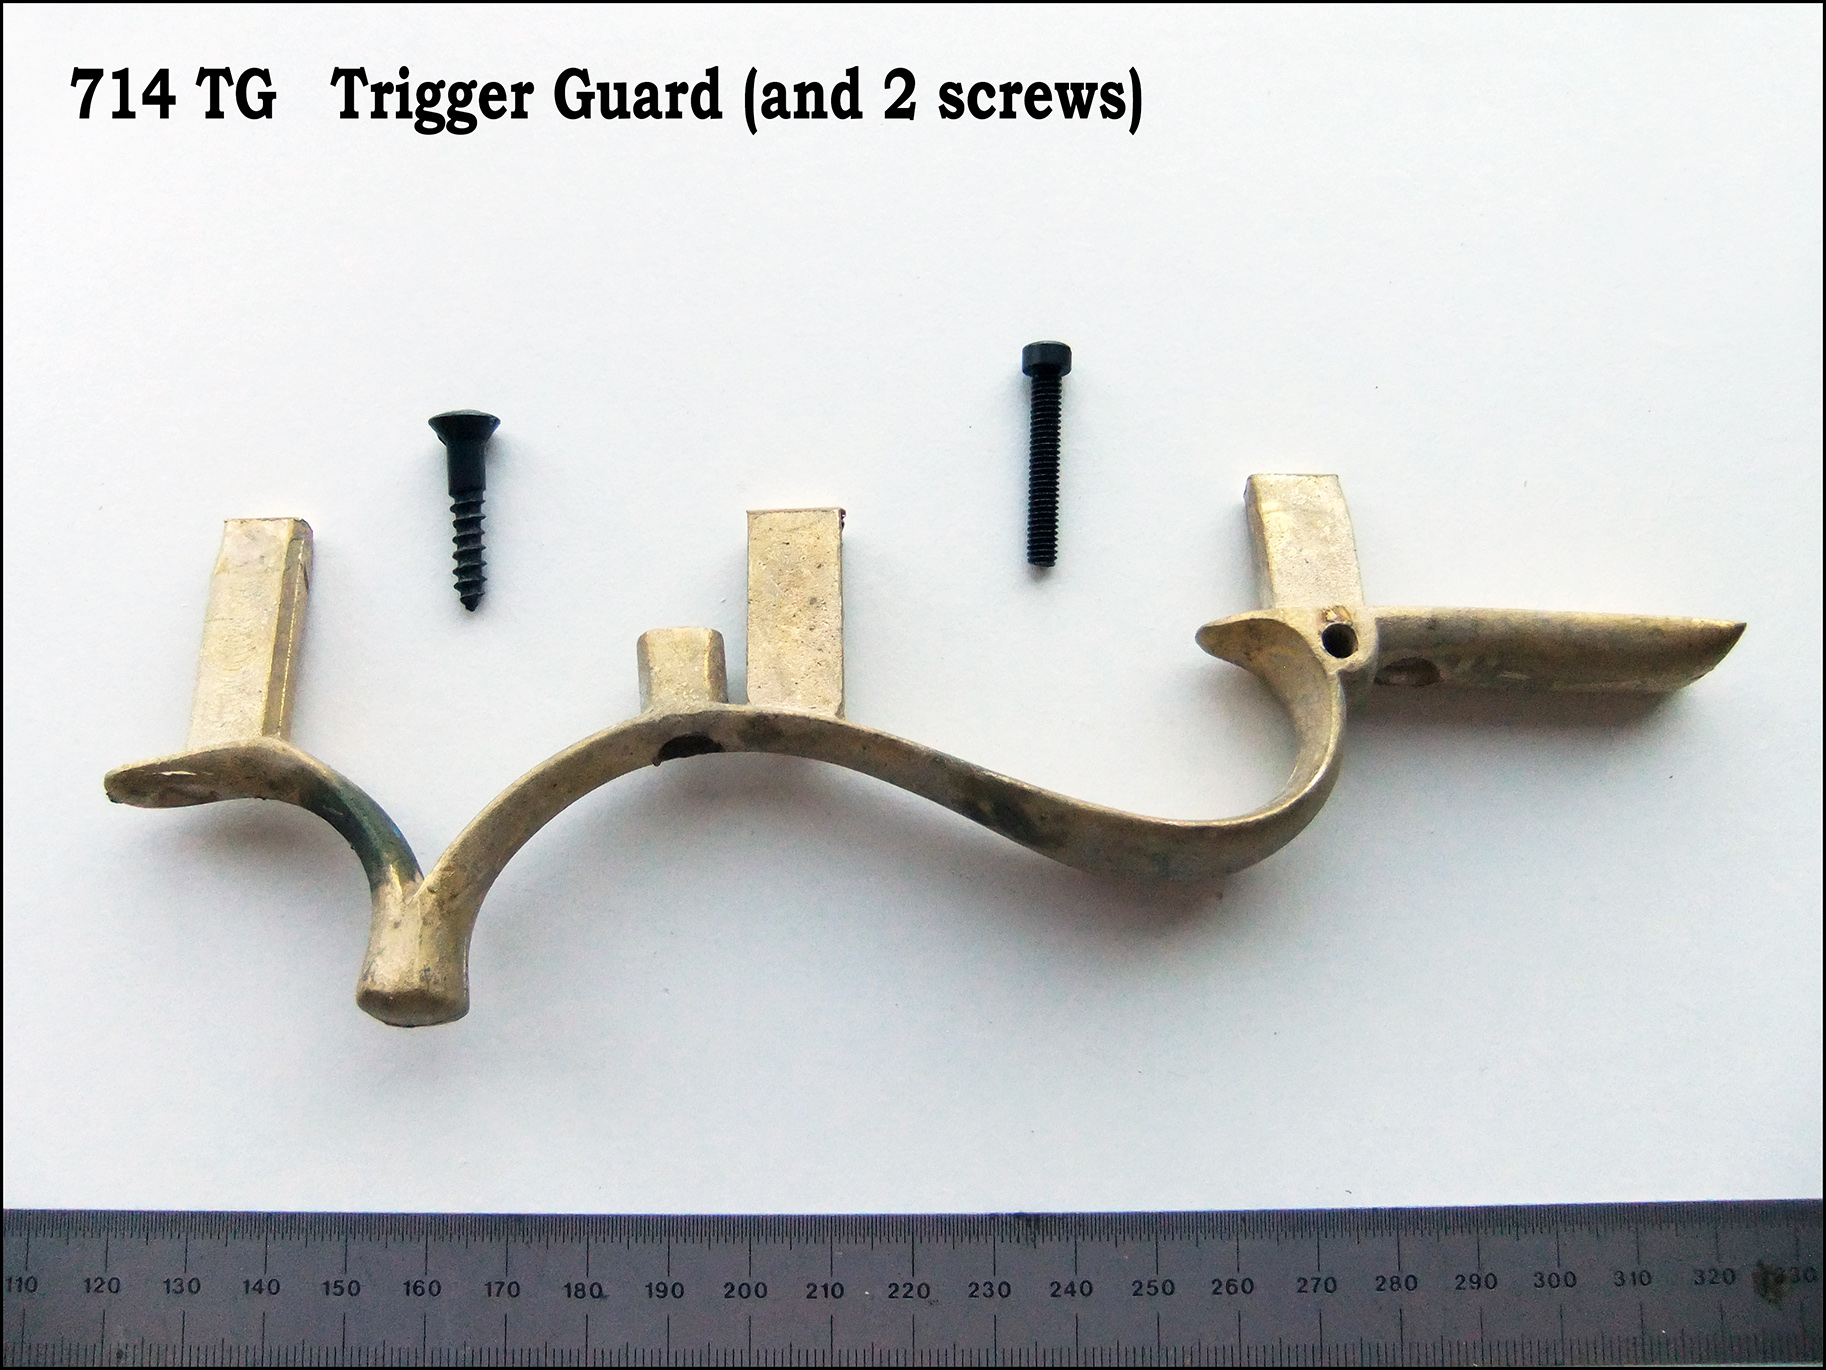
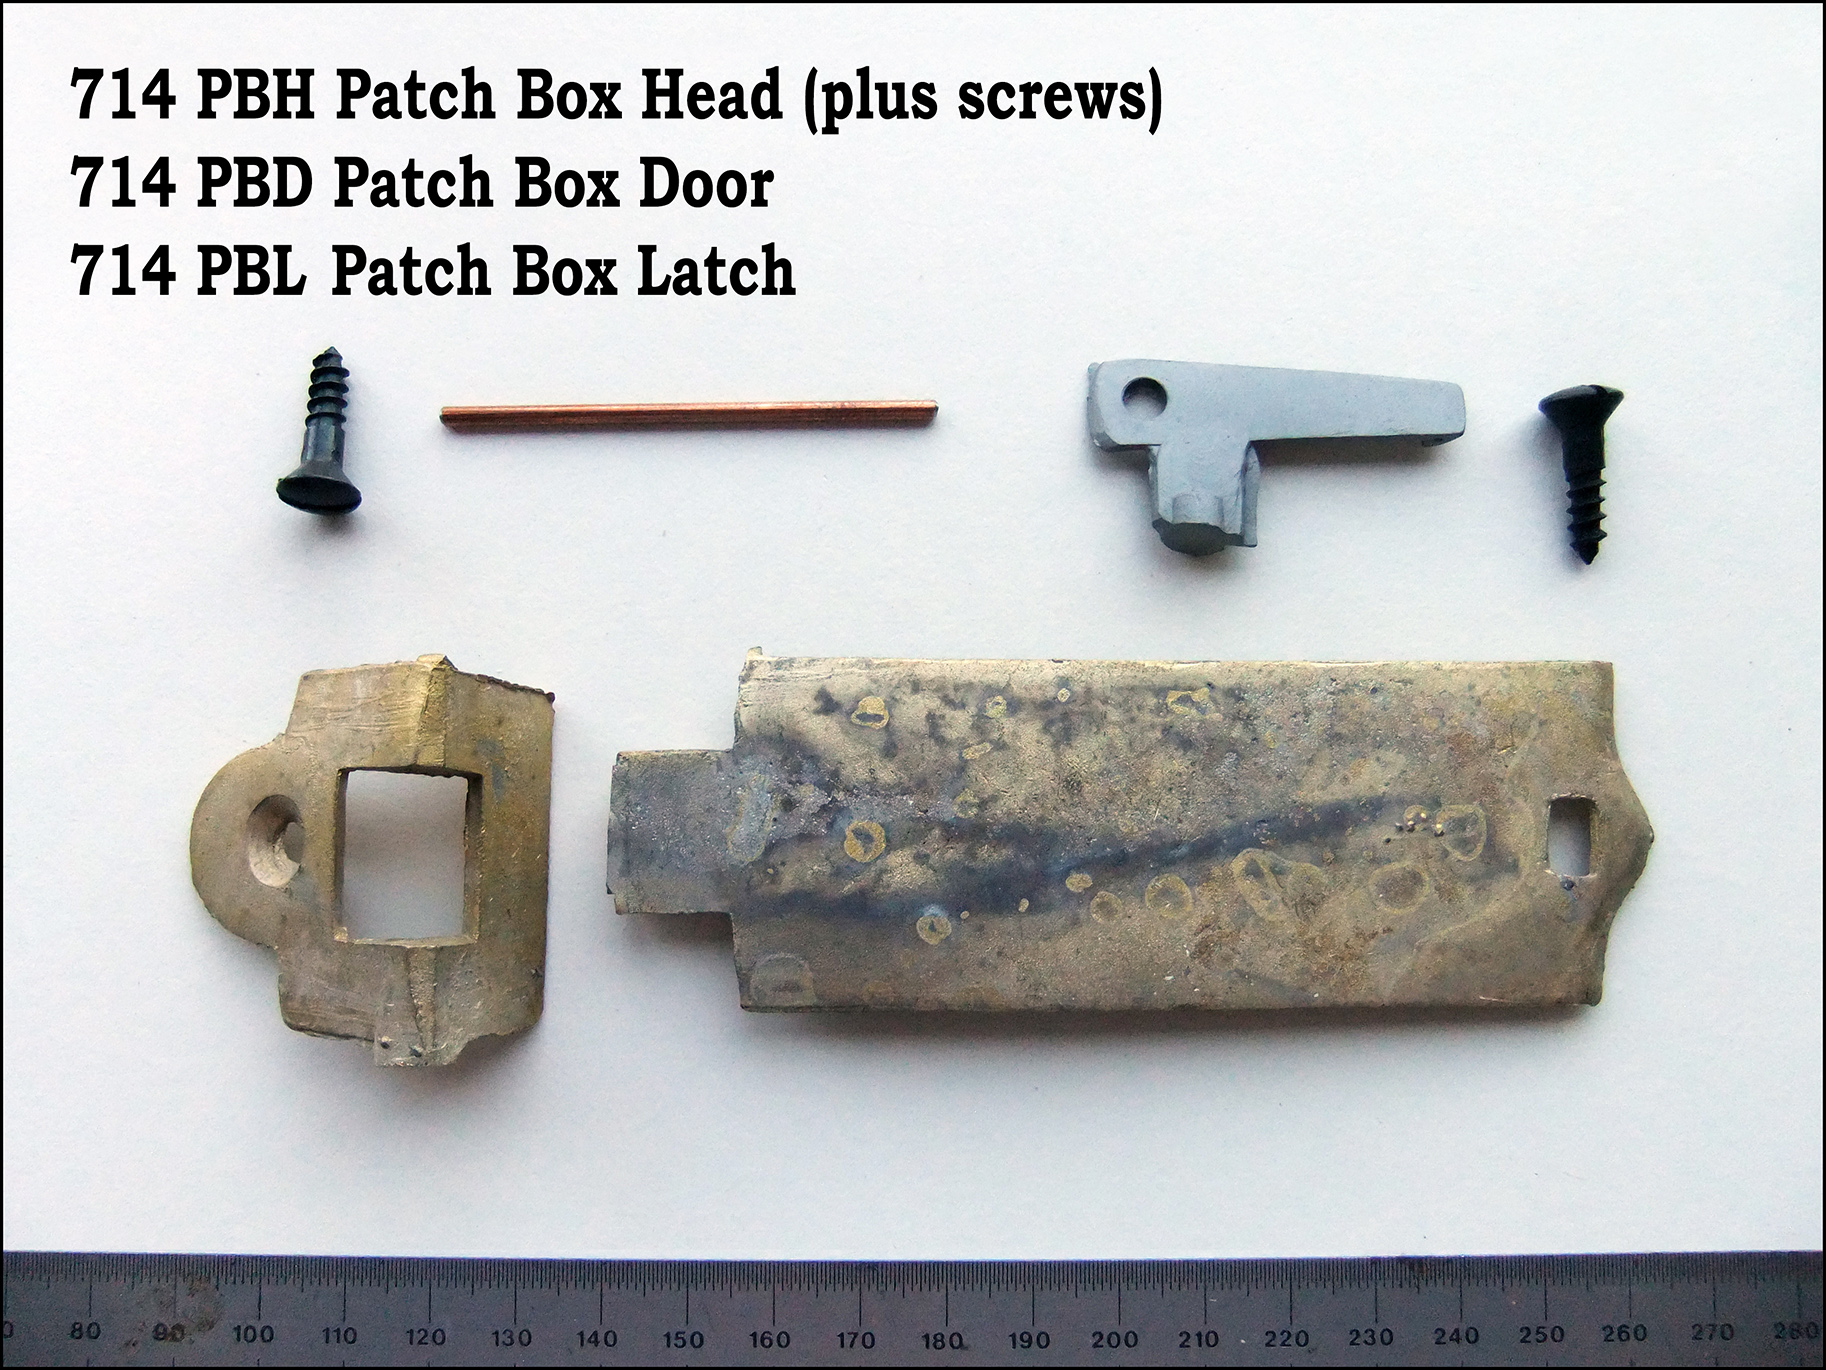
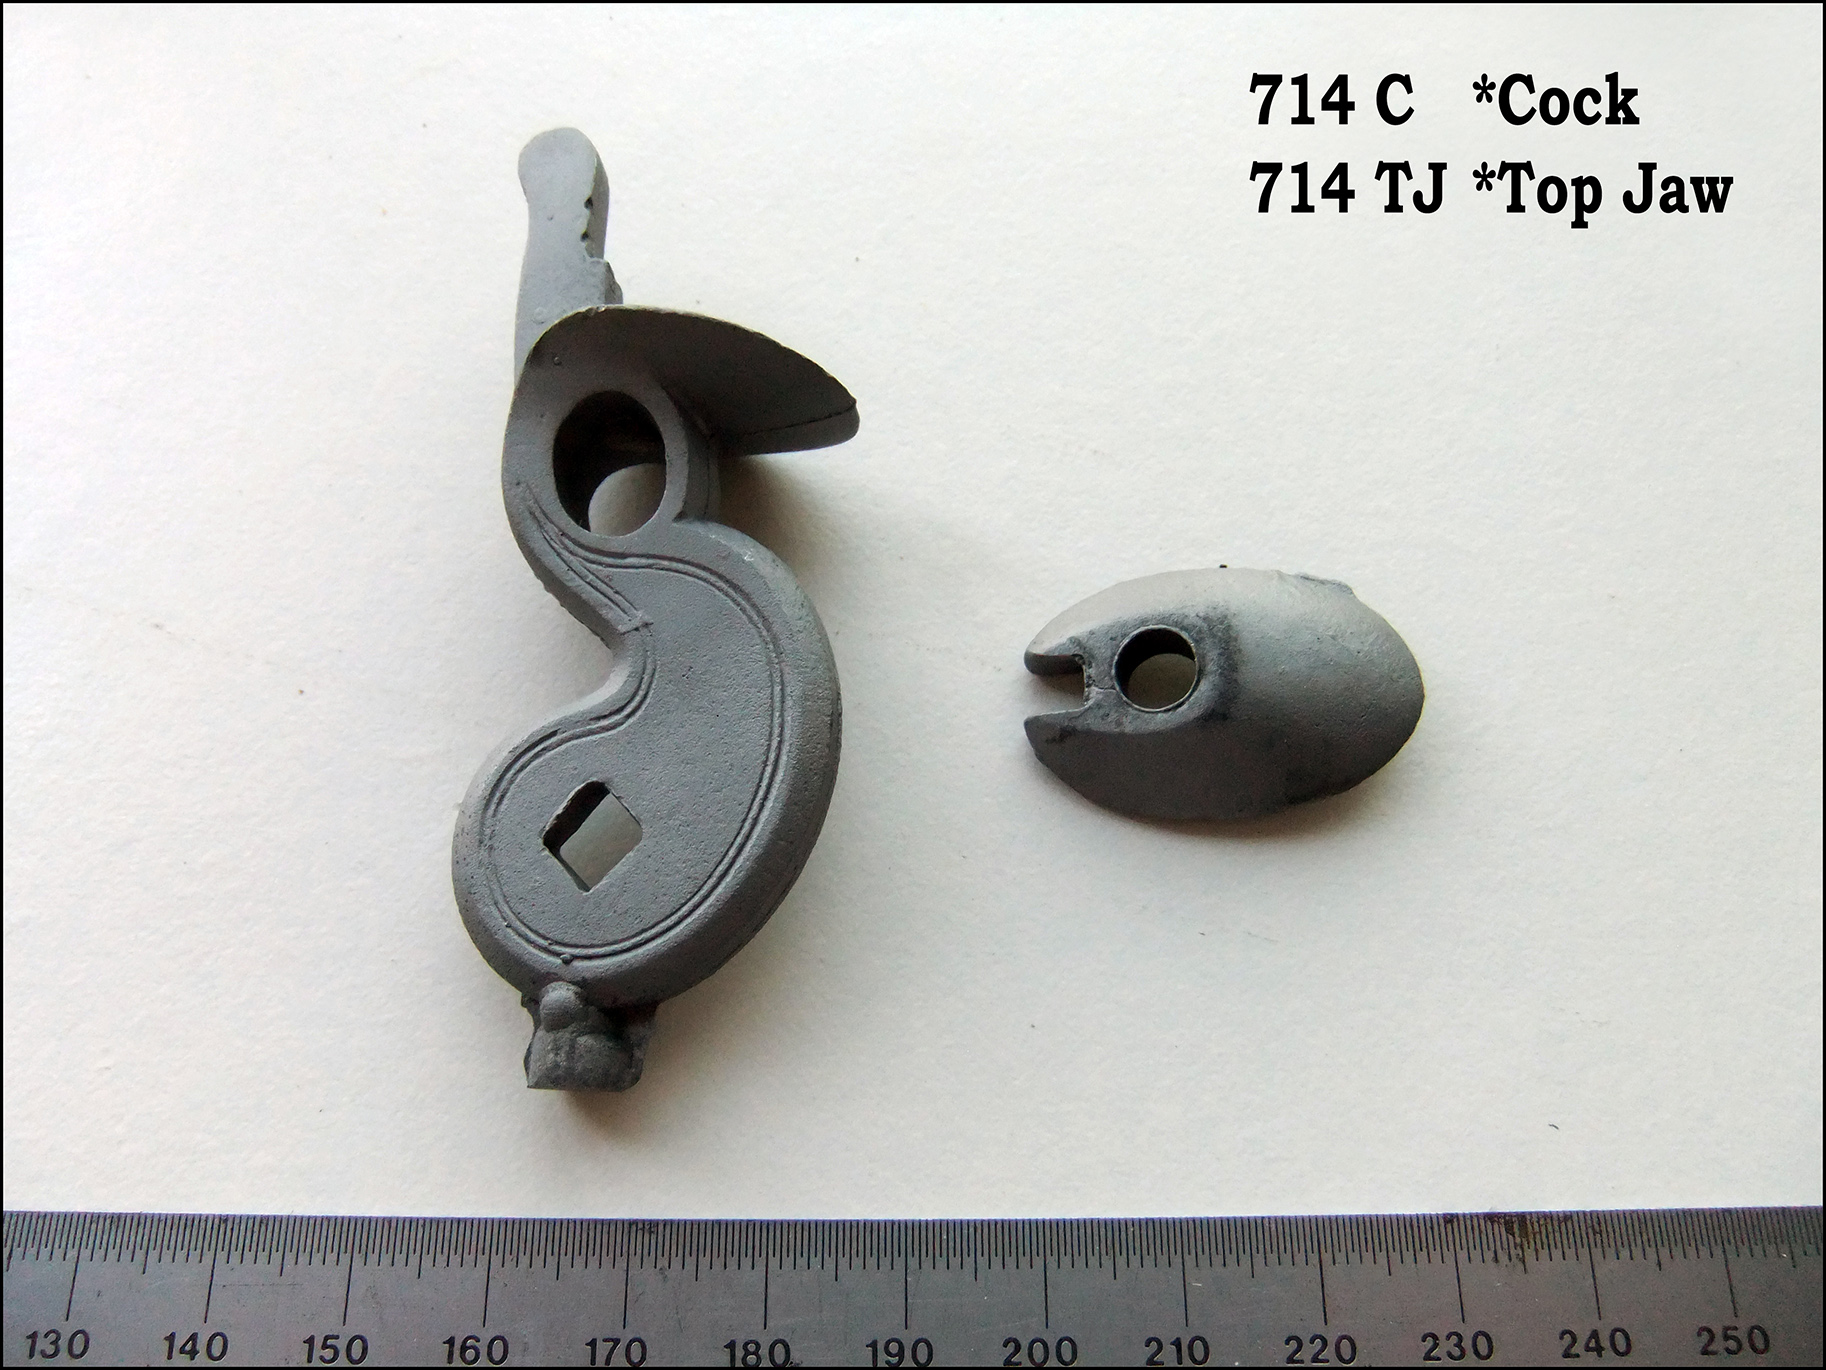
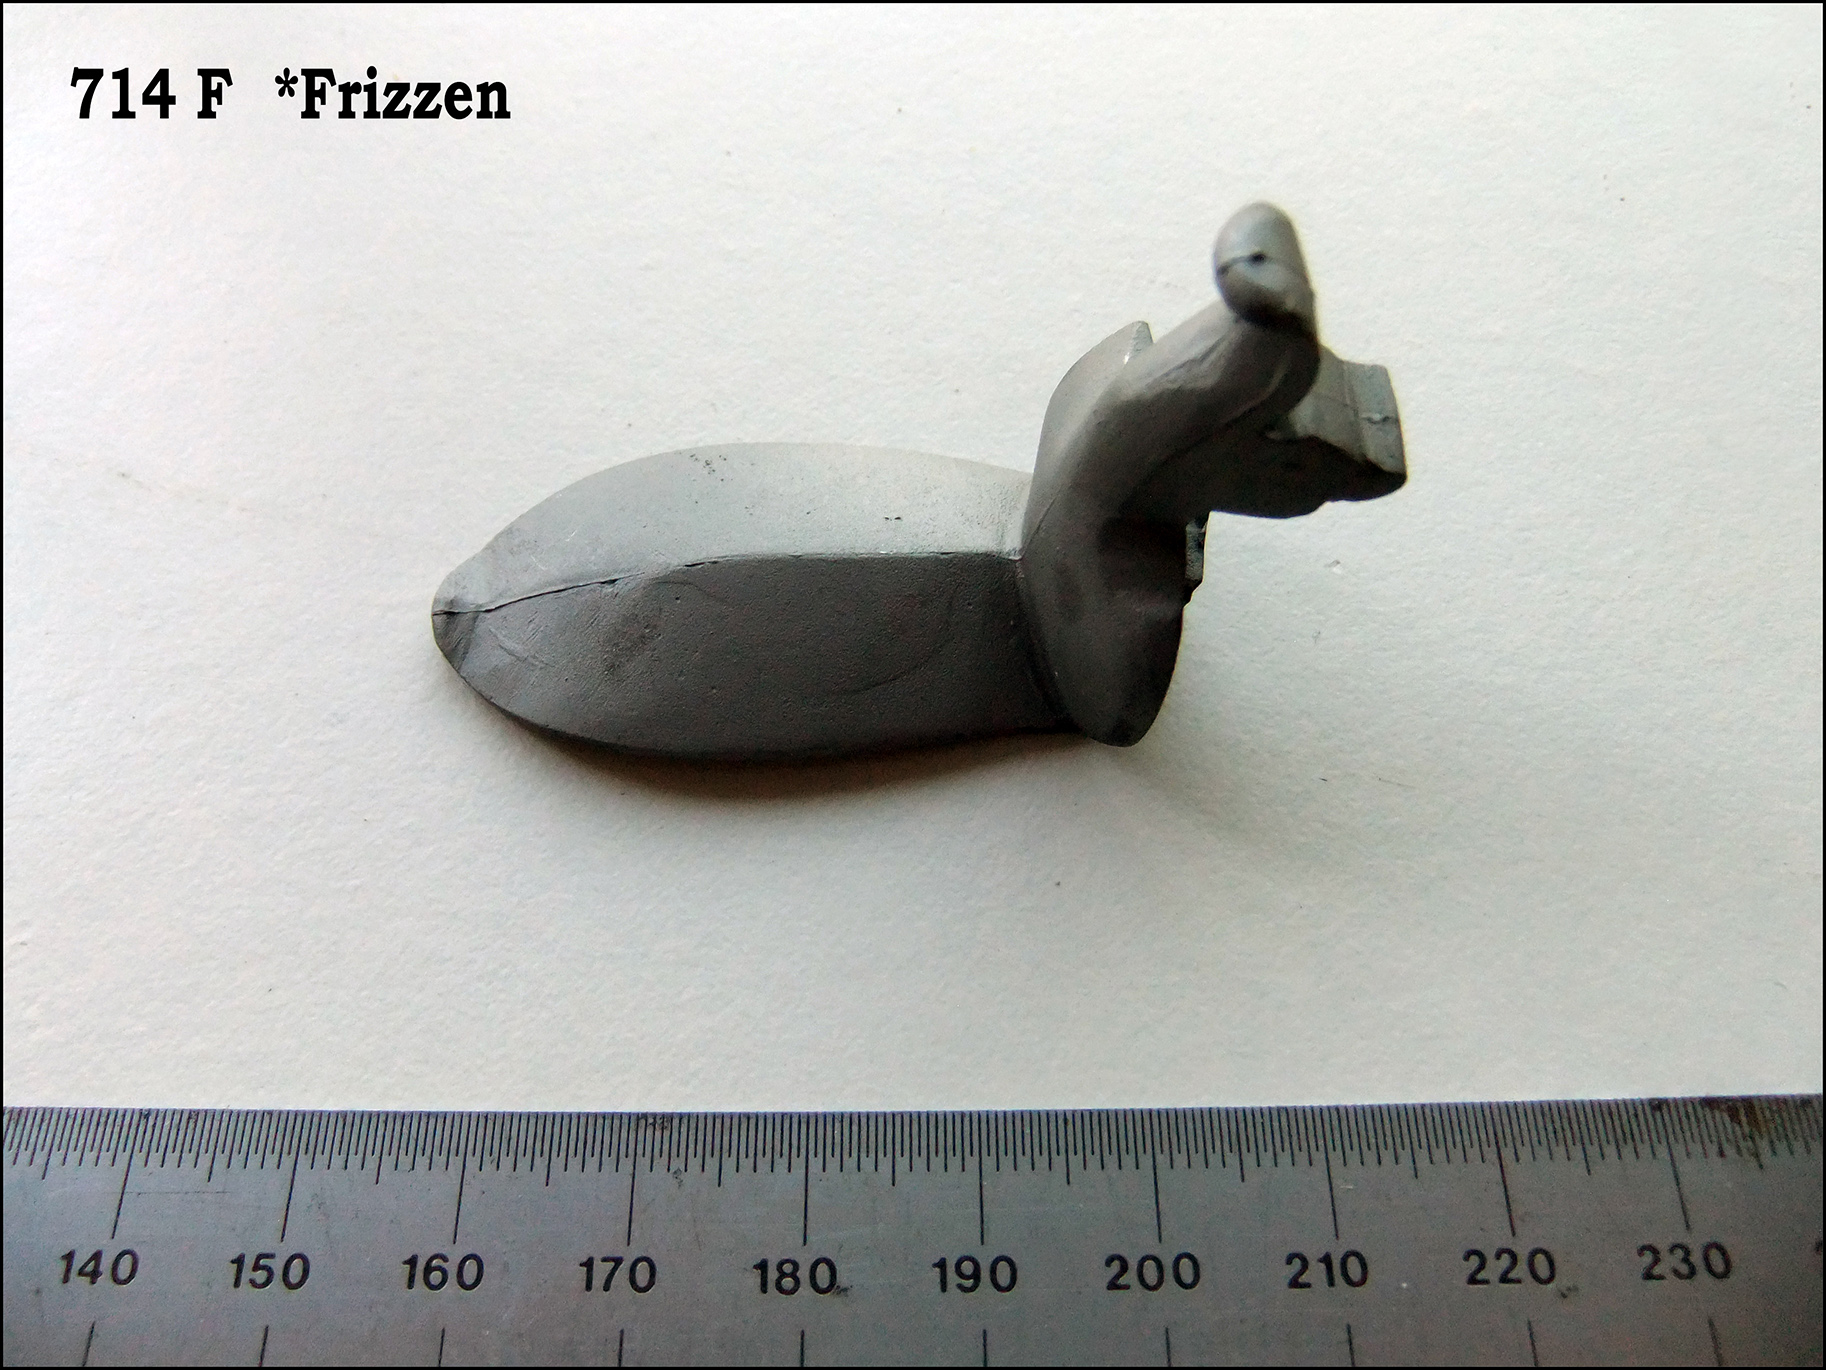
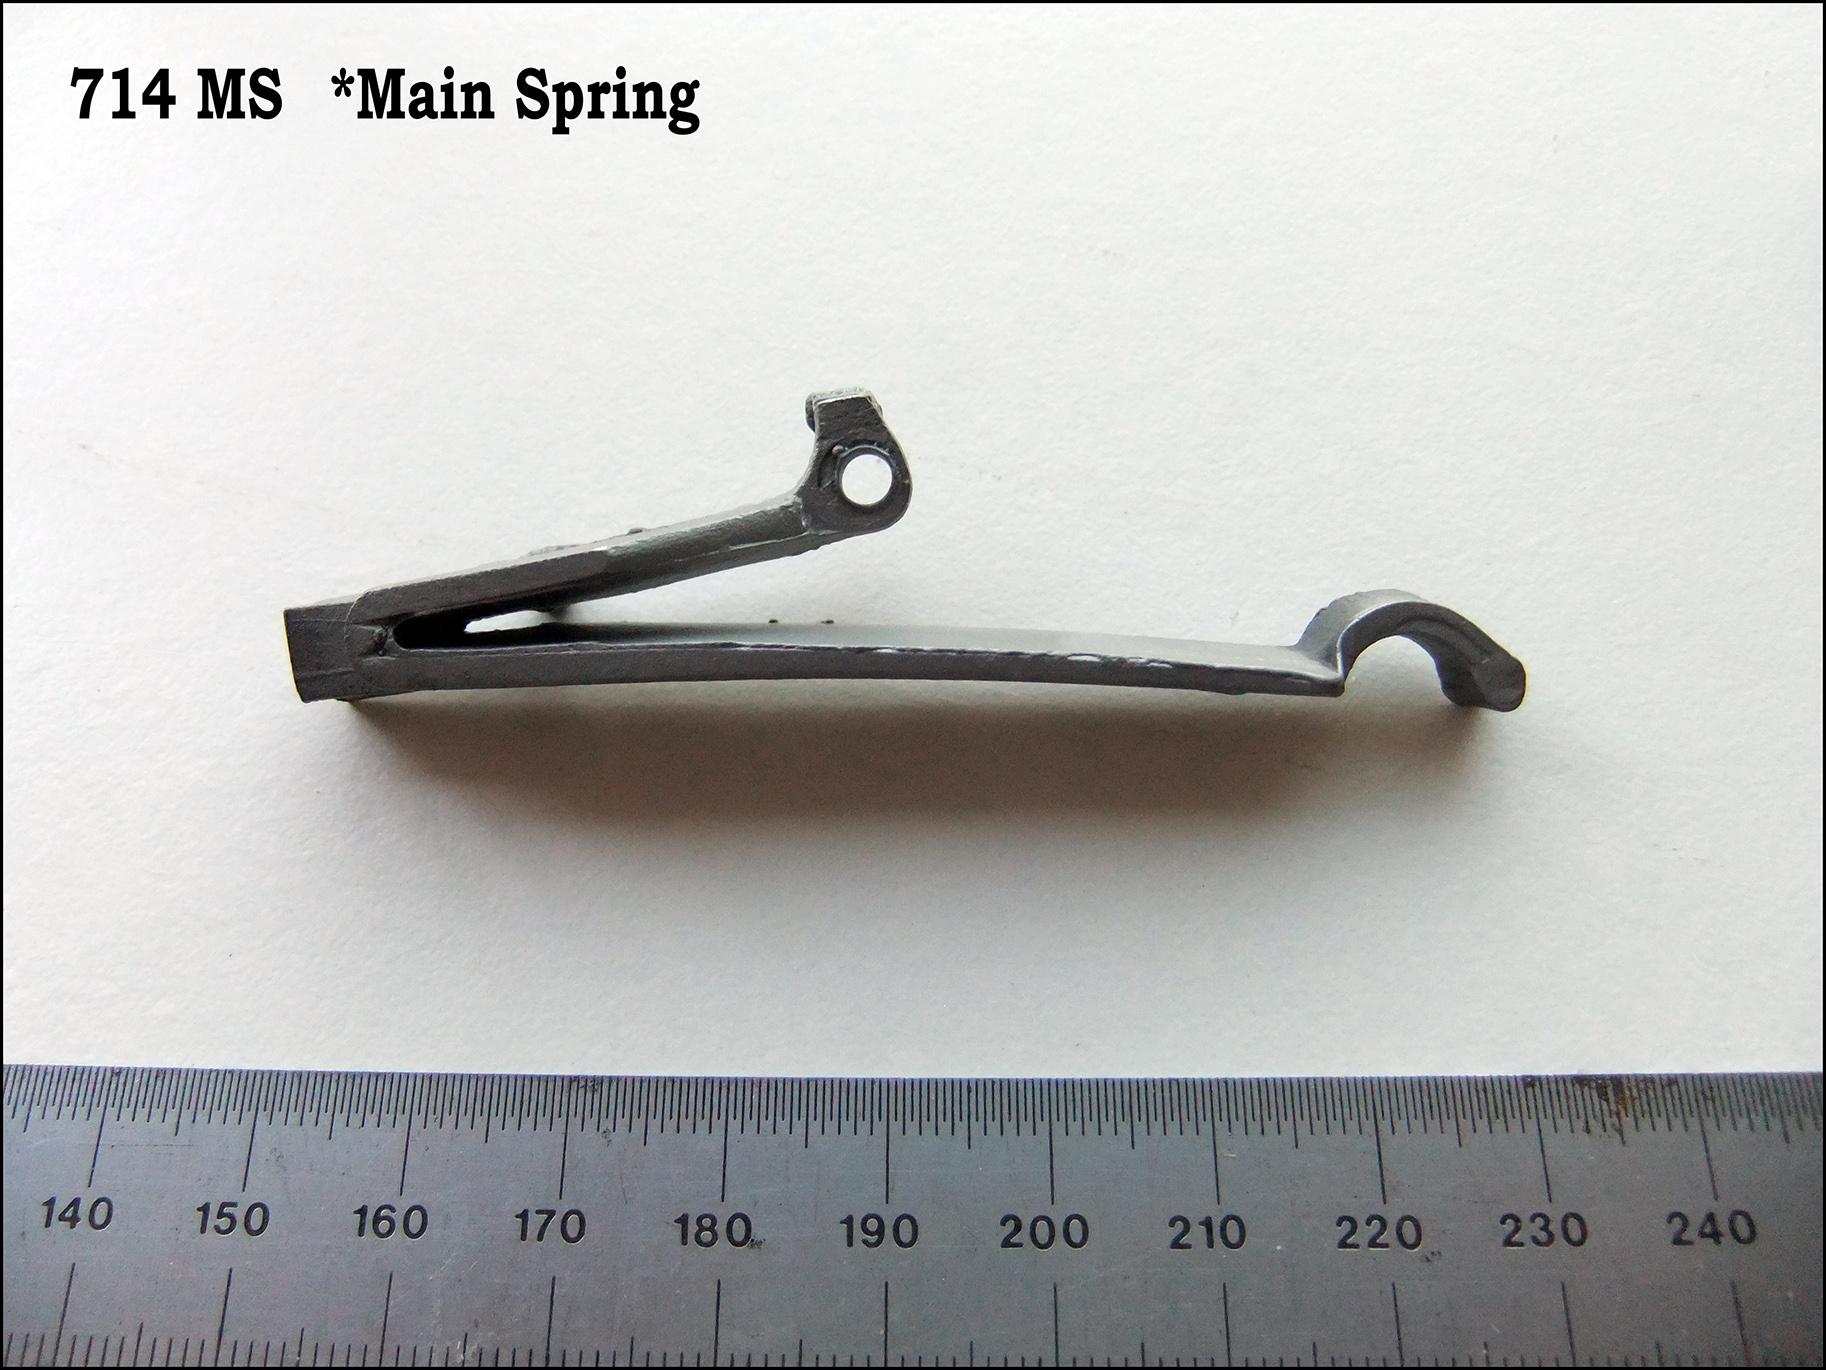
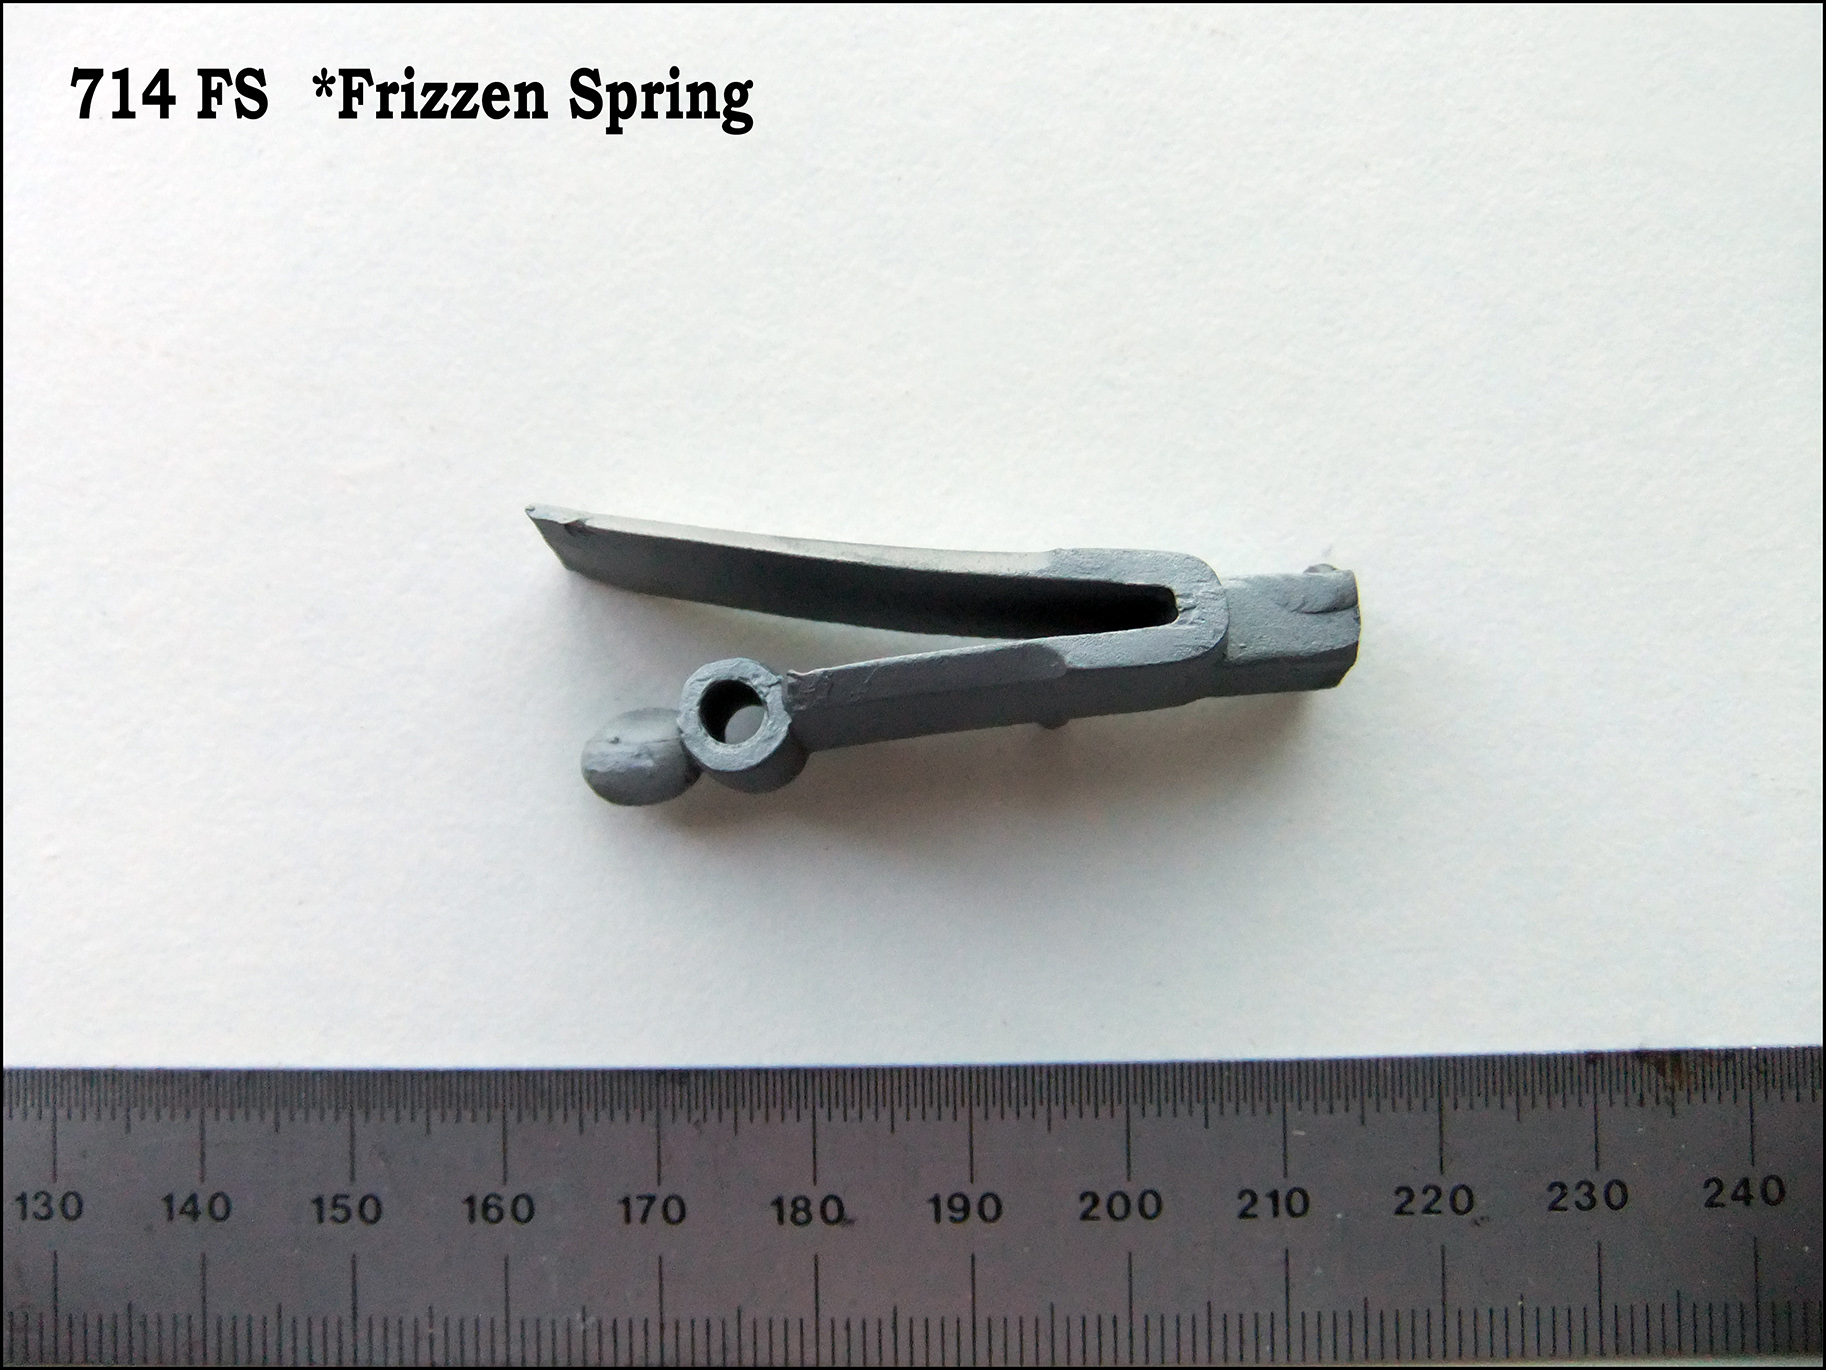
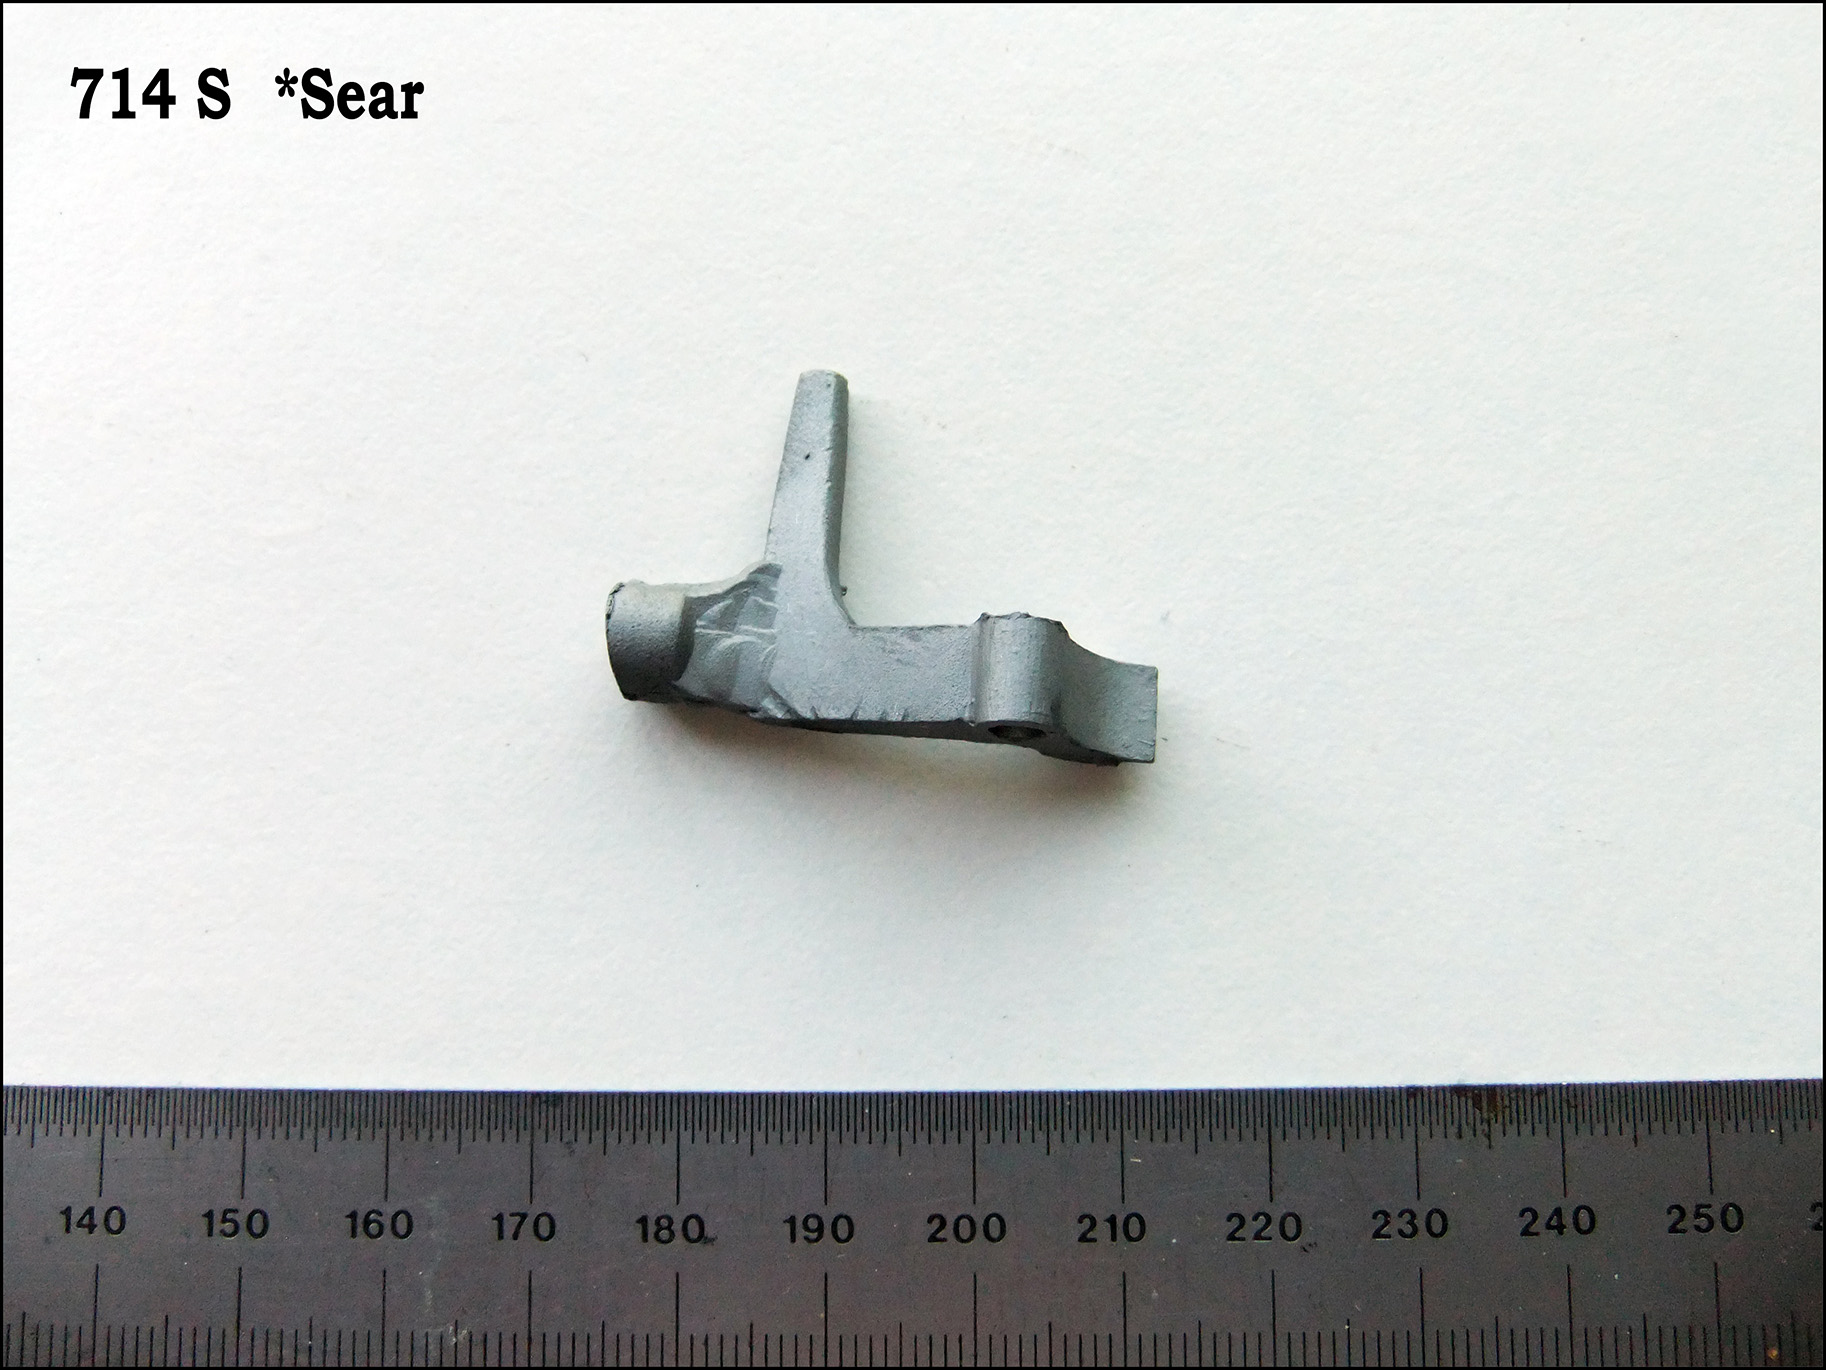
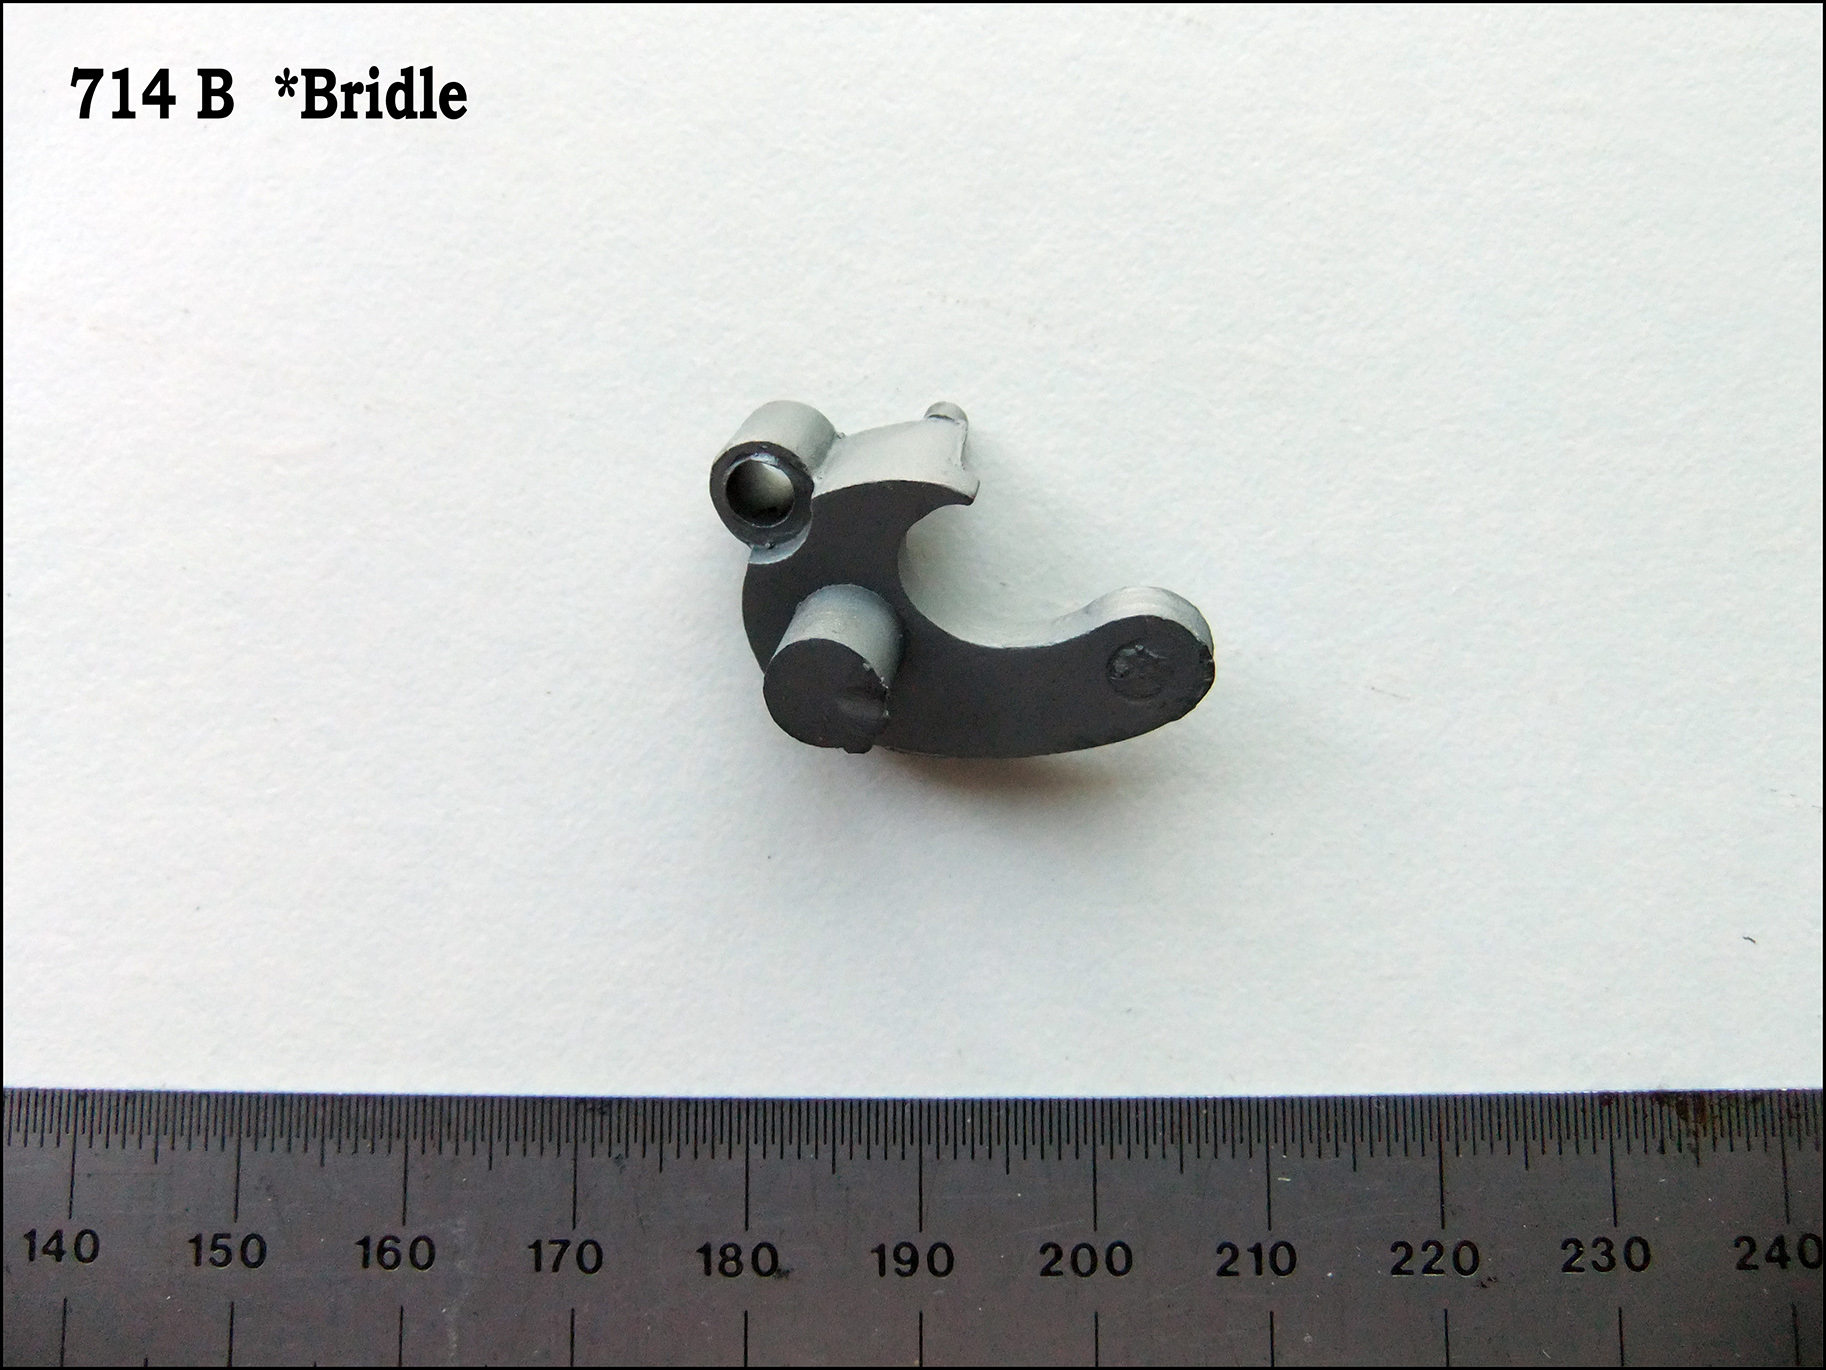
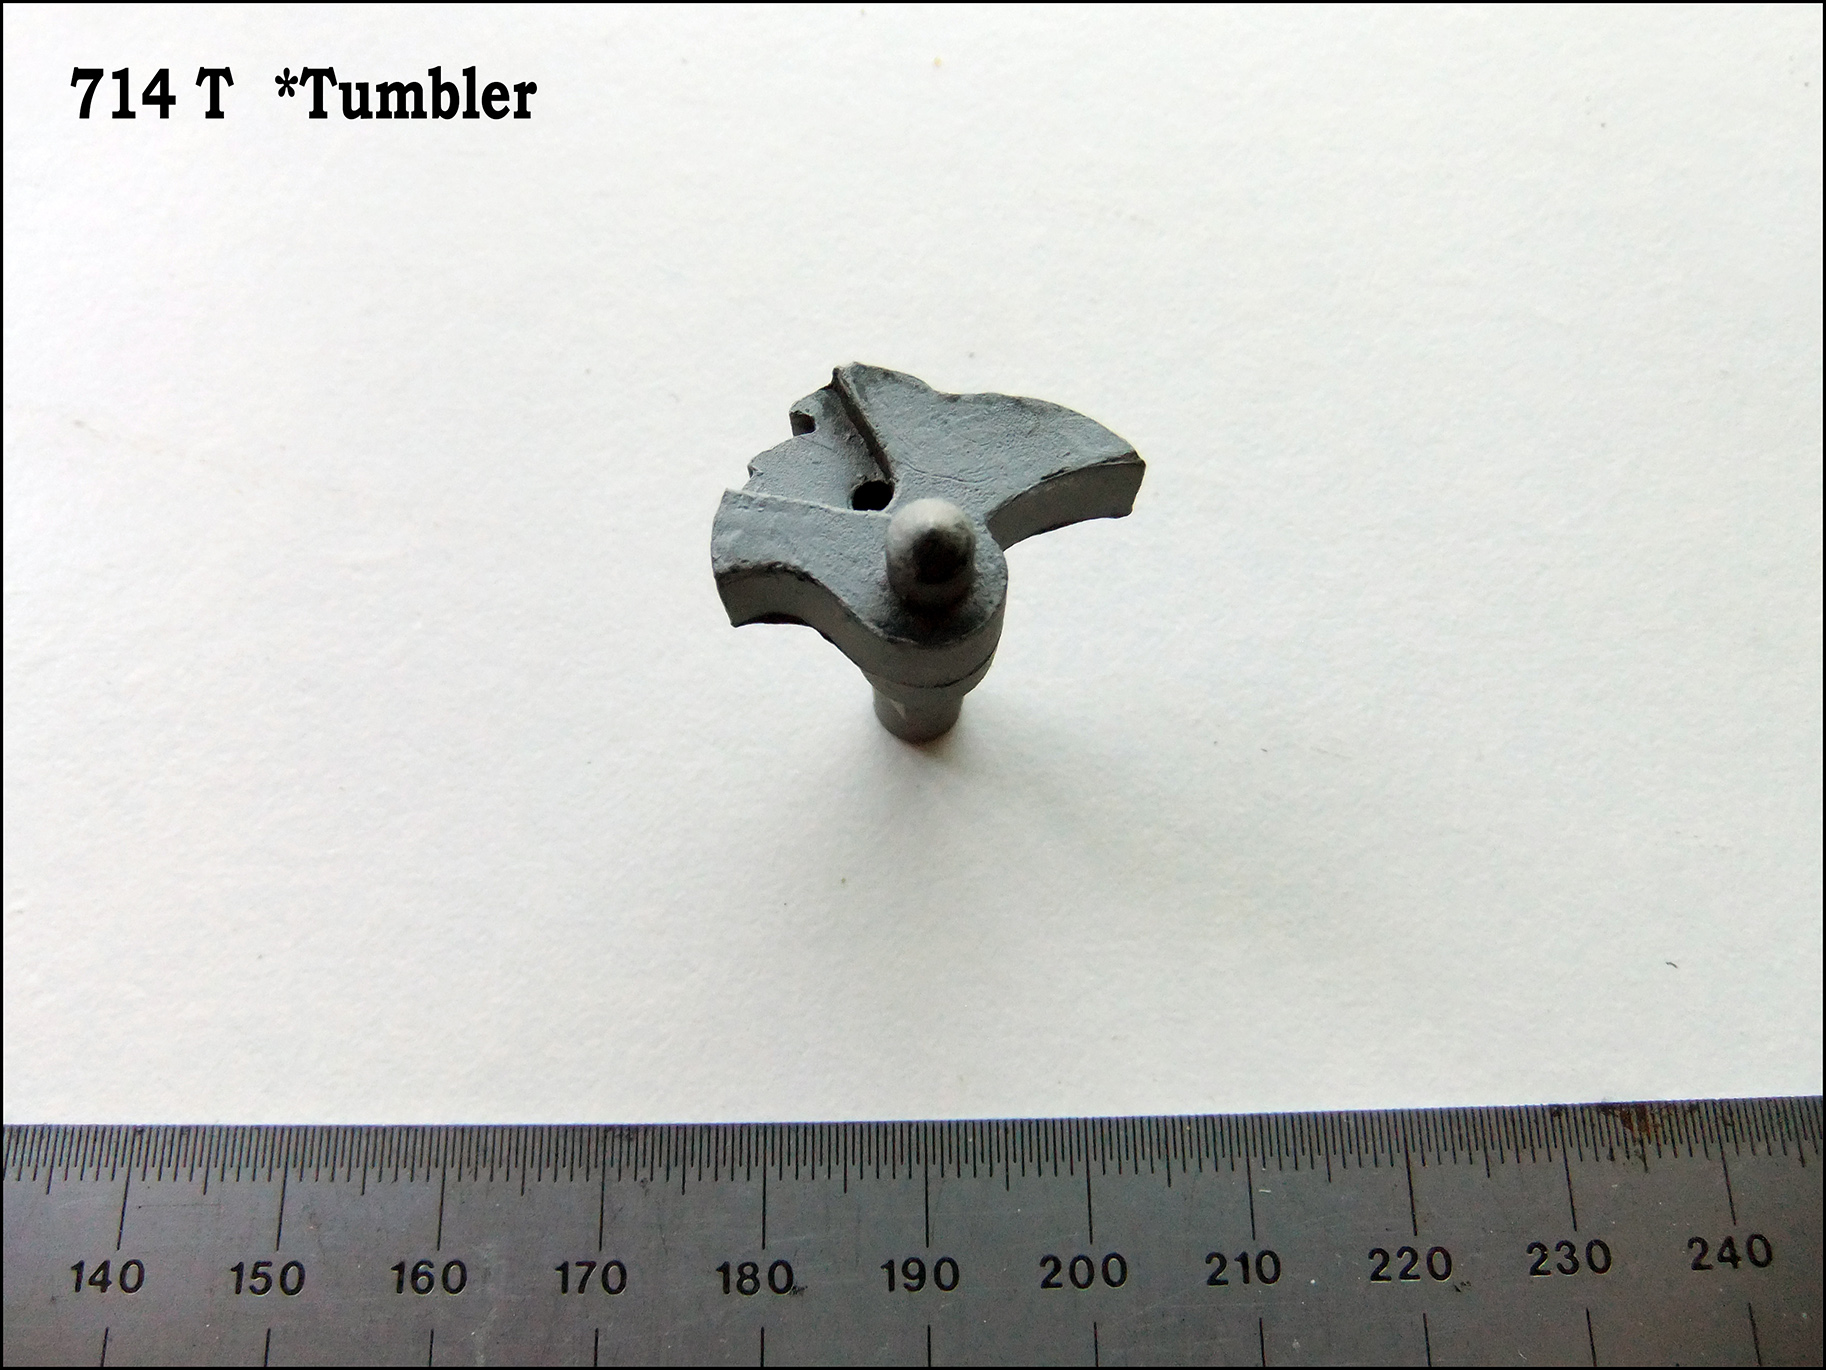
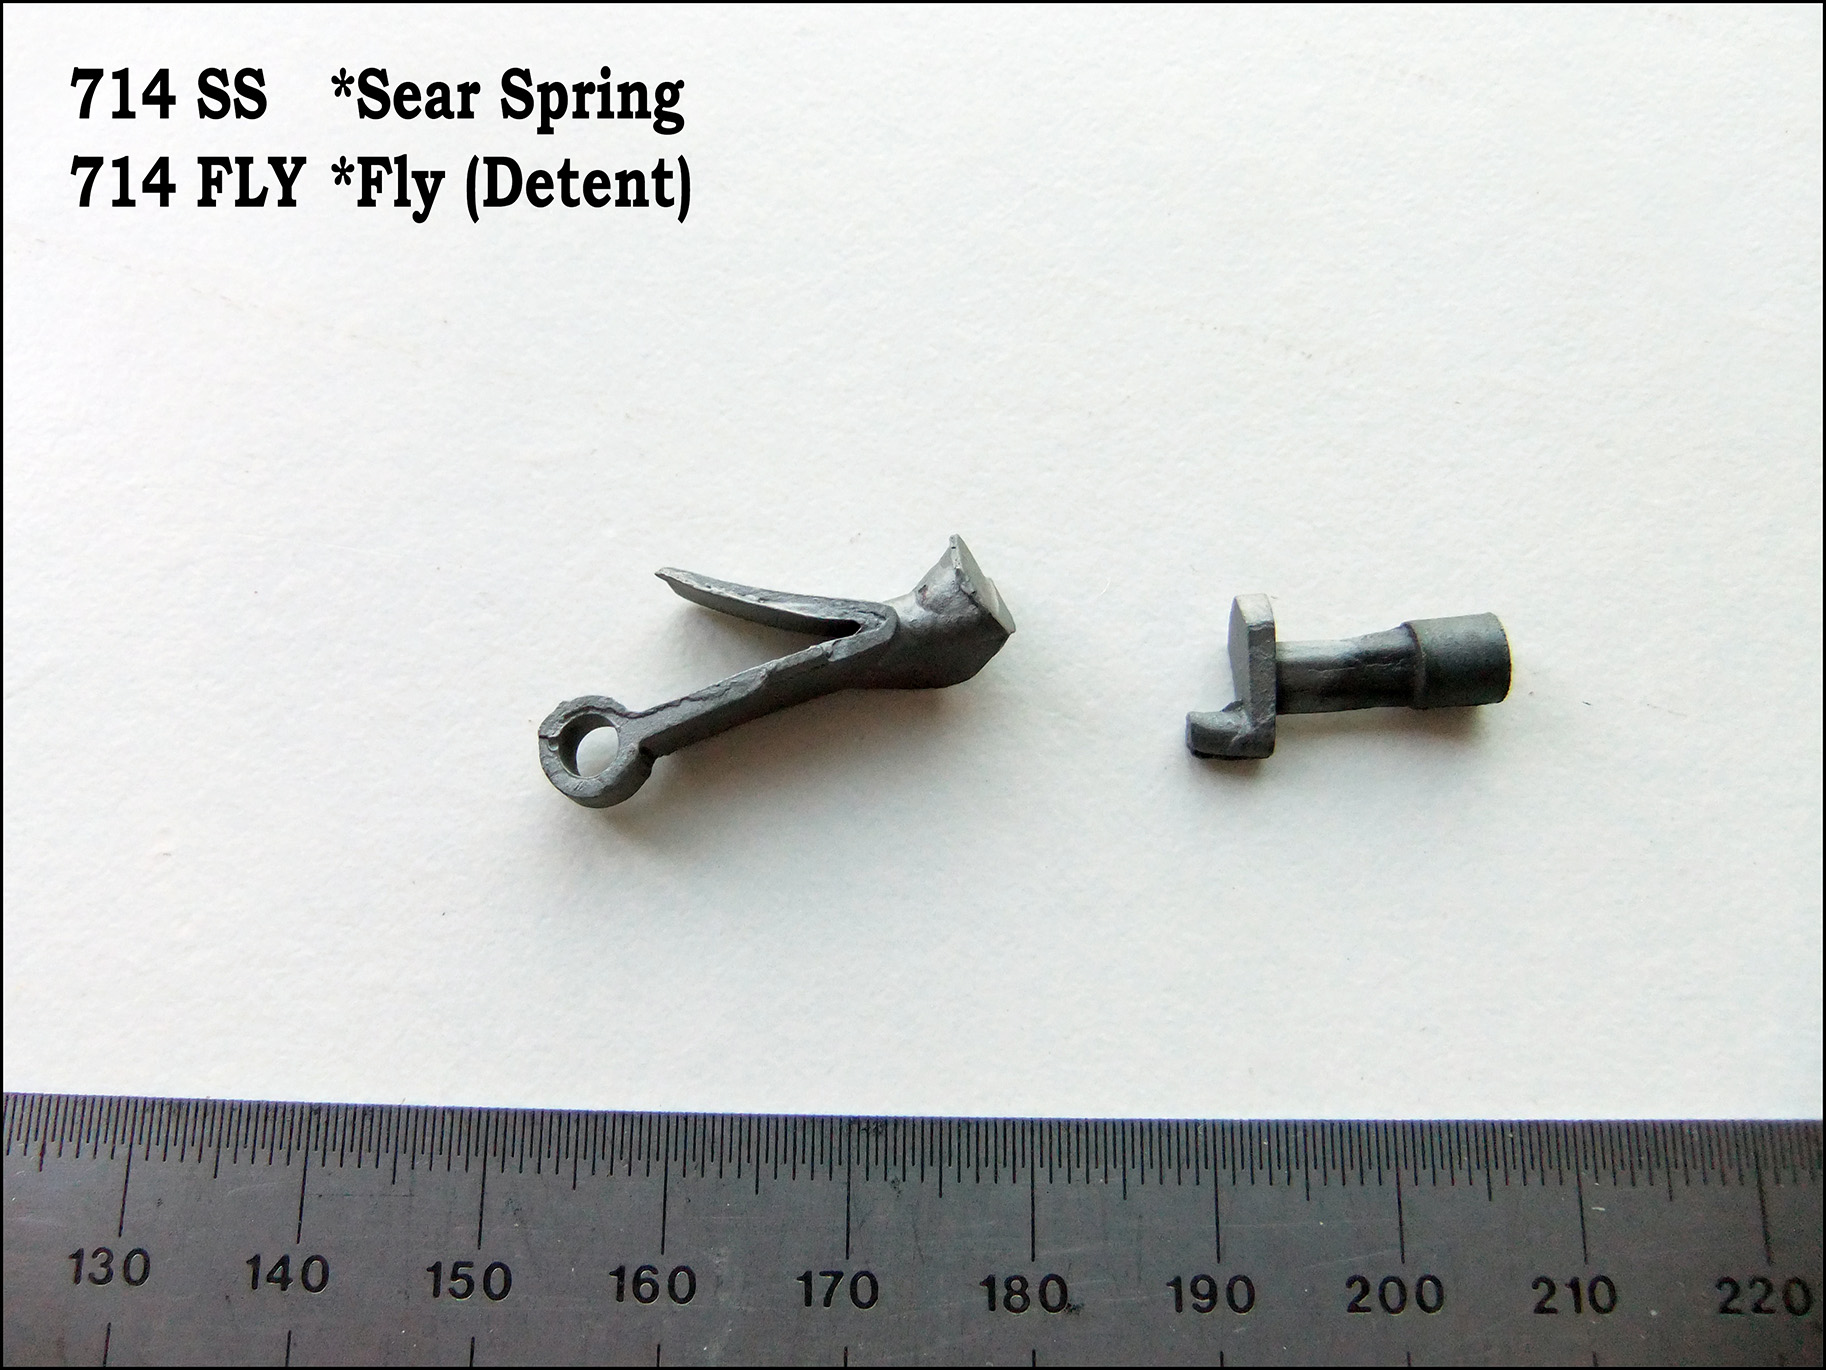
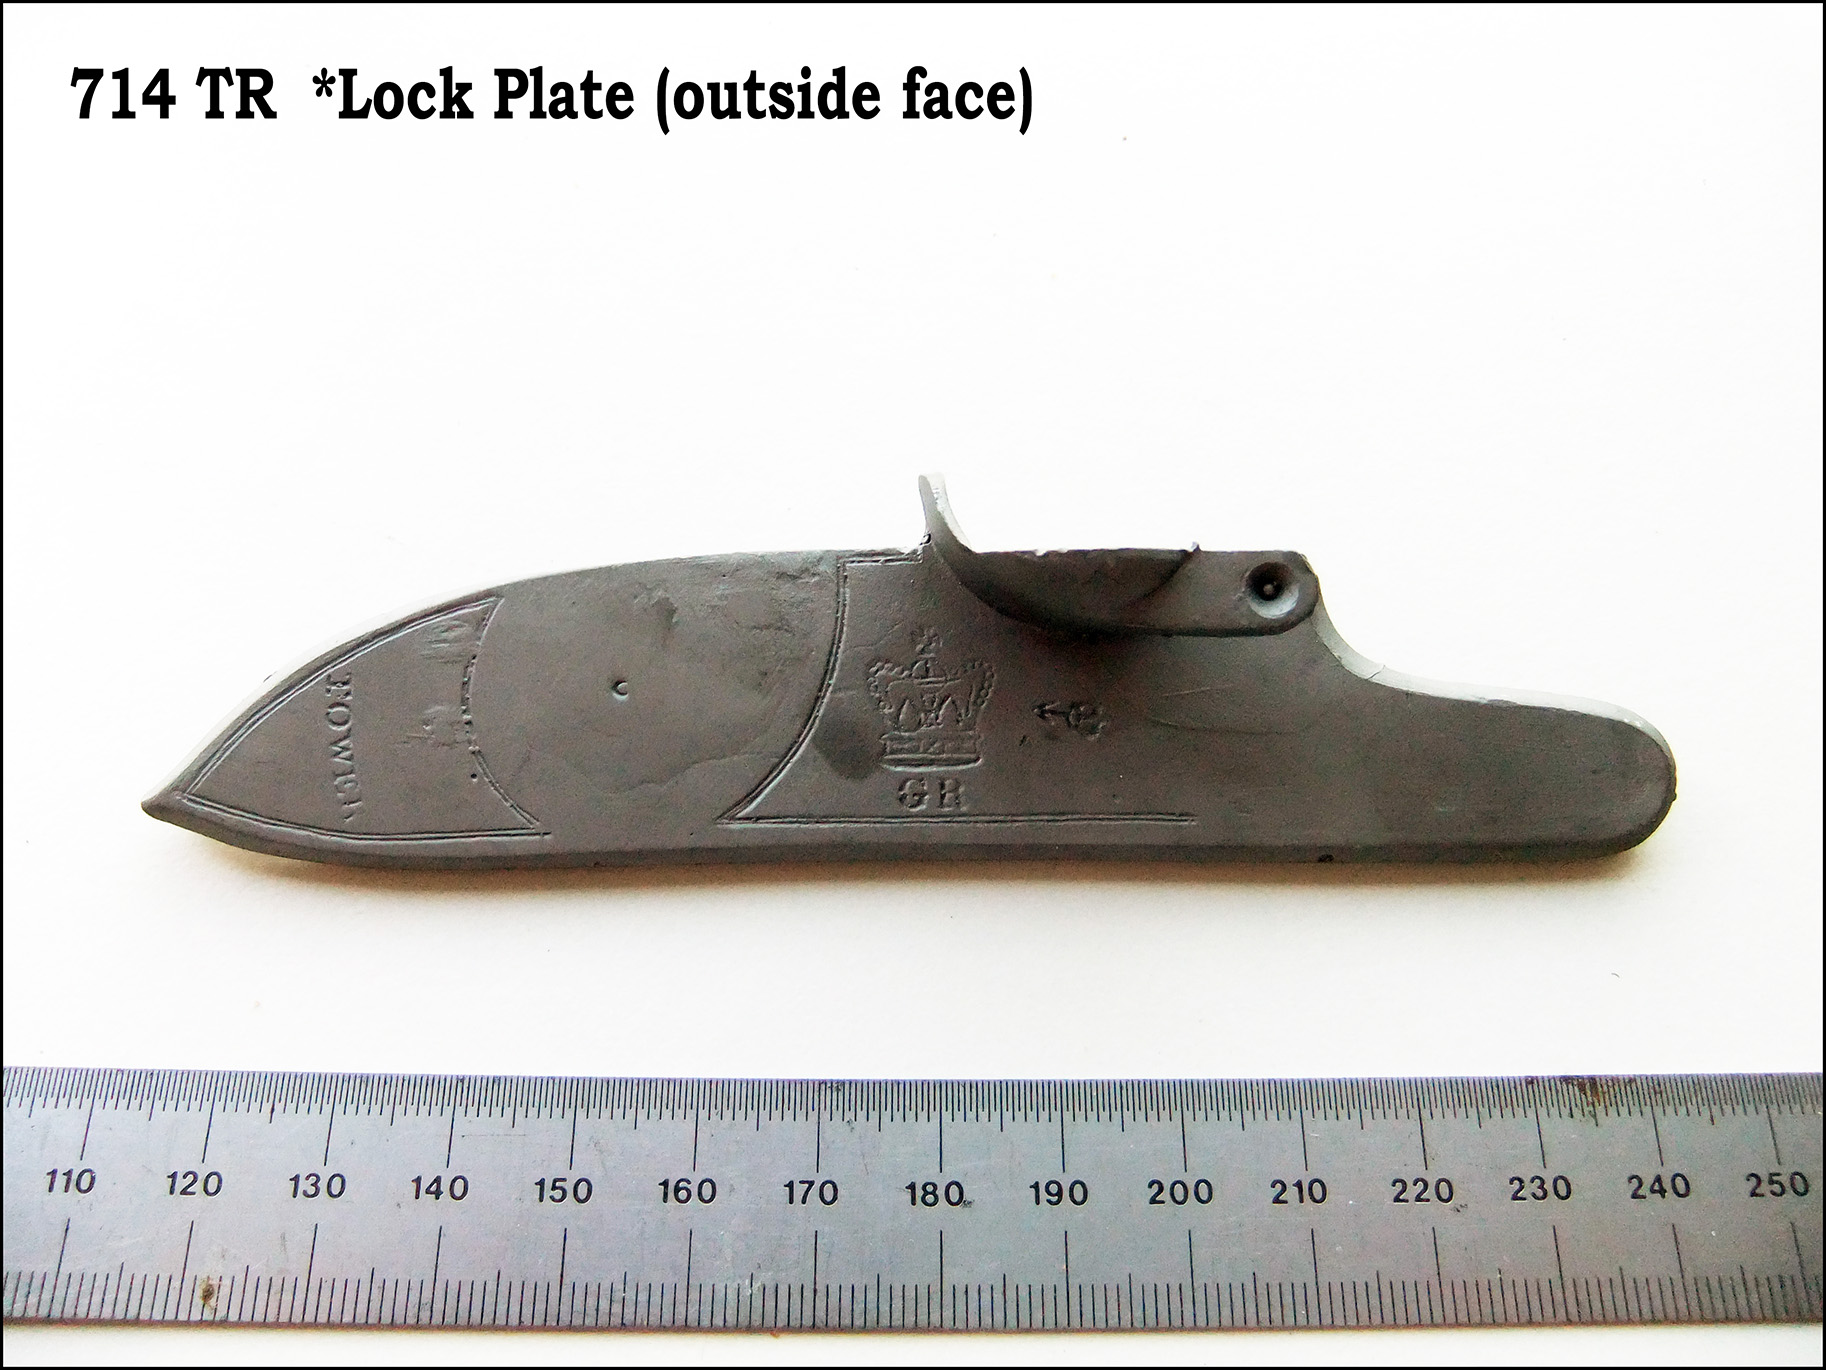
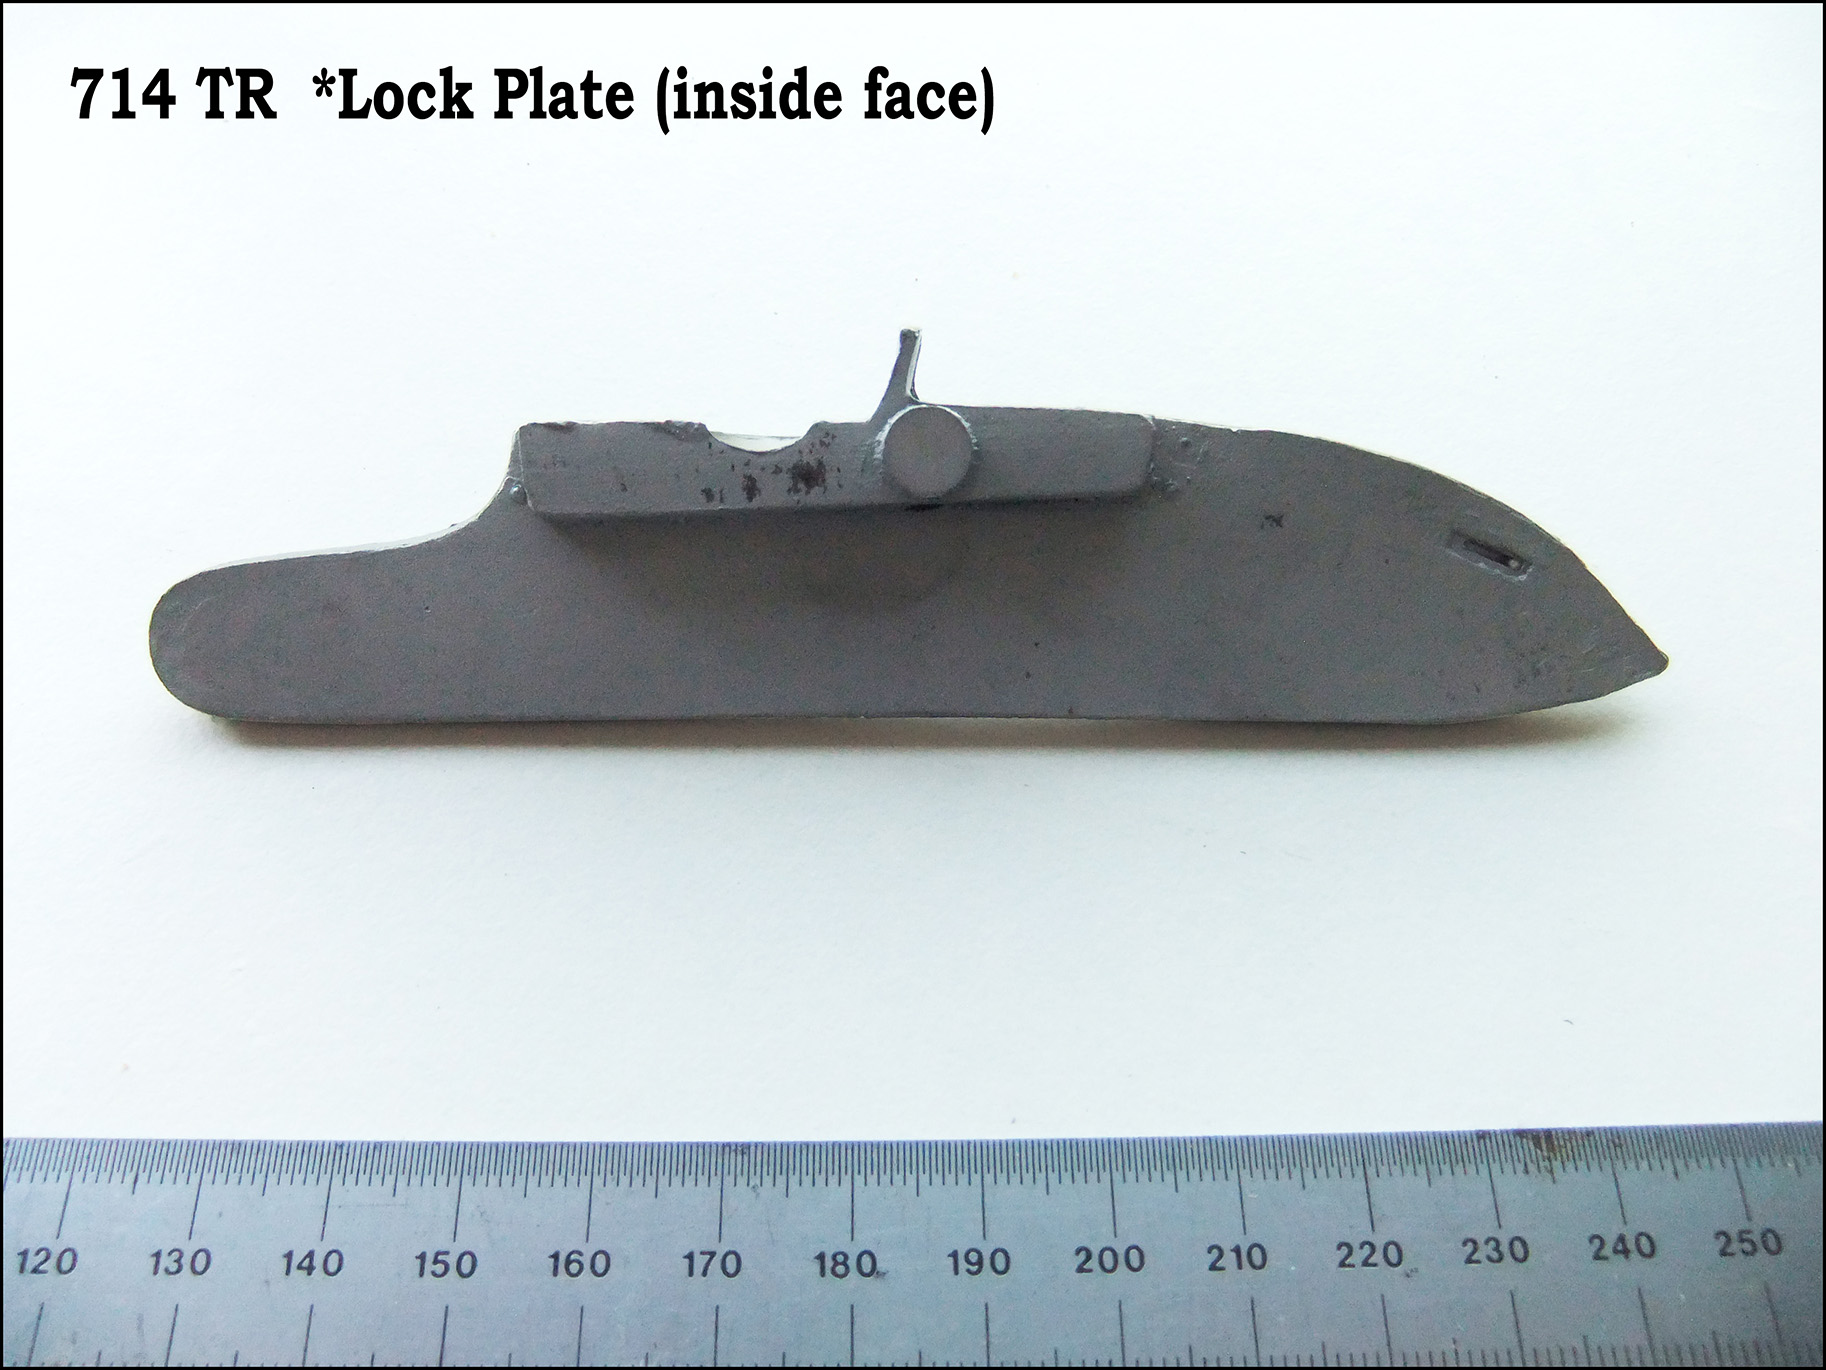
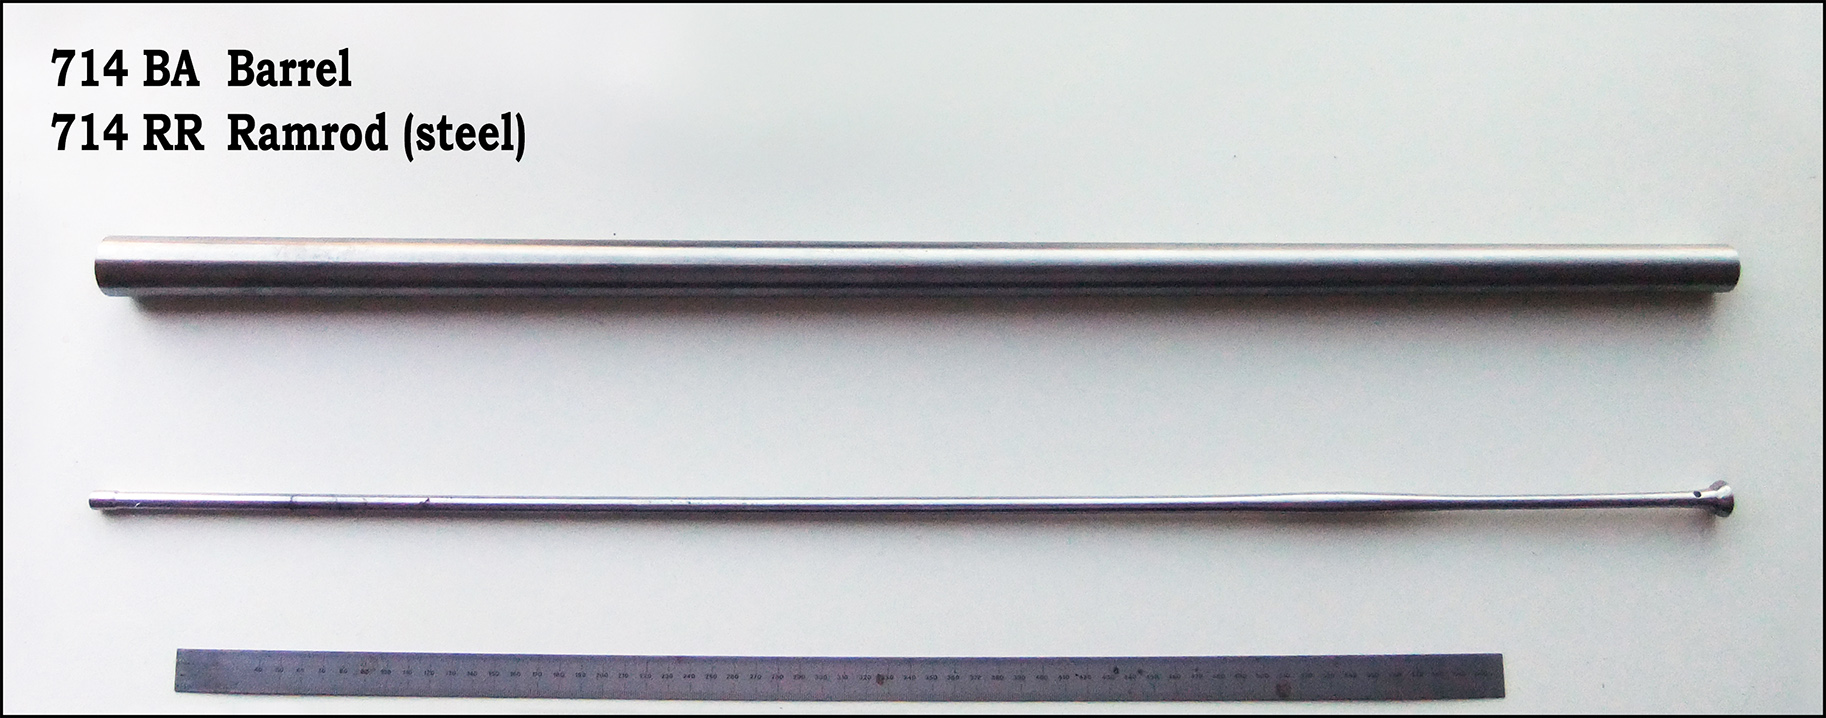
Here we have the barrel and ram rod. The barrel is open at both ends; the breech end is threaded to accept the breech plug shown earlier. There is no touch hole – this is something that will require very careful positioning and drilling, assuming you are not building an inert version.
Once the touch hole has been formed and the breech plug installed, the barrel becomes part of a licensable firearm. Any modern reproduction is subject to this law, including reproductions of antiques. You must therefore have obtained a valid Firearms Certificate [FAC] with suitable variation by this time. Also, by law, anyone selling a reproduction firearm must have it proofed first. If we make up your kit, we will need to send it to the proof house to be certified safe (proofed). If you are building the kit yourself, it is your legal responsibility to proof the gun before you fire it, or dispose of it. Don’t worry; we can advise and arrange this for you.
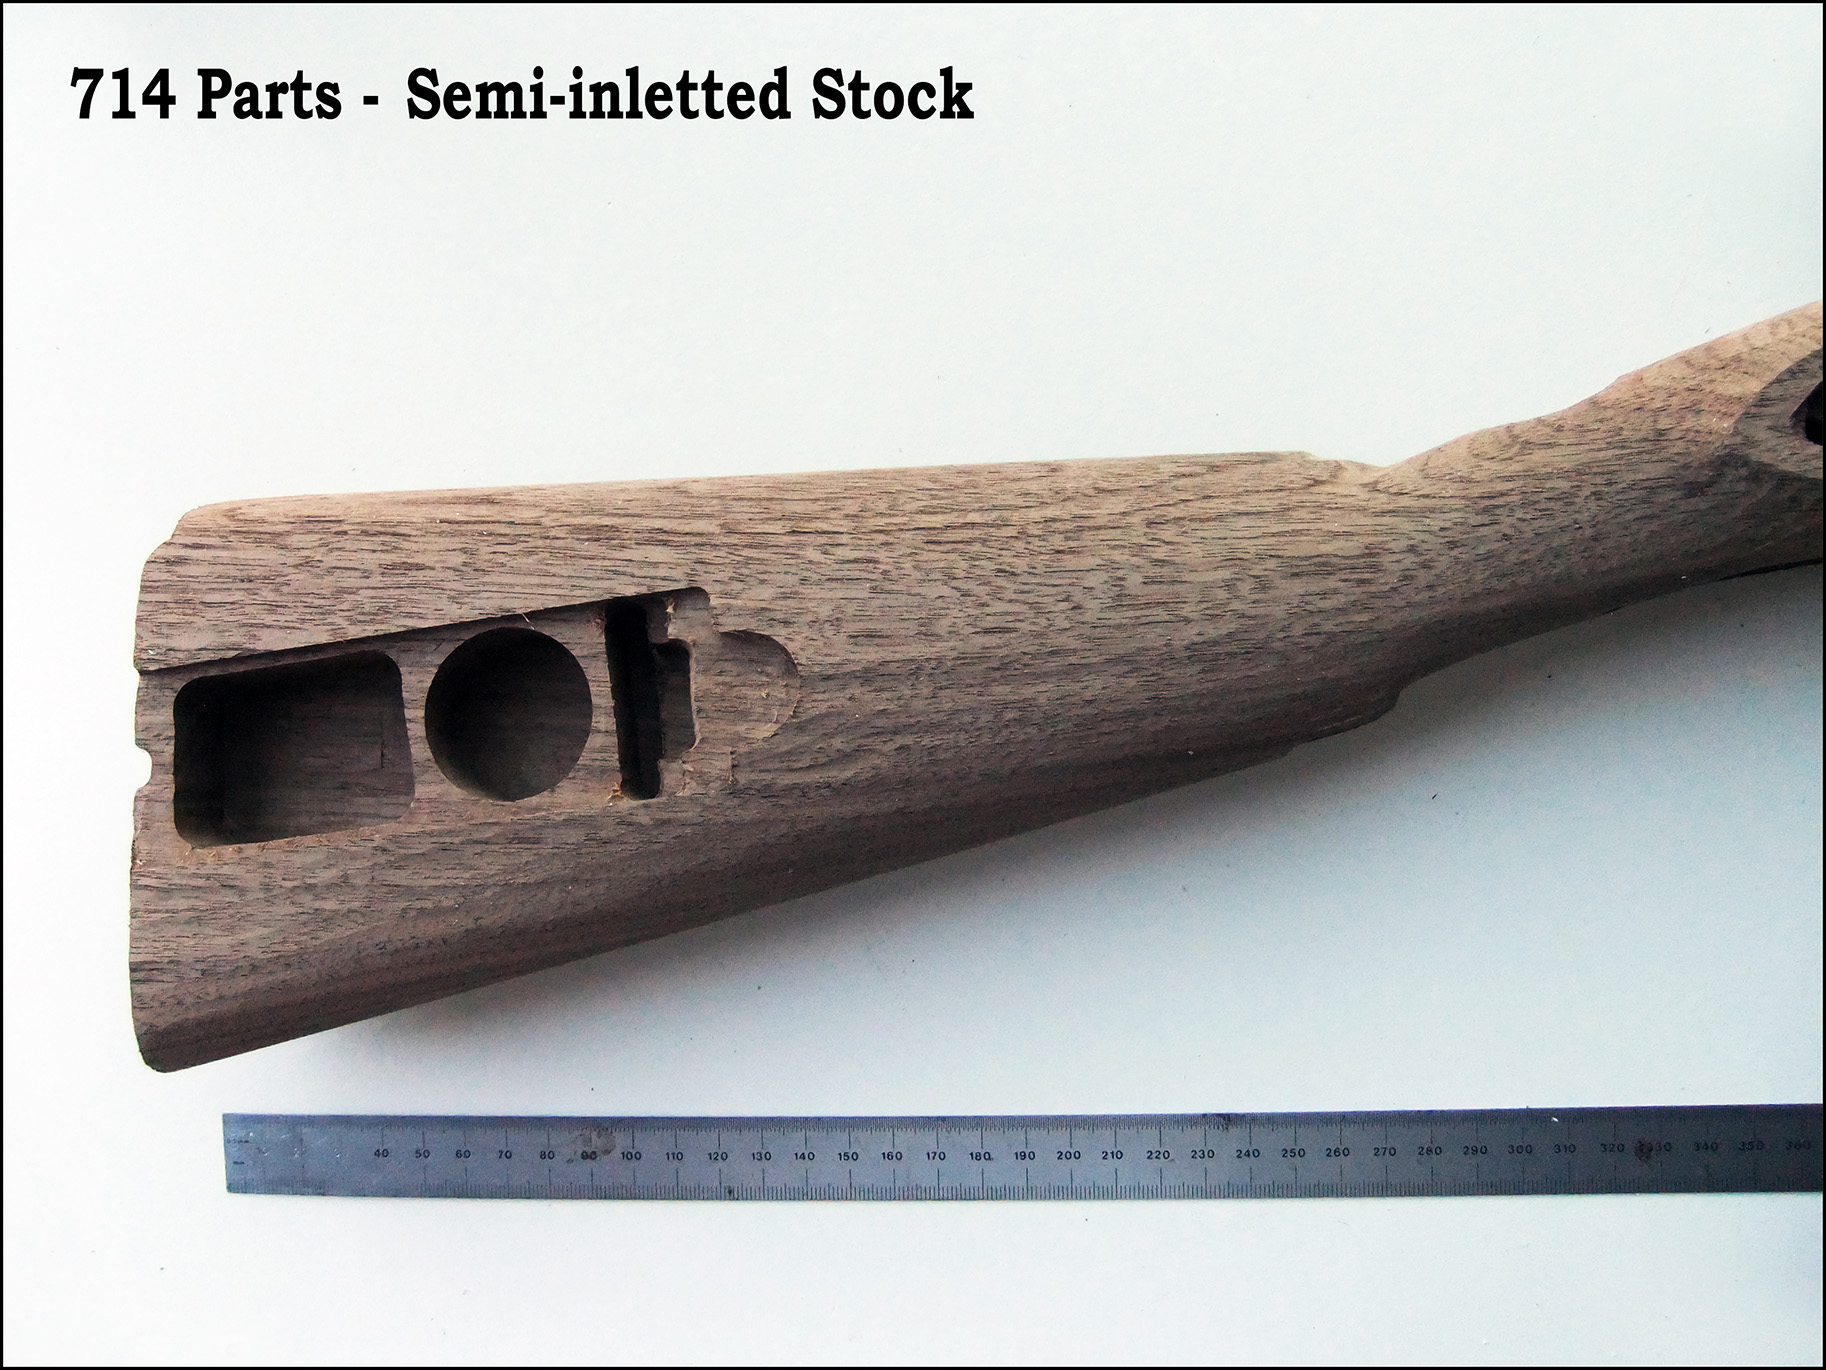
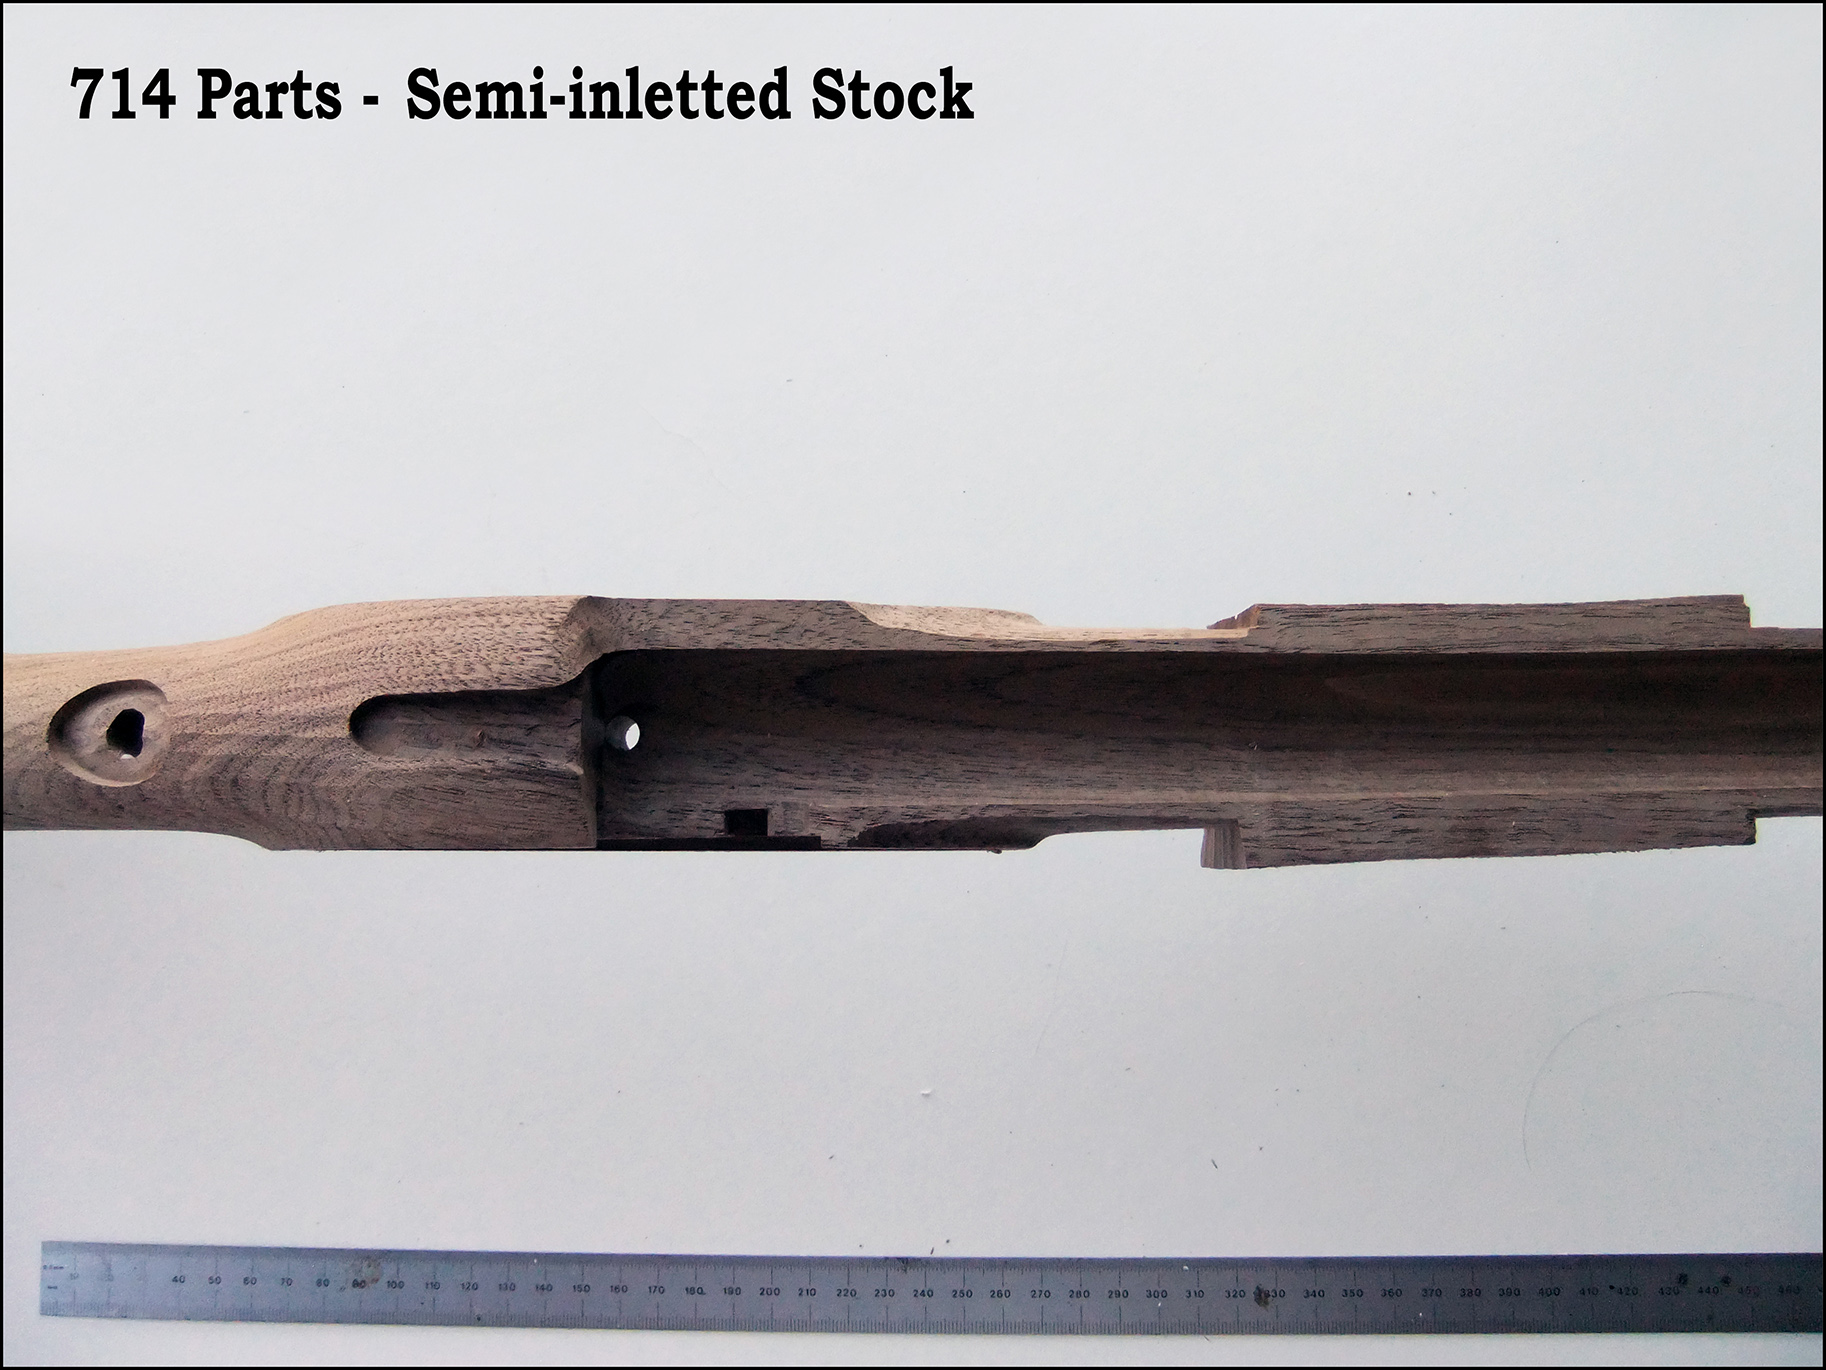
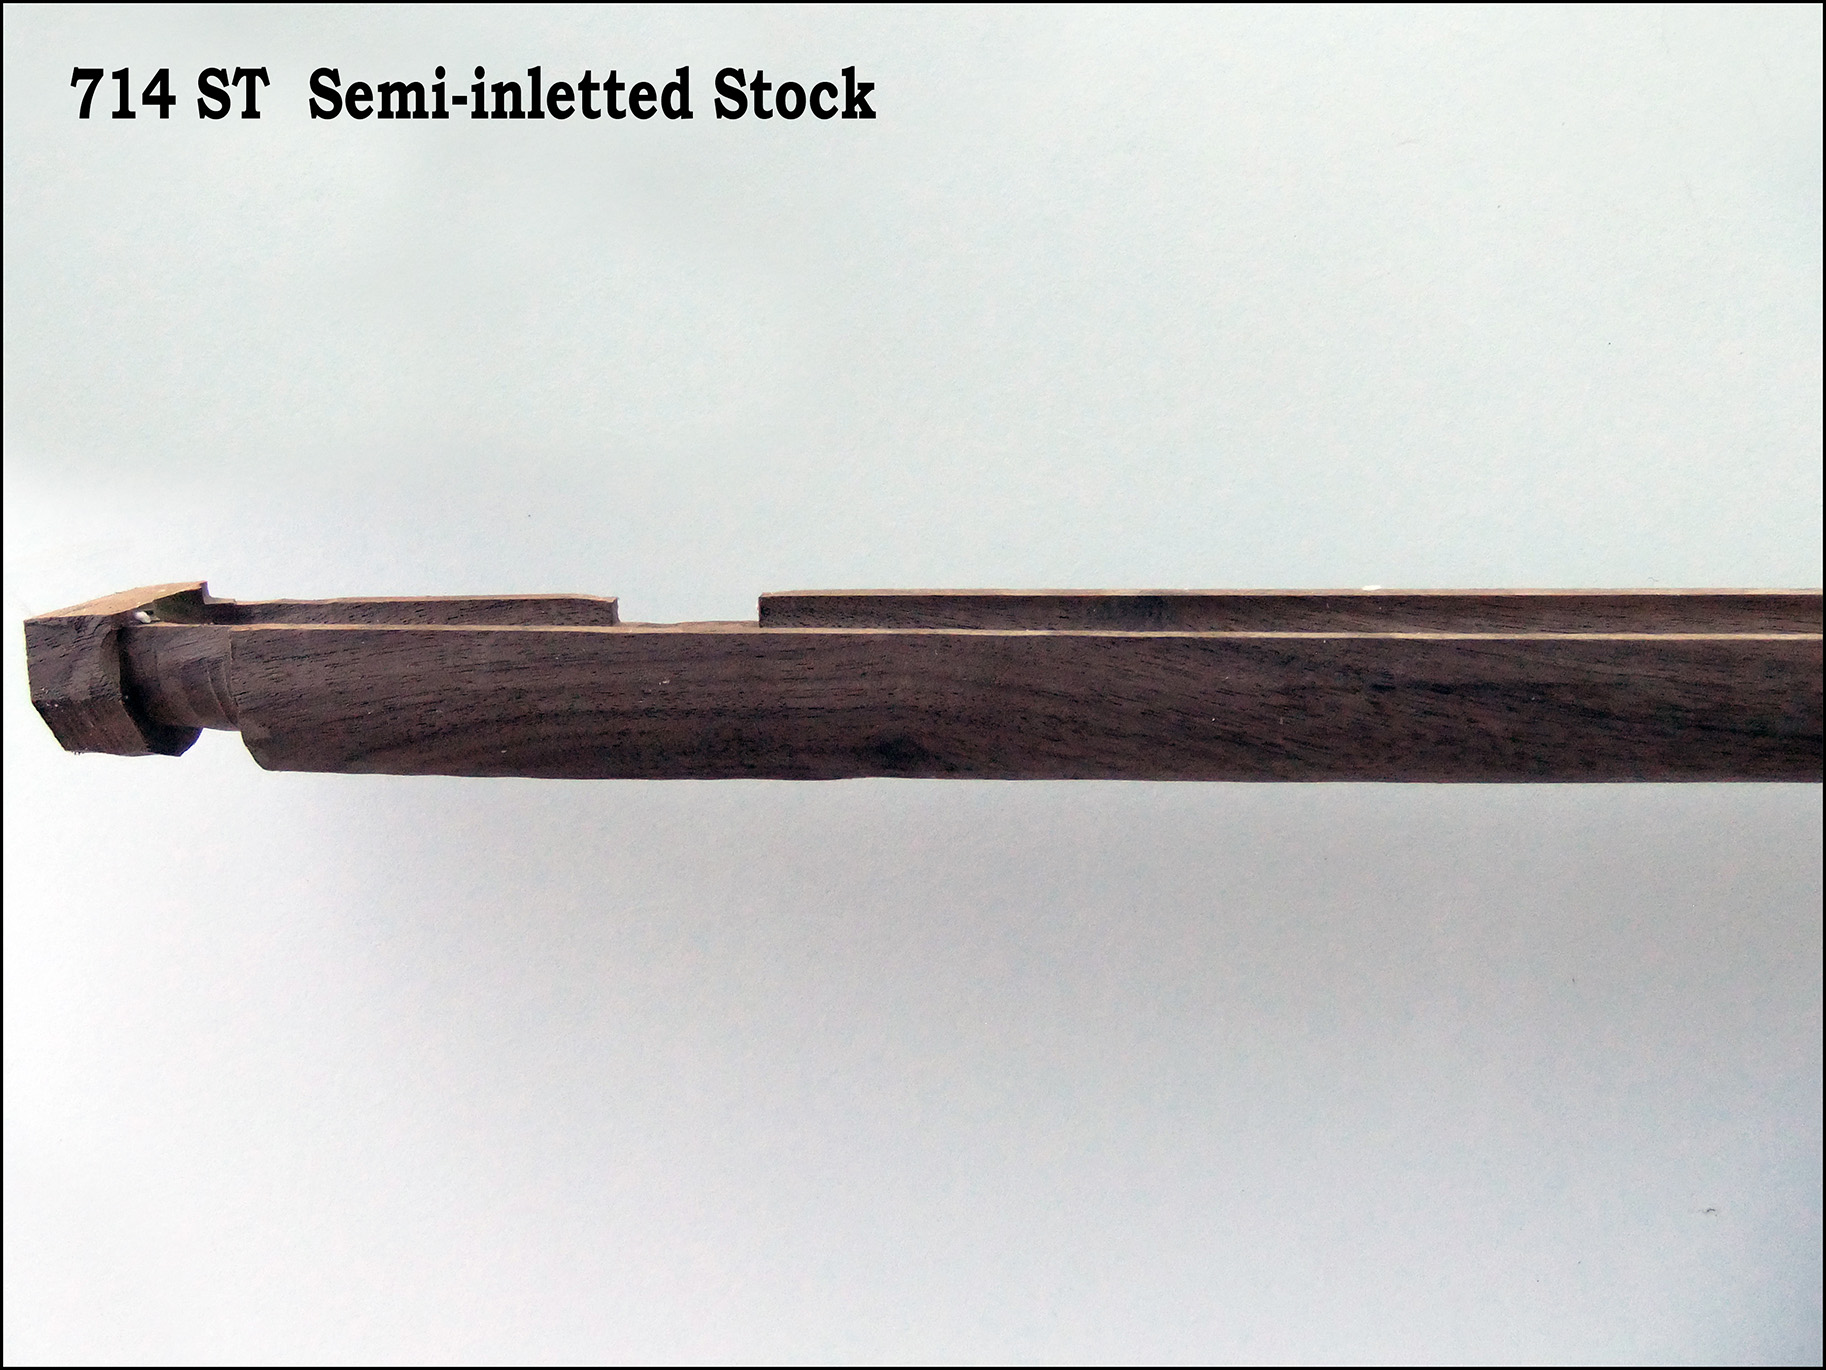
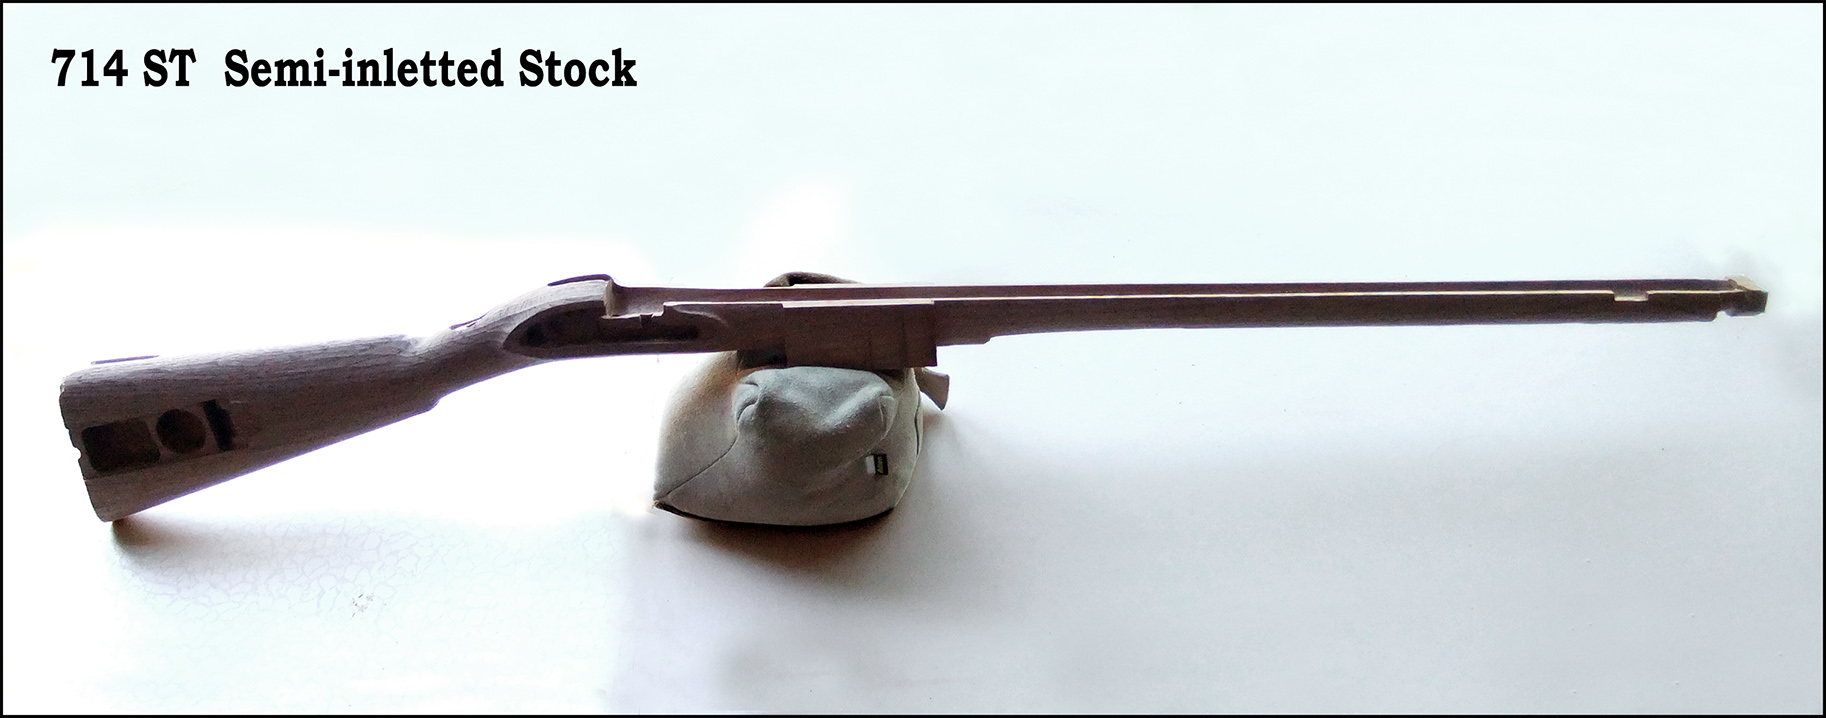 Finally we have the semi-inletted stock – American Walnut, shaped specifically for the Baker rifle, and machined out for the metal furniture, lock and barrel. However, this inletting is only the starting point; a lot of time and woodworking is required to make the stock fit all the cleaned up components. The stock is slightly over-sized to allow for shaving down to the perfect contours of the Baker Rifle. The unshaped block of wood mid-way along its length has been left there deliberately to allow you to clamp the stock in a vice while working on it. This is the last part of the stock to be shaved down and finished.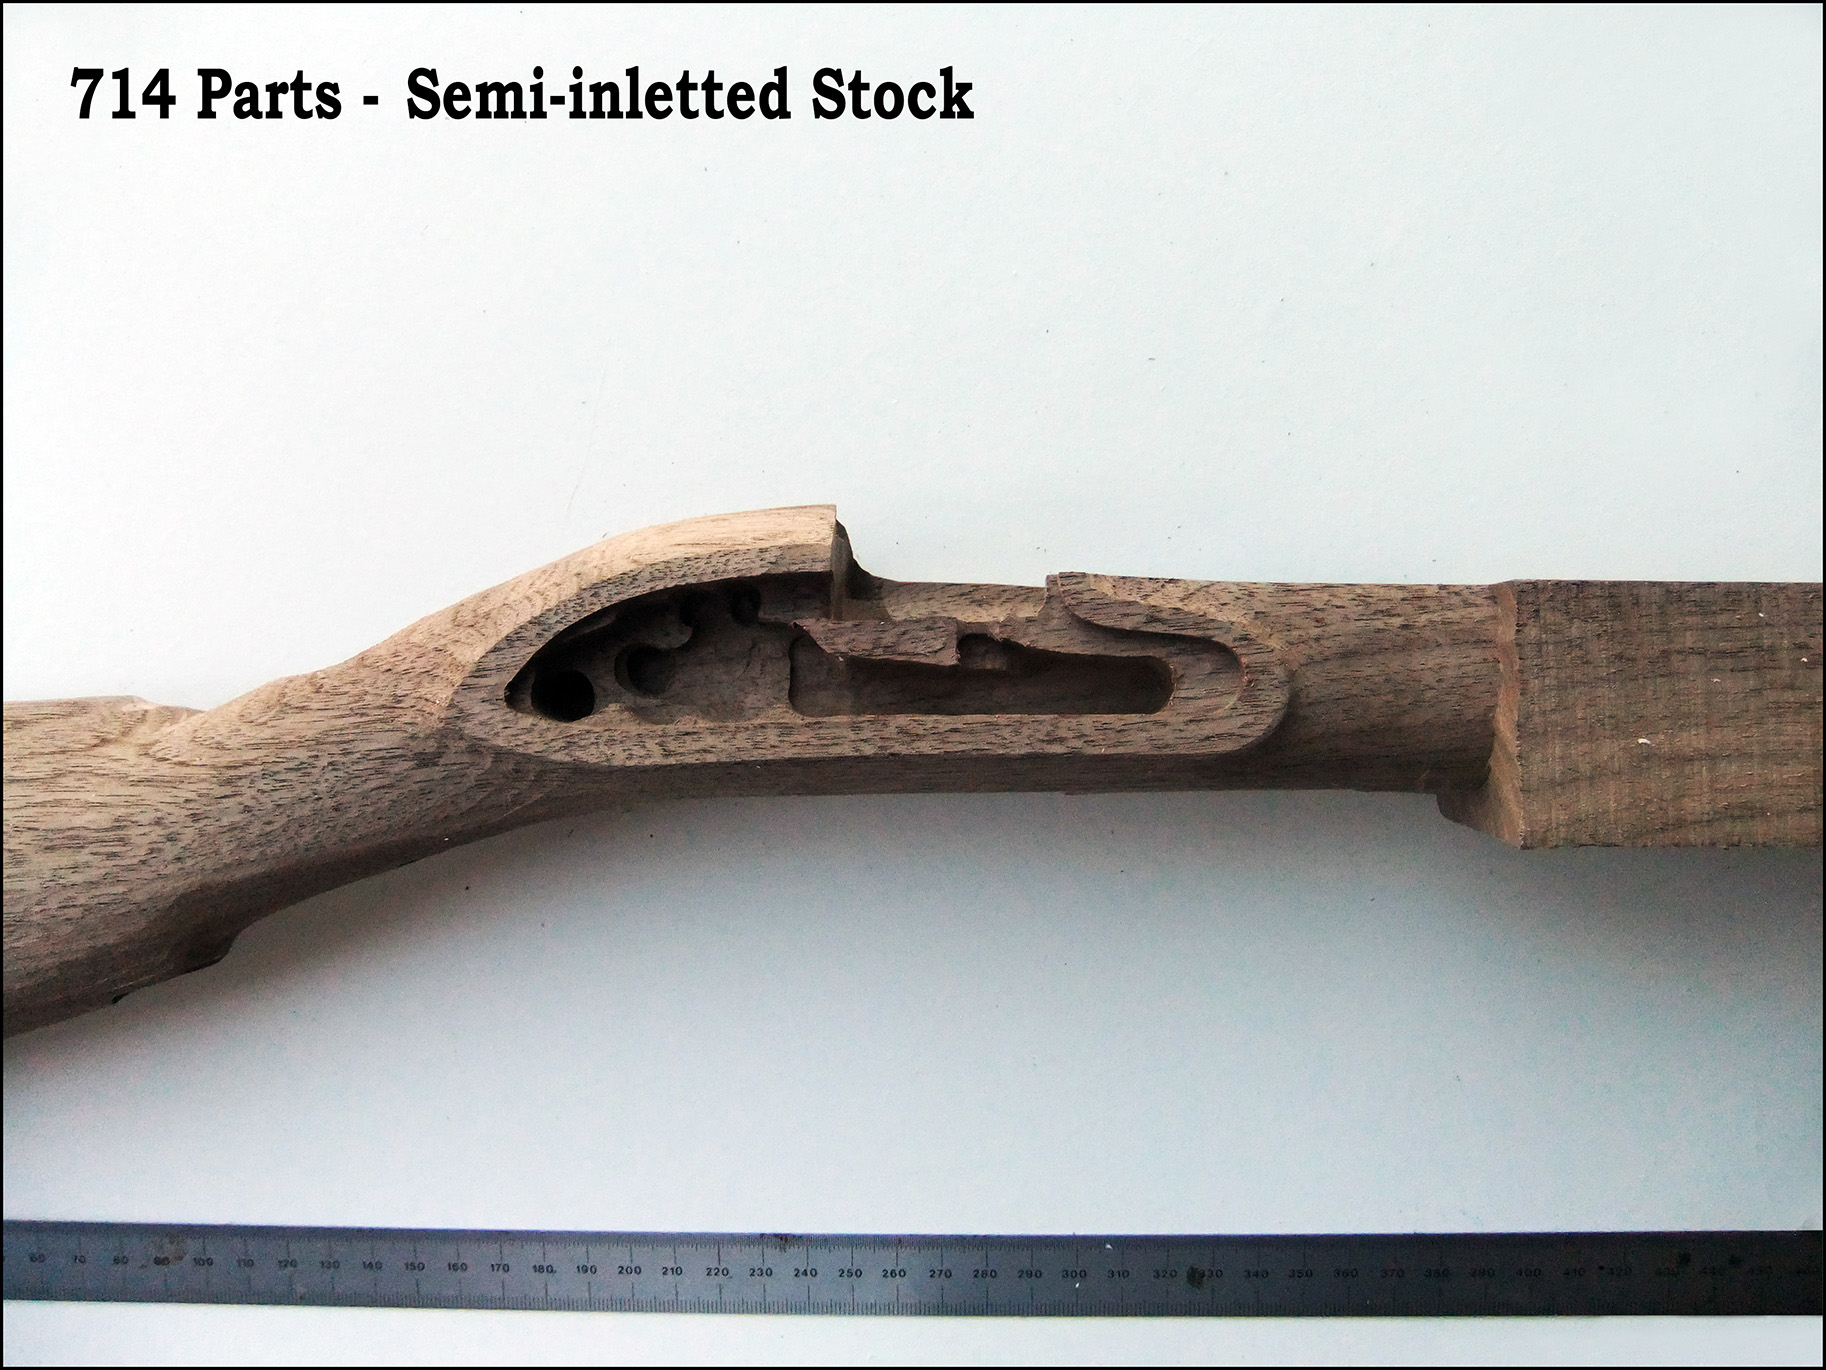
I hope this article has given you an insight into what a TRS kit looks like before it is worked on; and also a bit of an idea of the array of work necessary to build the kit. There is of course a lot more to it, like the setting out of lock components; the hardening of parts; the cutting of dovetails in the barrel. – Too much to detail in this article. But I hope we have shown that the more forethought, research, time and patience spent whilst building, the more pristine and true to an original, your rifle will be. Not to mention the great reward of owning a fine hand built masterpiece that can stand proudly beside an original.
In the coming months we are hoping to produce a page focusing on build suggestions, helpful tips and how to avoid certain pitfalls, so keep an eye on the website.
If you have any questions about any aspect of the TRS kits, please feel free to email us and a member of the team, most suited to answering your query will get back to you.